I posted the Heart specimen art on my other blog
here and thought I would post a tutorial on this blog! Enjoy!
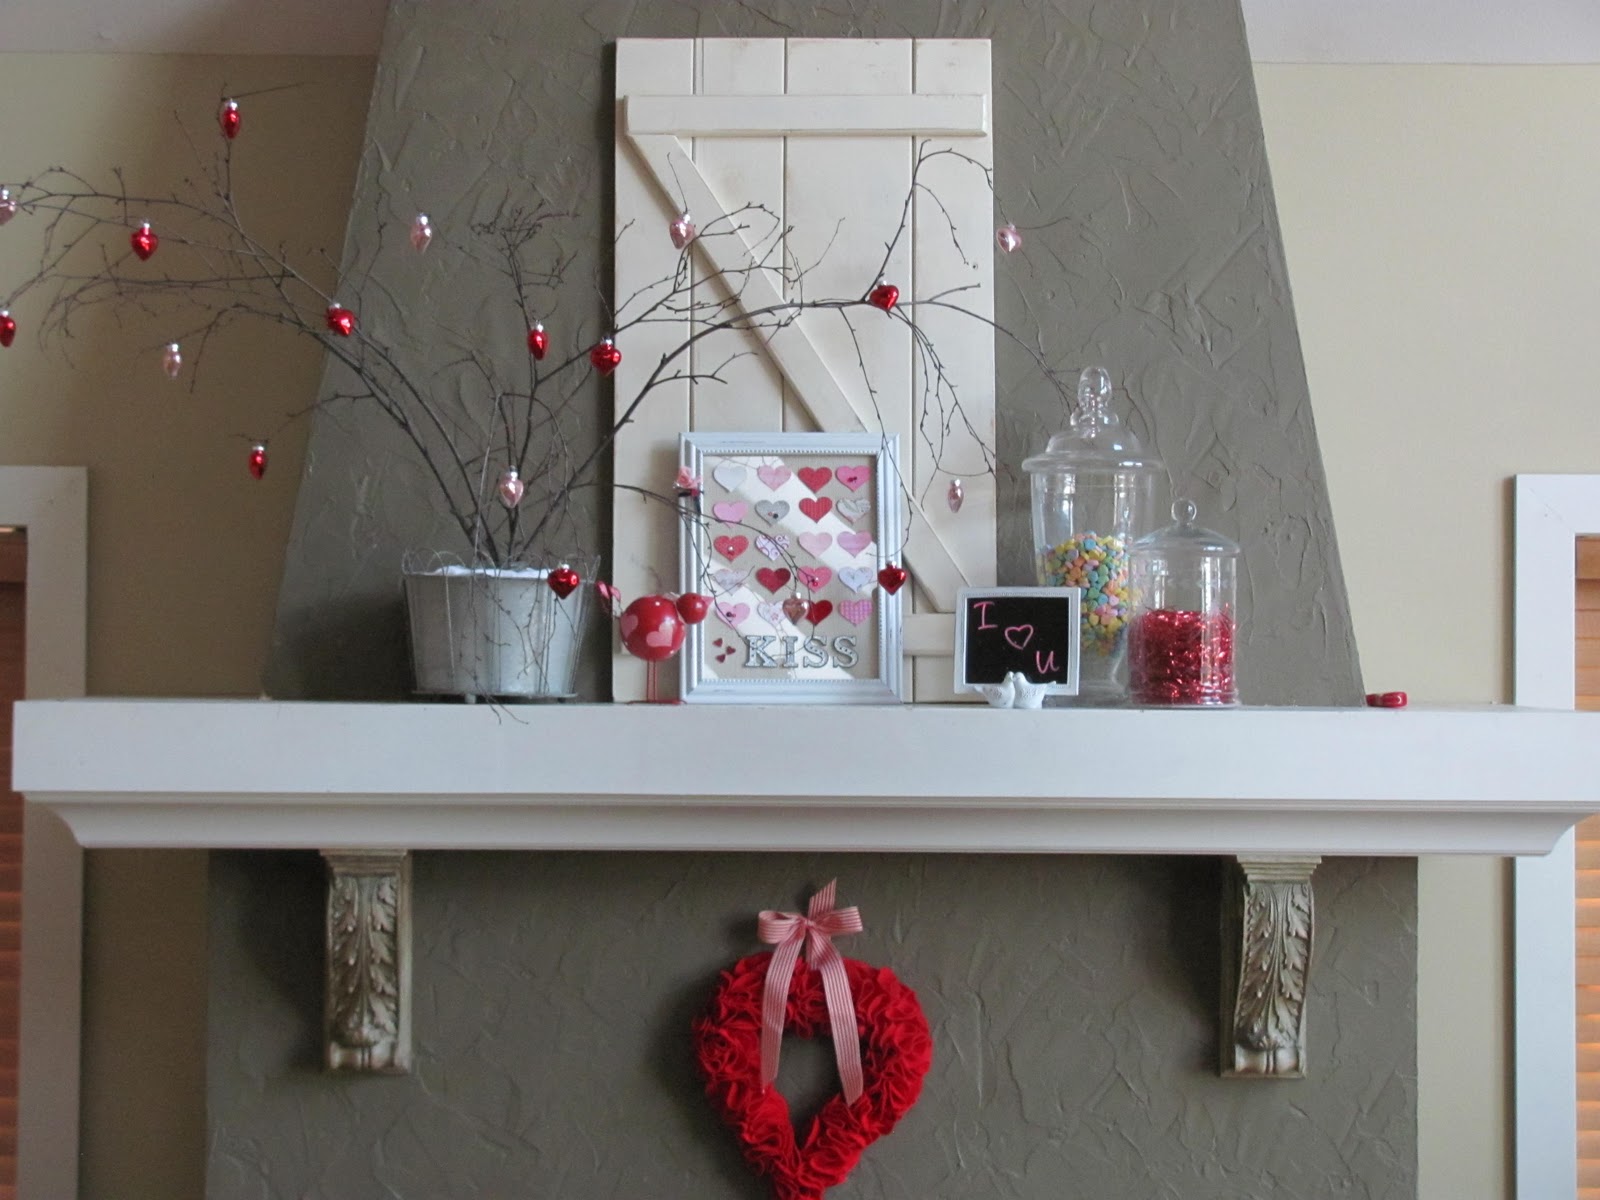
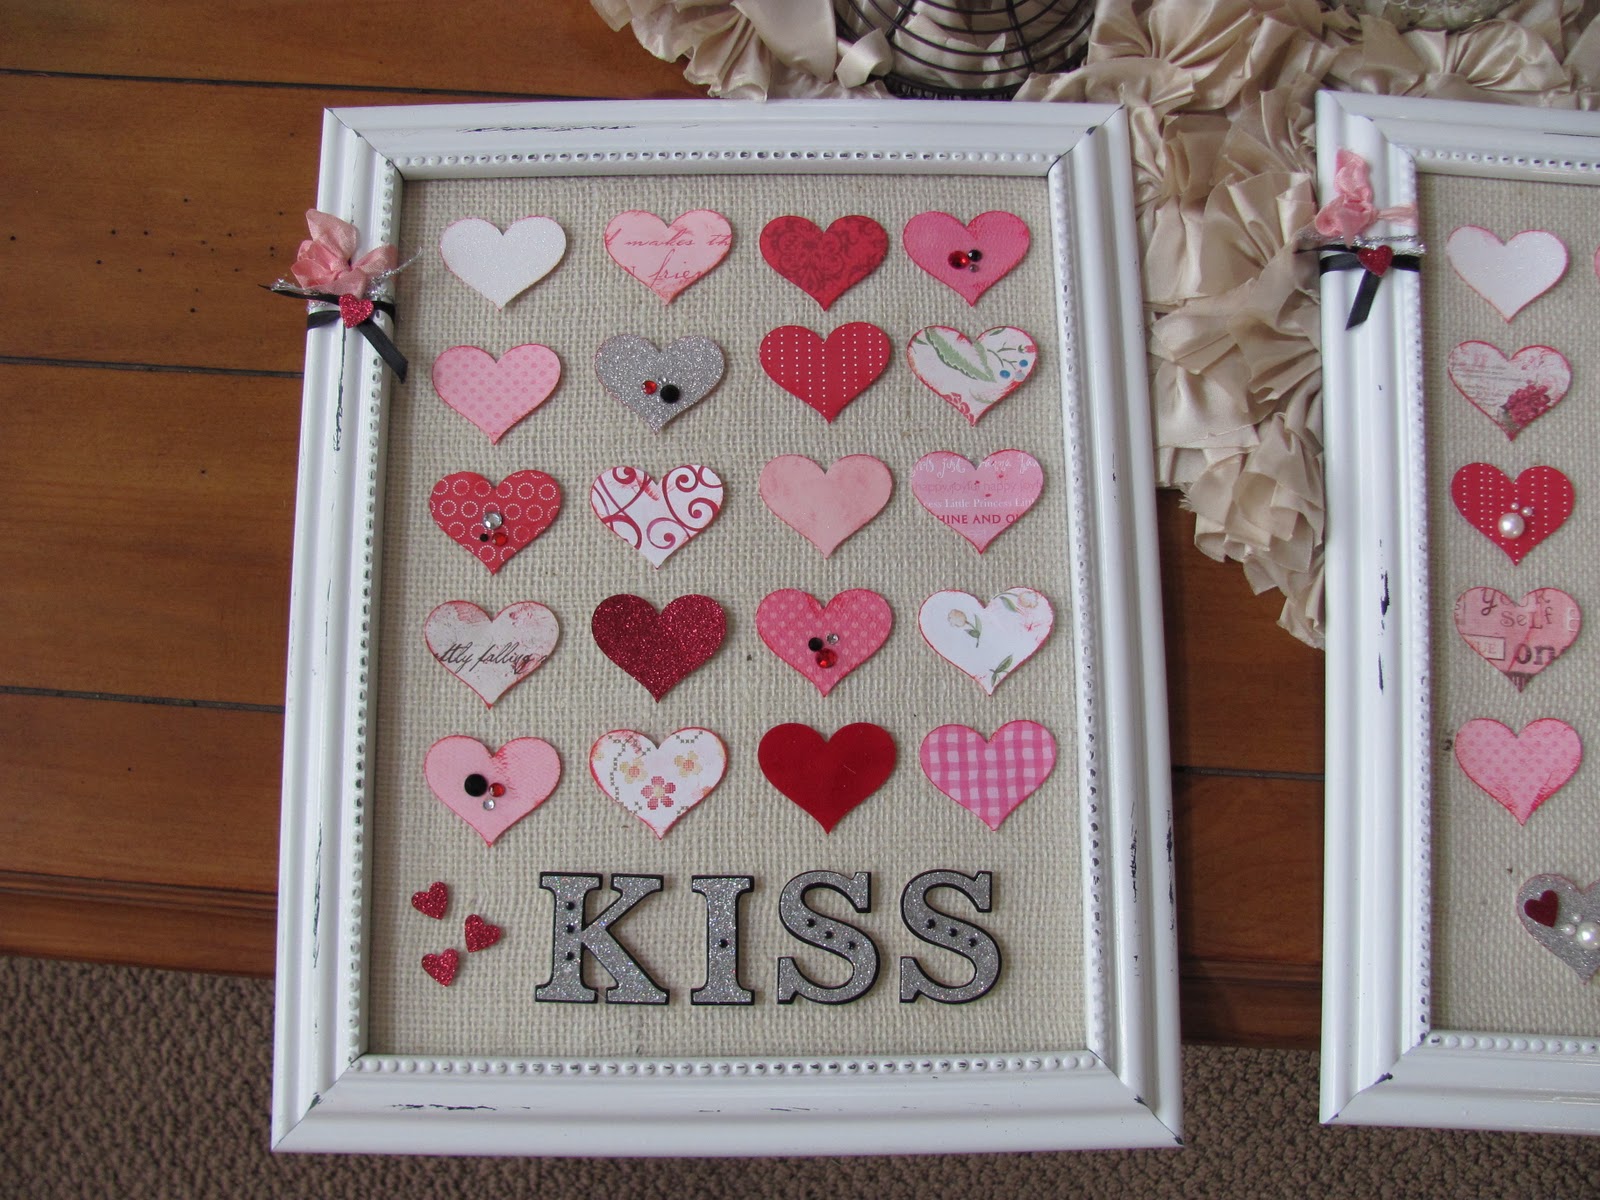
I took some time yesterday to play in my craft cottage... I have several projects I am working on right now, so fun! I did manage to finish 2 Valentine artwork frames. They are completed like the ones I did for
fall here, this time I took some pictures so I could show you how I did it! I started with an inexpensive Walmart frame.
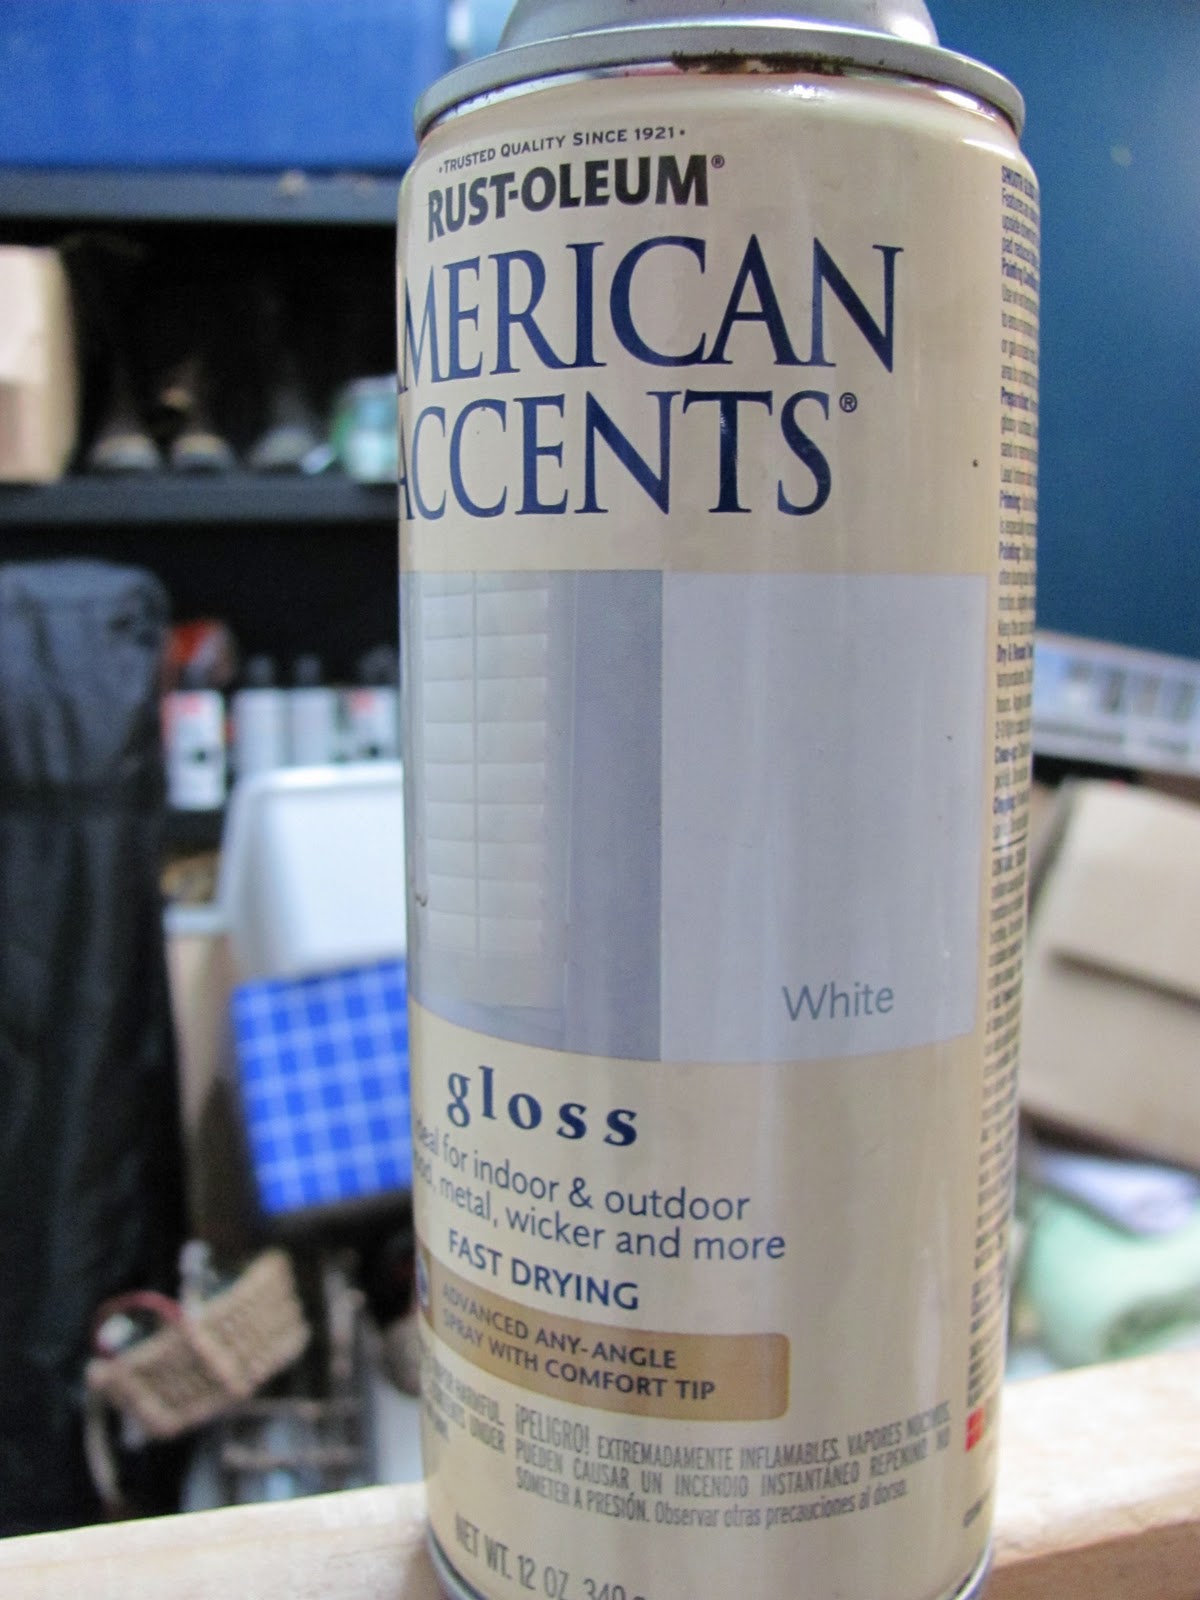
I spray painted it with some white spay paint I had on hand.
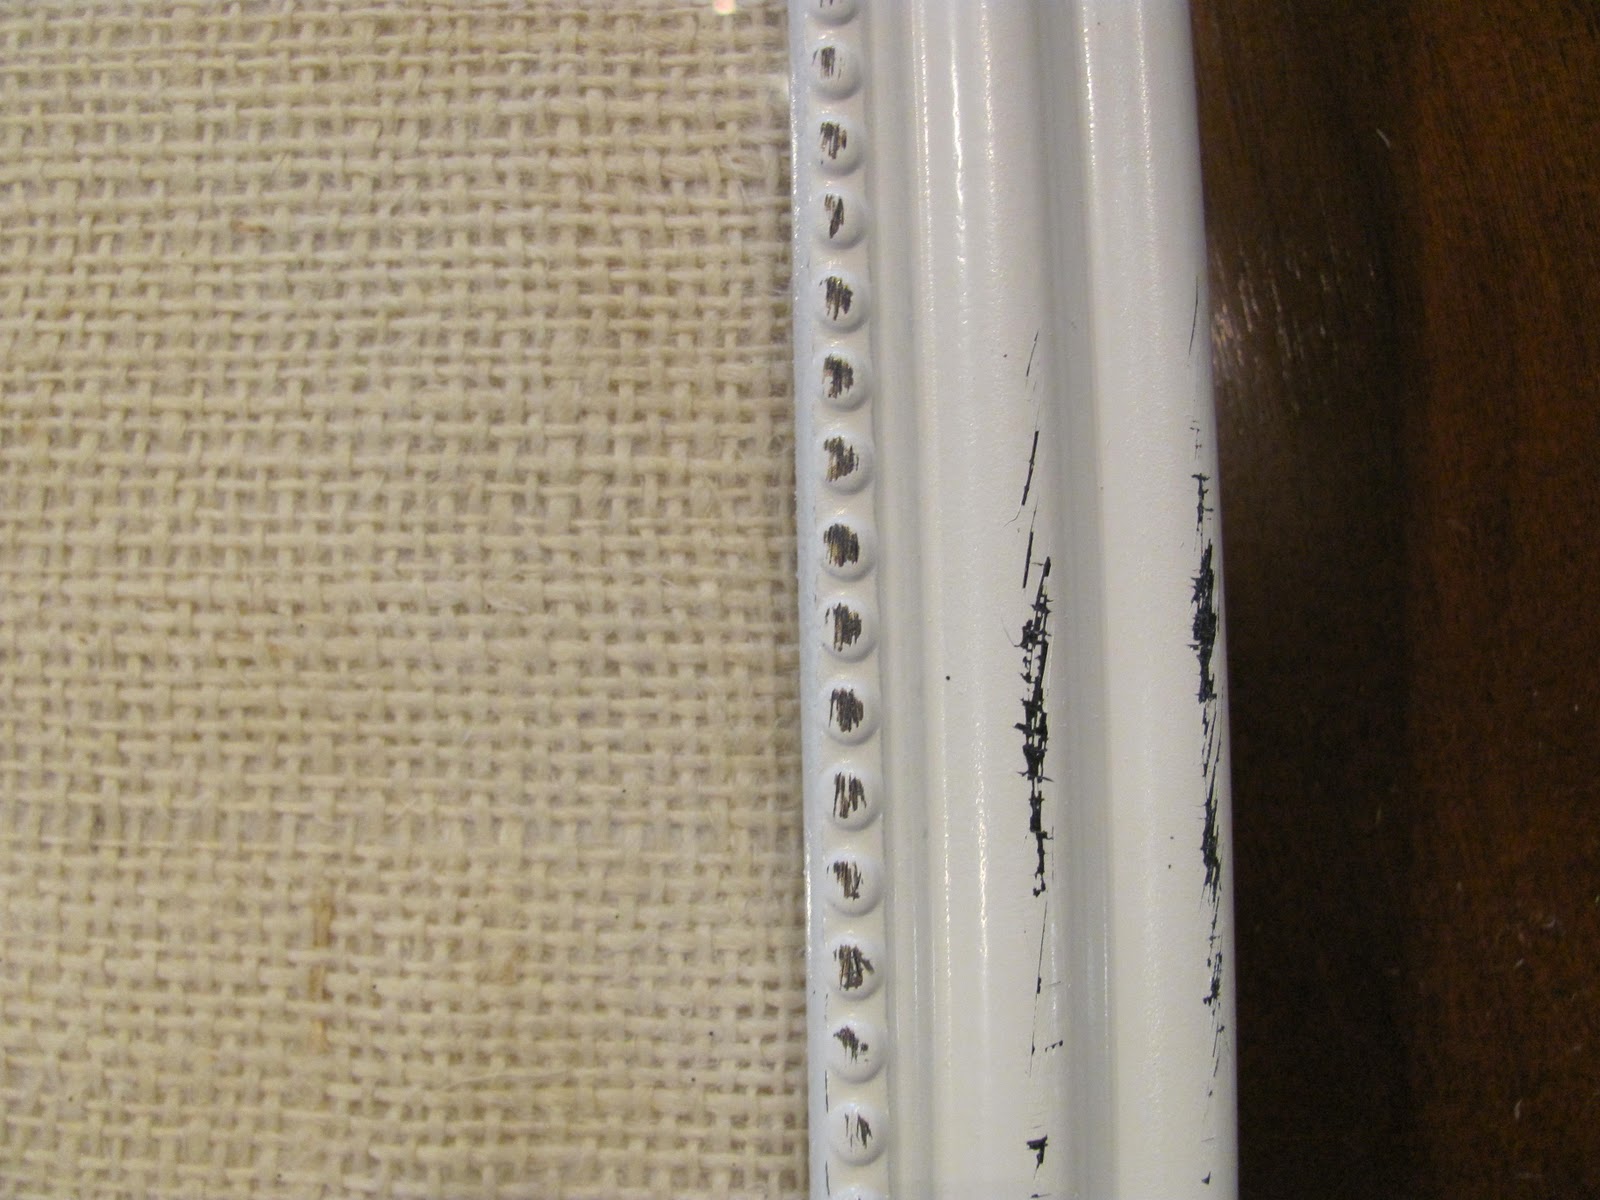
After the paint dried I sanded some of it off, cause I like things distressed and I think it adds more dimension.
I already had a color scheme in mind so I tied 3 different ribbons on the outside upper left corner. I like to add a bit of black here usually, to make things pop!
Here is the back before I added the glass back in.
Big tip here... put the glass back in by itself! I have broken a couple pieces of glass by not following my own directions! Ha! I chose to use some light colored burlap so I used the cardboard backing as a template to cut it to size. Then place the burlap on the glass and then seal up the back!
It will look like this!
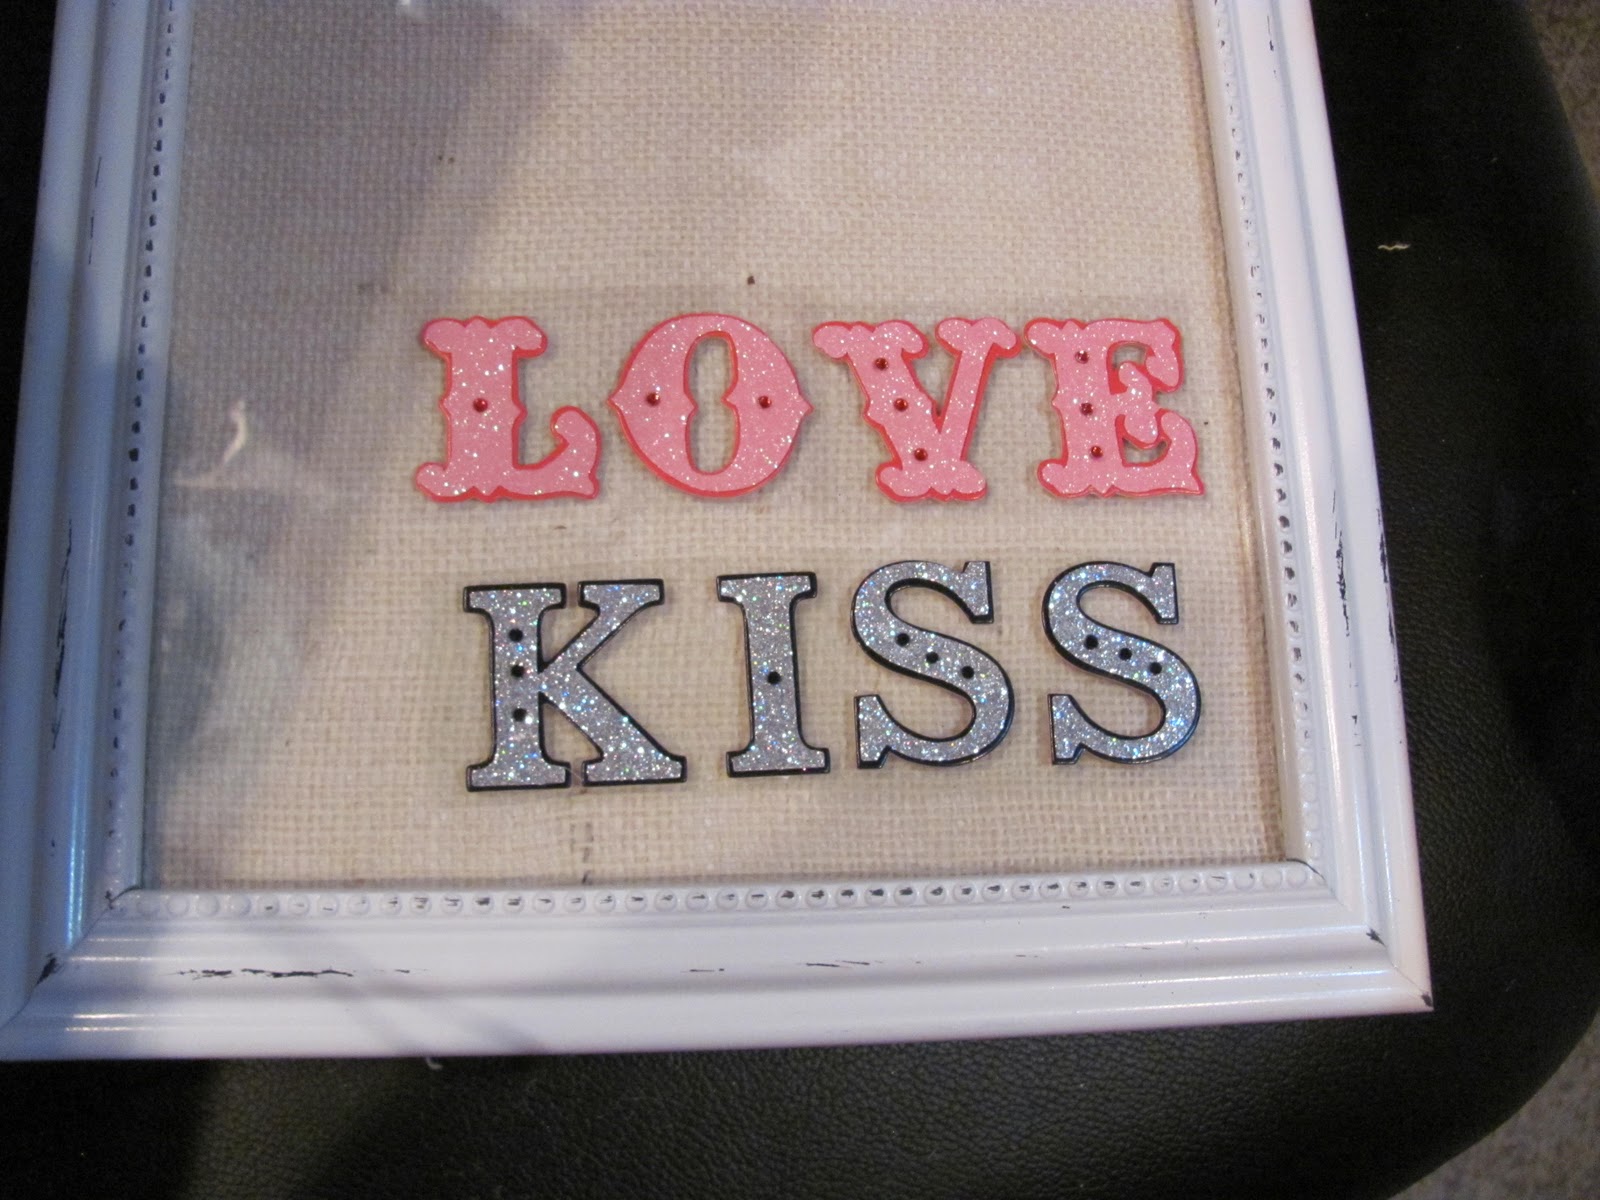
Next I pulled out some glittered letters I wanted to use.
These I found at Target for .99 cents each word!
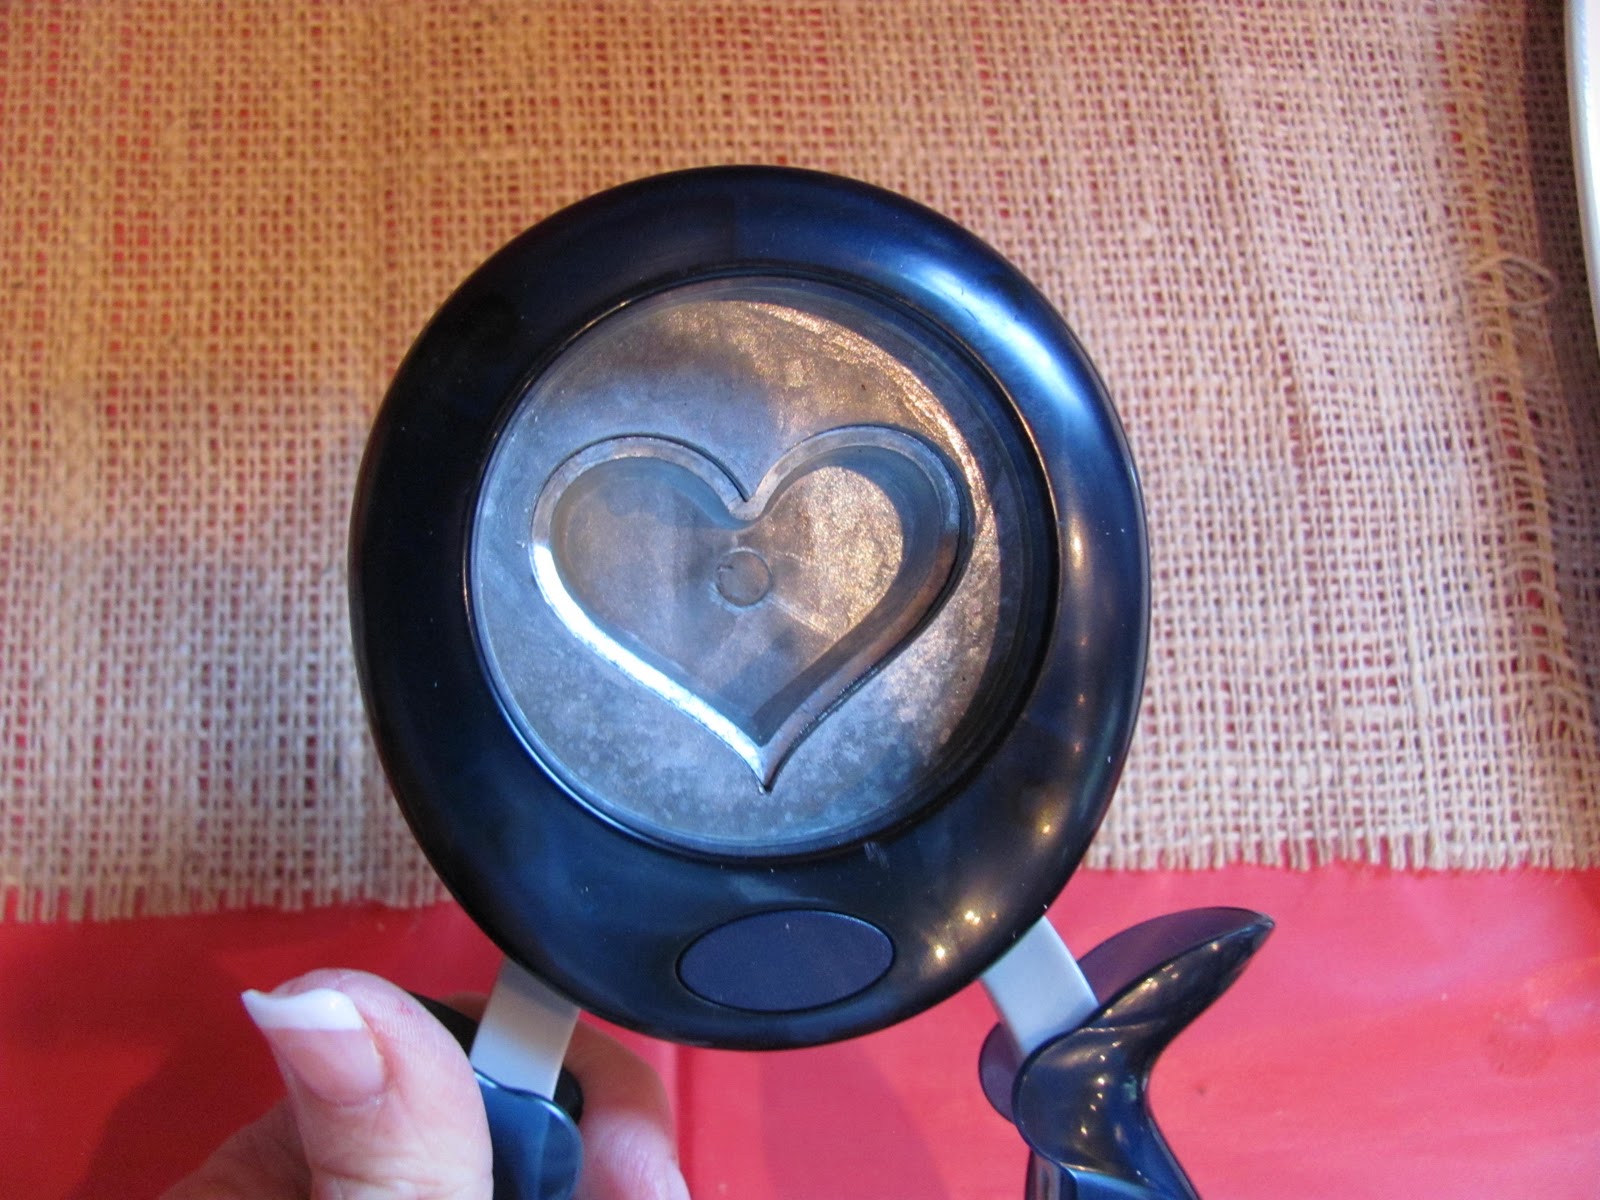
My friend Jessica loaned me her punch, not sure how I didn't have the correct size! I do have some Nestabilities I could have used though, but this was easier! I'd say this punch is about 2 inches?
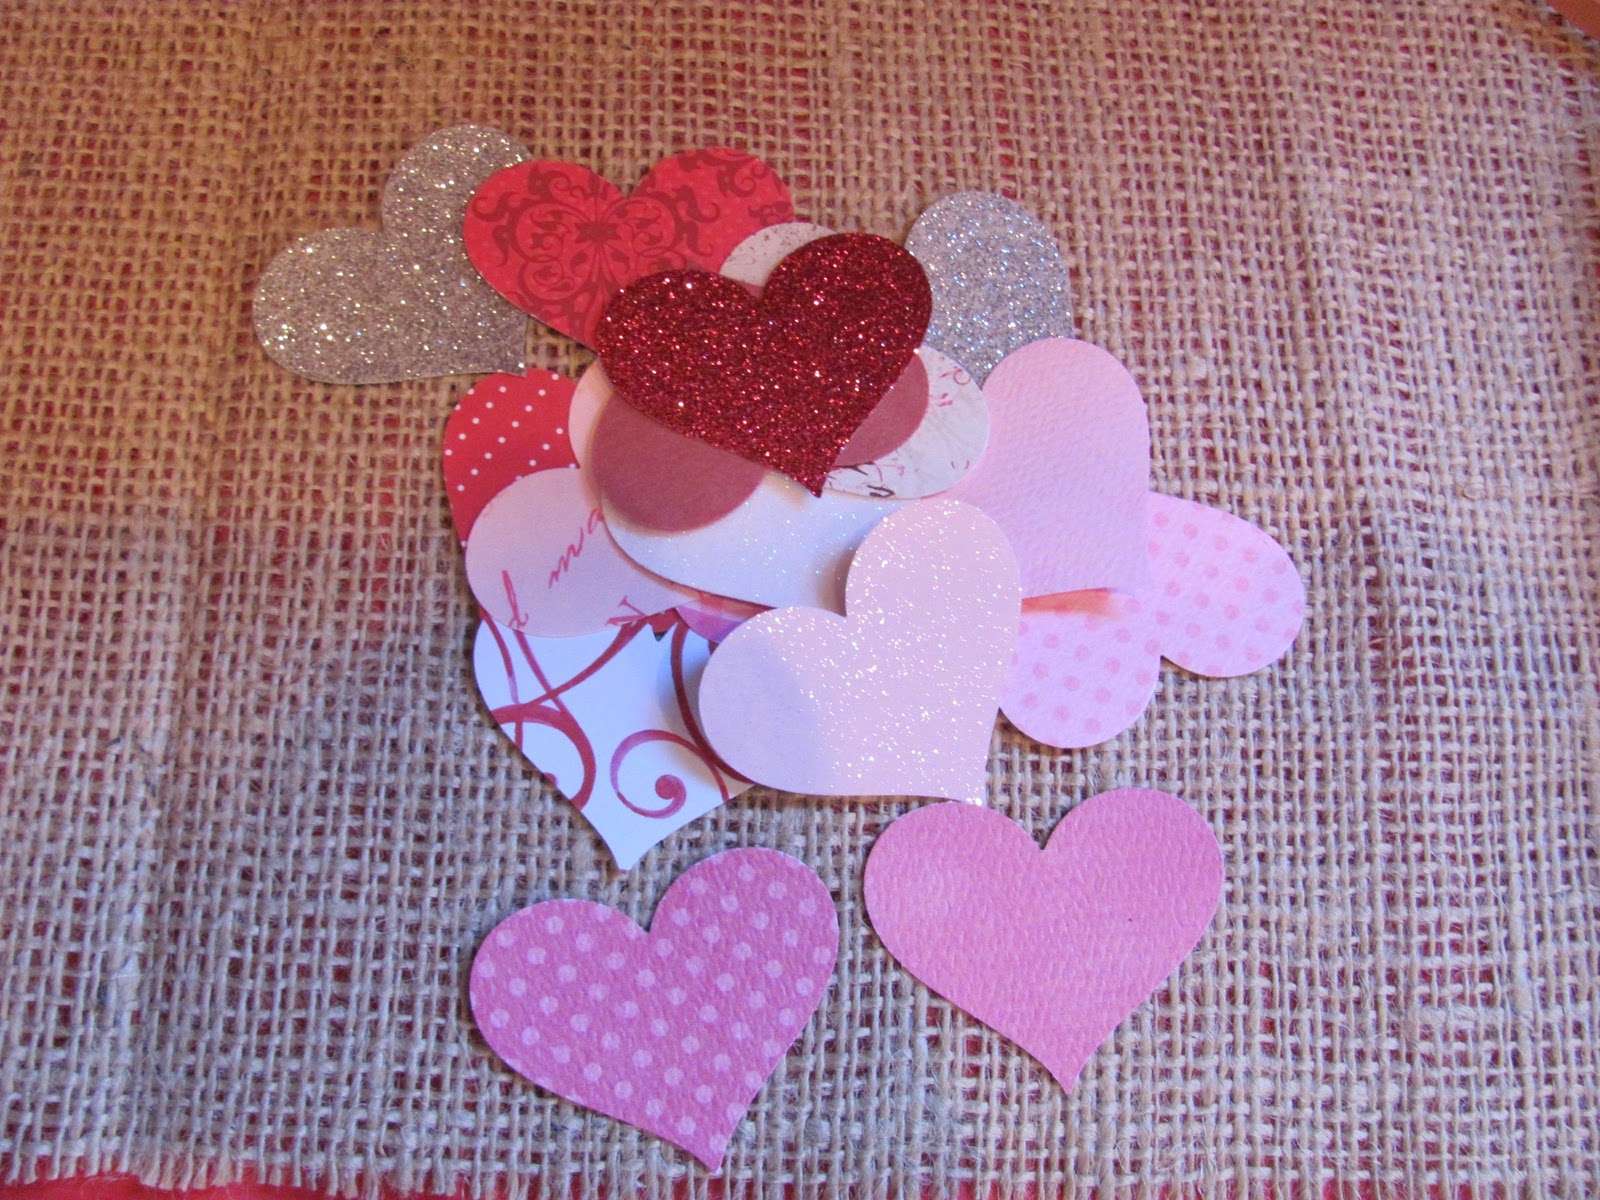
I went to my scraps, this is a great way to use them up! I will be making these for St. Patrick's day, Easter, Summer, of course I already have my
fall one which I love.
I thought I would include another tip here... I store my scraps by color in large ziplock bags. Being able to see through the bag works great for me! I store each of the bags in the basket above and keep it on the floor near my feet. When I have pieces of multicolored paper I look at the color that first comes to mind when I look at it and that is the color it gets filed under.
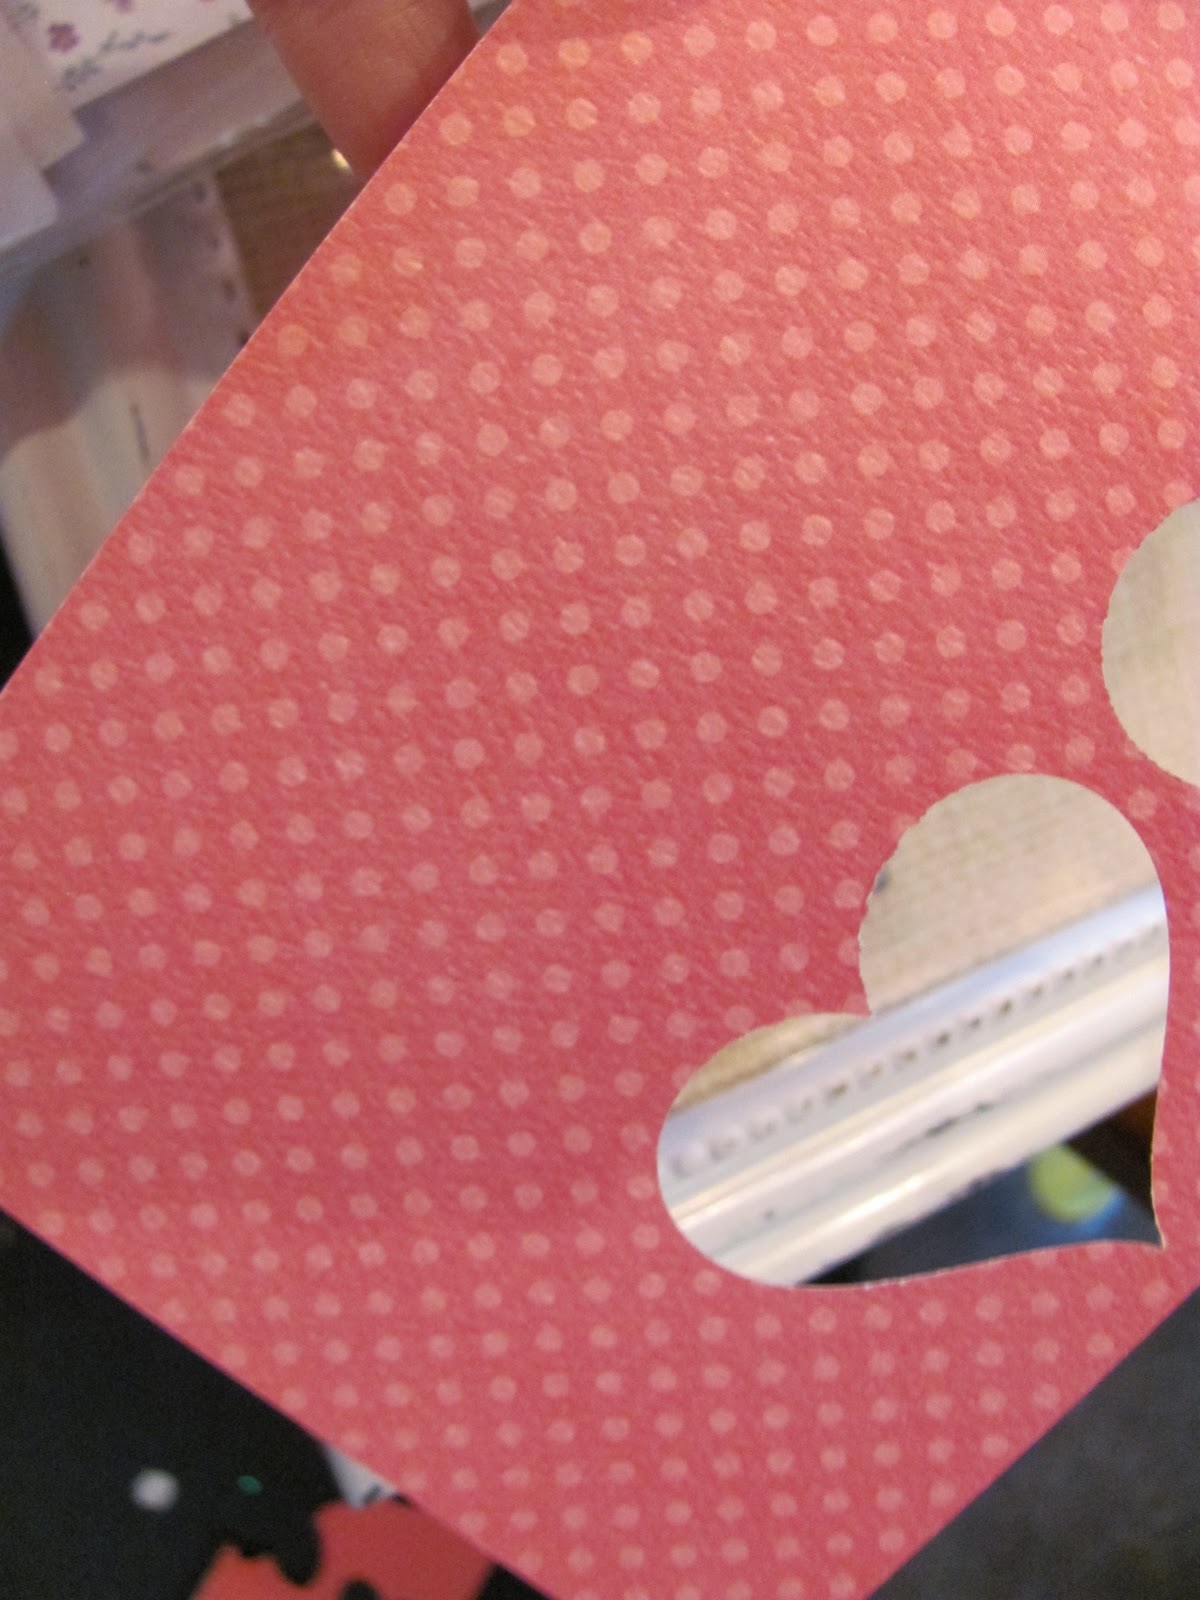
I started just punching out hearts.
Sometimes I was able to punch out 2 from the same paper and use each side :)
My little pile of hearts! LOVE!
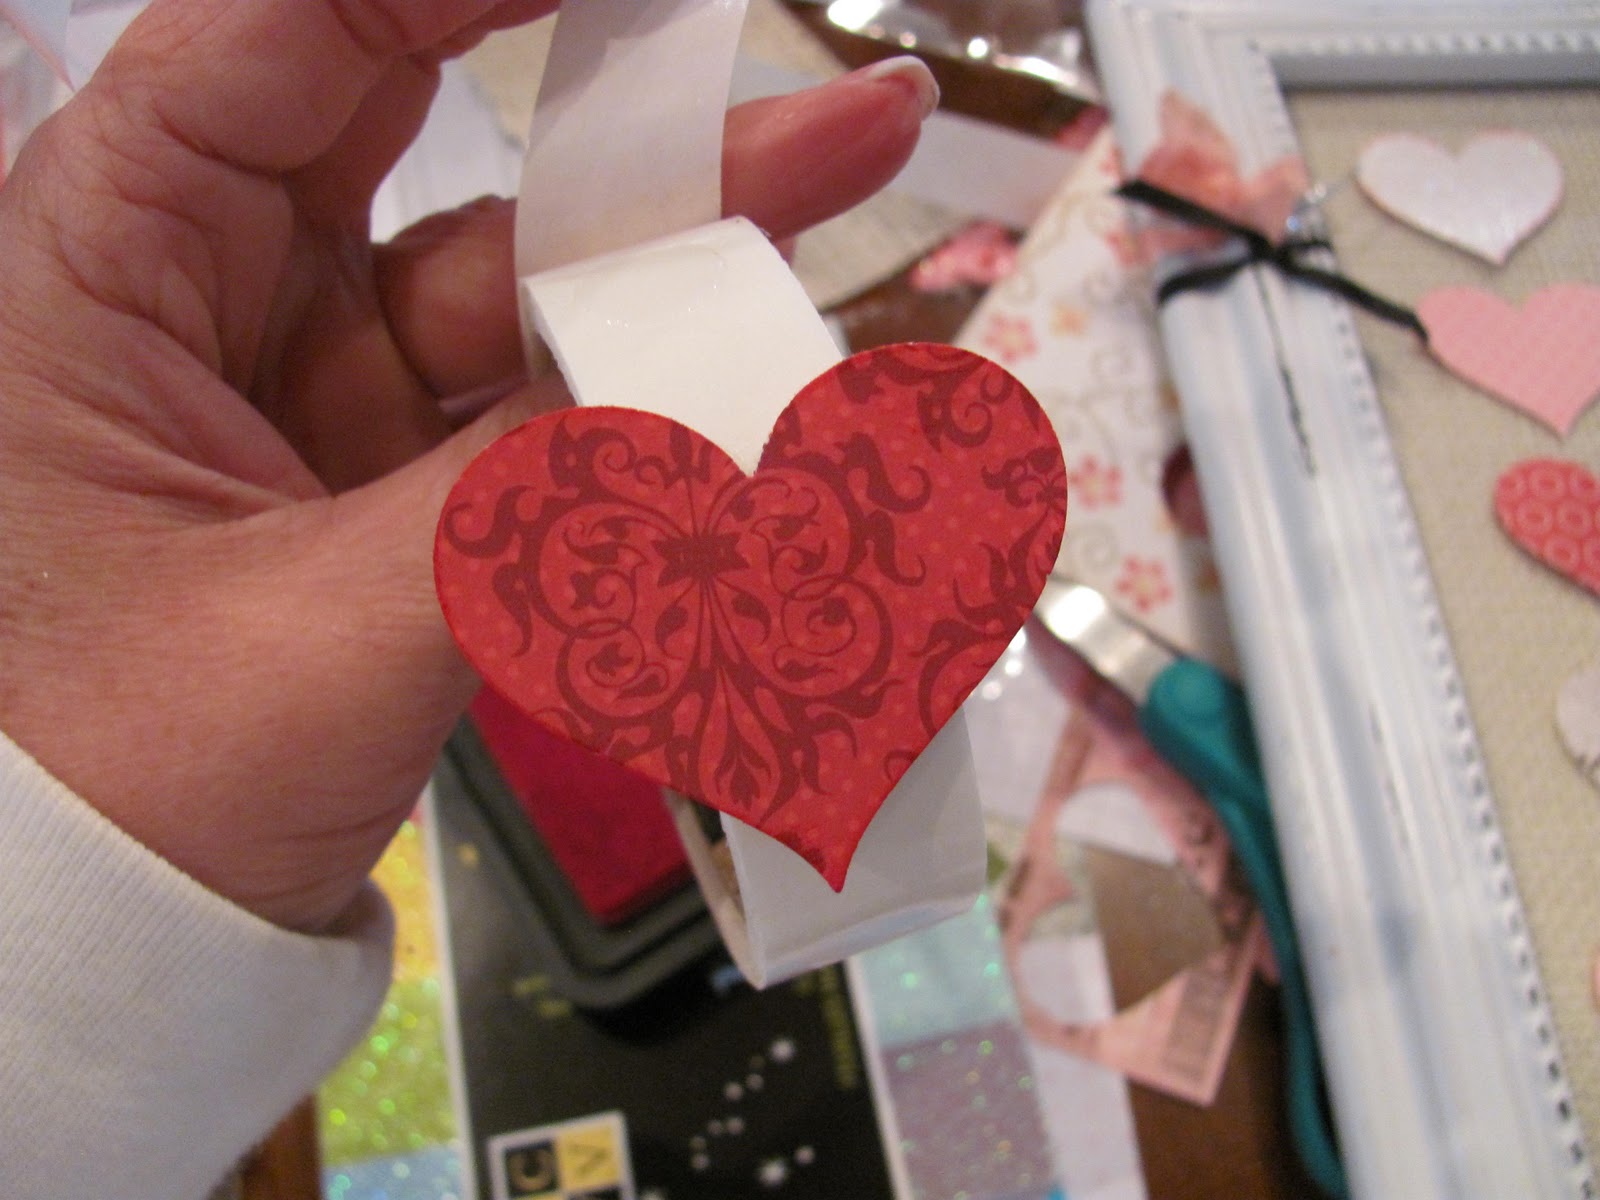
Next I placed my
glittered hearts down on the glass, I knew I didn't want them to be on the same lines. The red one on the bottom is a suede look one.
Then I just began laying them out on the glass the way that was pleasing to my eye.
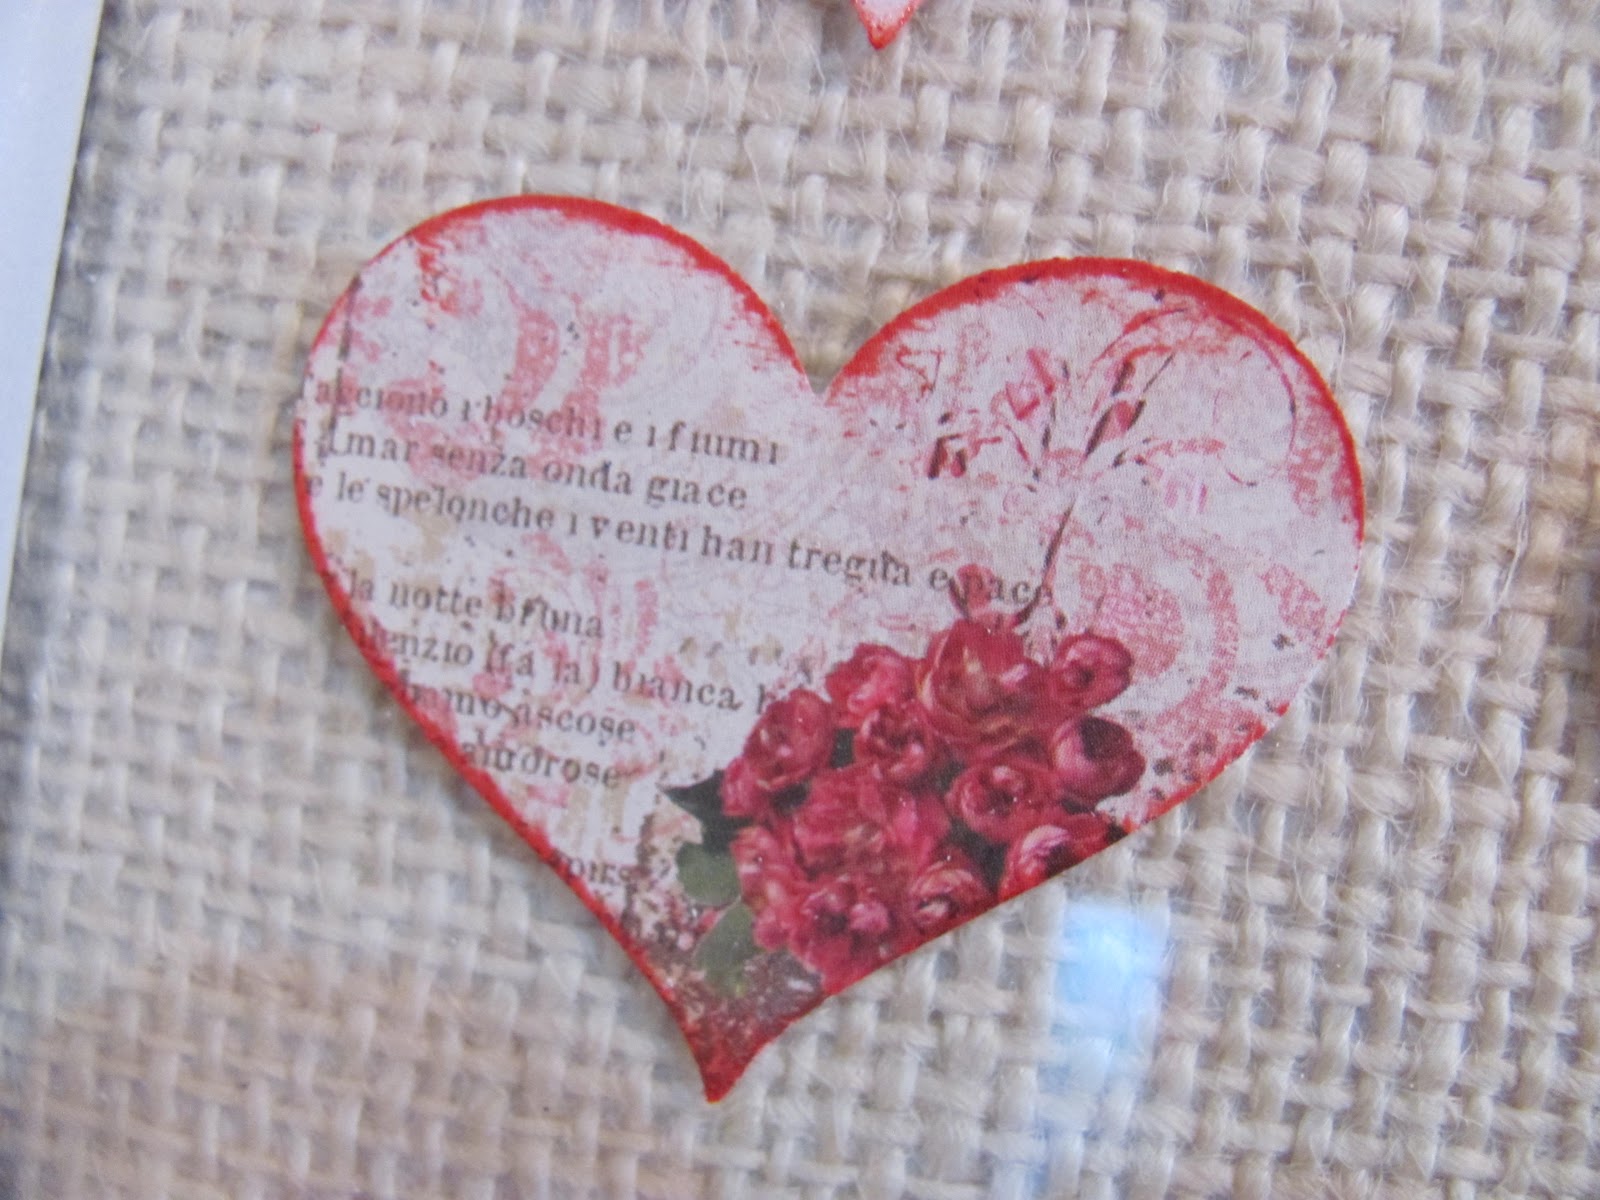
I wanted the edges to pop just a bit, so I used a bit of this Barn Door distress ink on each of the hearts.
Like this...
and this. It doesn't need to be perfect, trust me!
Next I used glue dots to apply each heart to the glass.
I find it is easiest to put the heart on the glue dot and pull it off.
Like so...
Then place it on the glass.
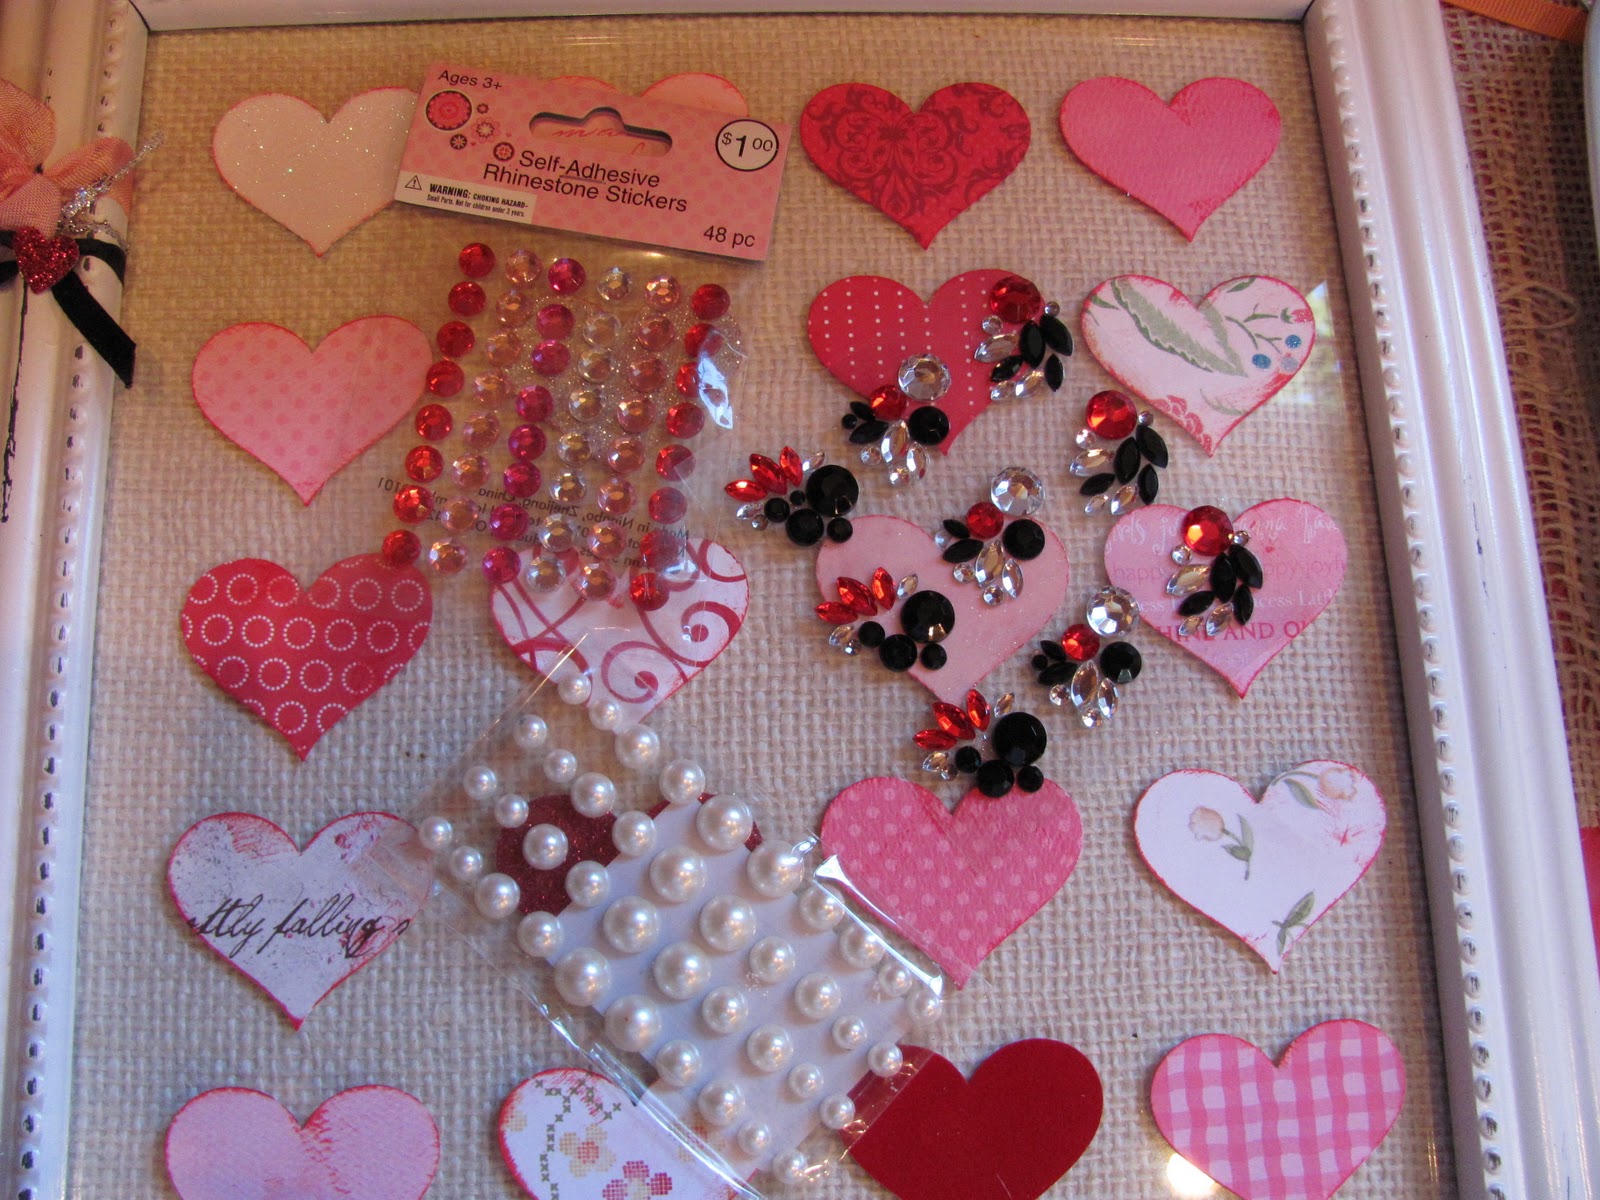
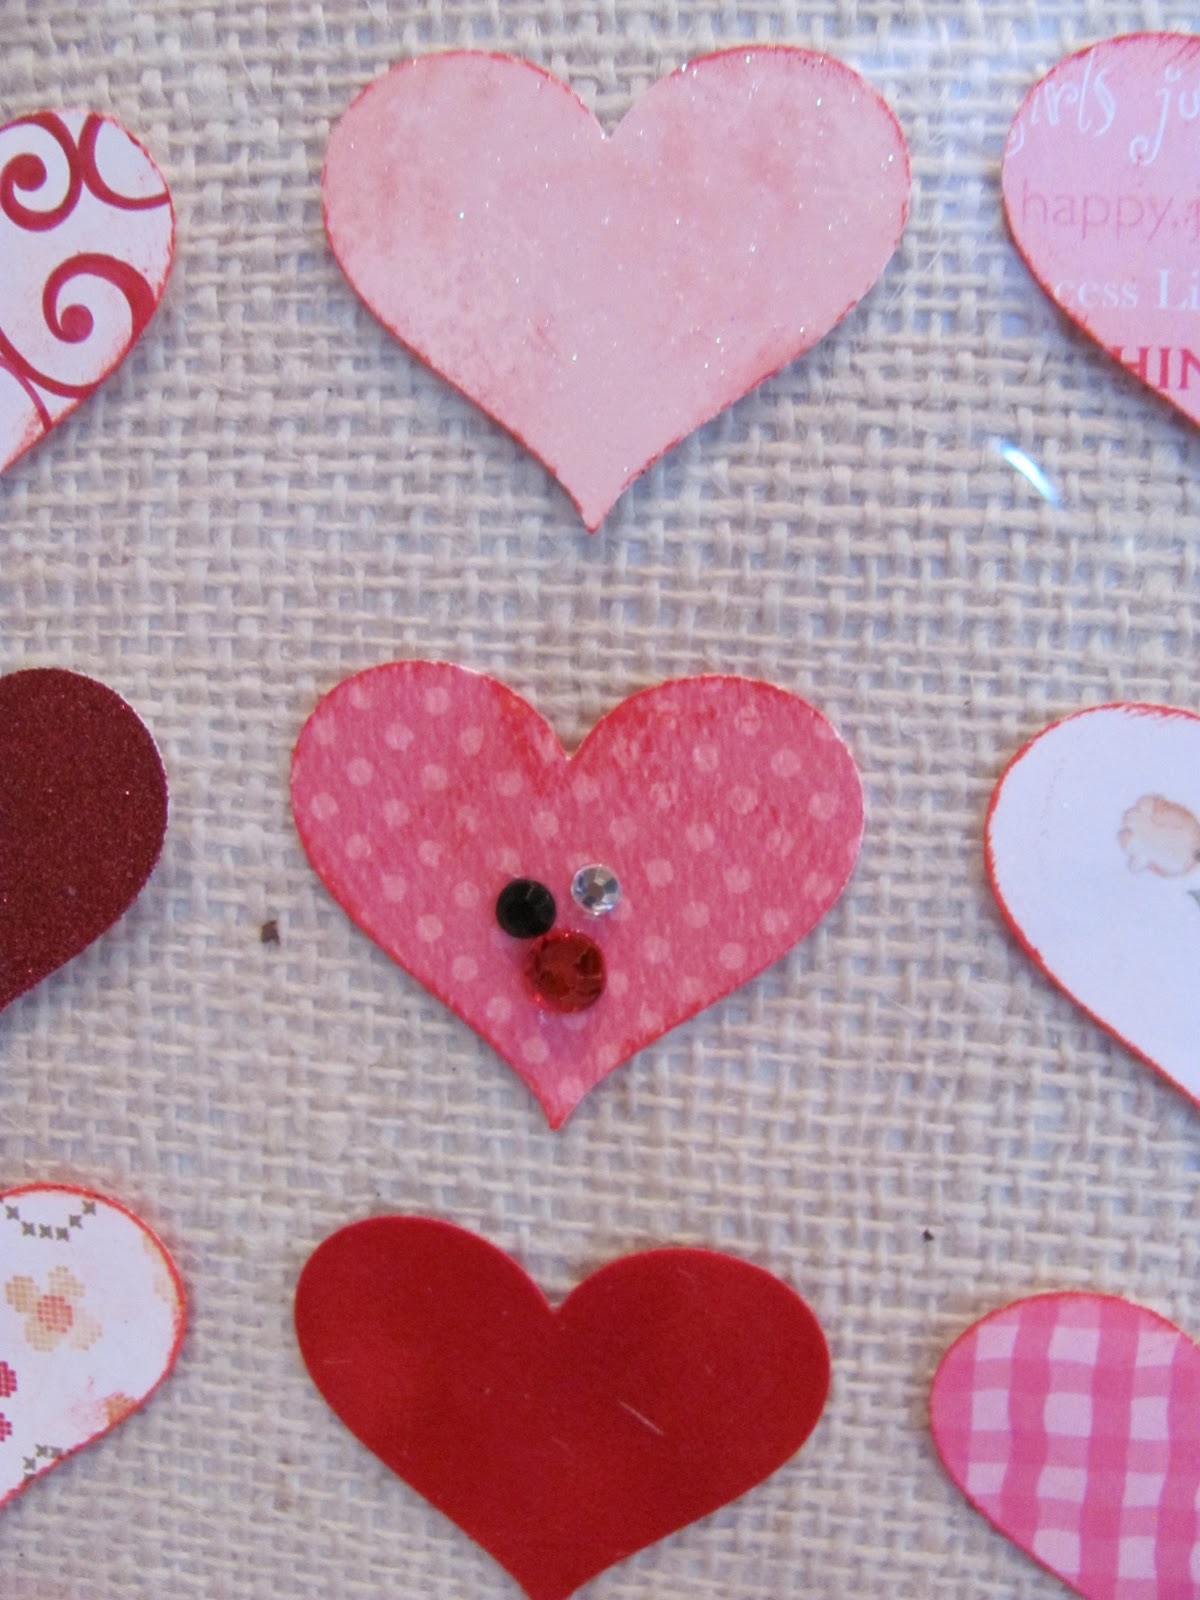
I could have left it... it was ok without some accents, but I couldn't. I had to add some bling!
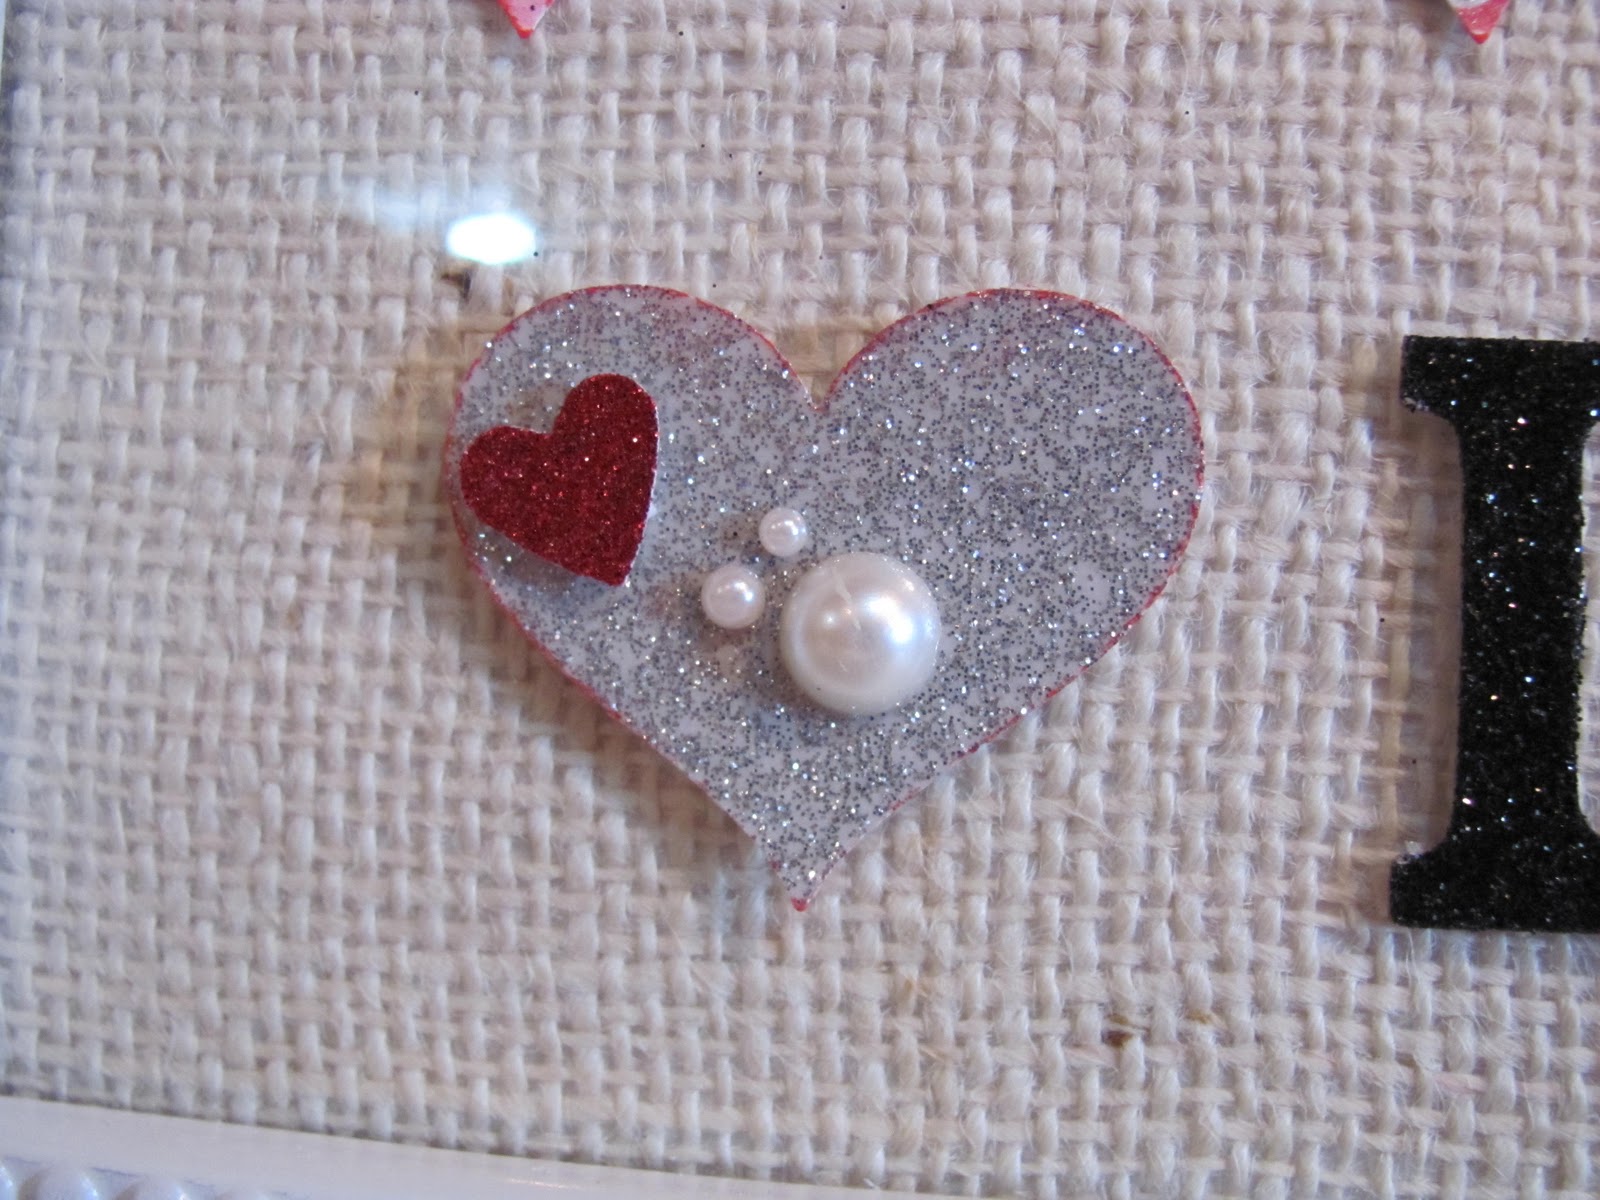
This one I added little pearls, LOVE it!
A close up of the silver glittered heart. I punched a small heart out of some glittered red paper.
This is a close up of the suede look heart.
I also added a small red glittered heart to my black ribbon.
Another little tip here... I keep all my rhinestones in a photo box, (I do the same with primas, glitter, my distress inks and sprays, stickles etc) that way I can just bring the whole box over to my work area.
Okay, maybe I love me some rhinestones huh?!
I pulled some out I thought I could use.
In the end I wanted to use that little pop of black once again!
Let me know if you create one of these fun framed artwork! I had to give one of these to my lovely friend Jessica, she did lend me her punch ;) I have one more to make for a special friend of mine!
Keep warm, we got snow last night, ugh! I am headed out to play in the craft cottage!
Have a lovely day!

PS To get more crafty ideas check out this
linky party!