Sunday, October 9, 2011

My first Shoebox swap!

 I had a blast at my first shoebox swap! I signed up to attend this yearly event on Splitcoaststampers. I have belonged to the site for about 5 years and haven't ever attended any of the events or even commented before.
 This year I decided I was going to go for it! So I signed up... then I emailed my friend Jessica and asked her if she wanted to attend with me?
 Obviously she said yes! So we got together last weekend to get our idea's together for our projects.
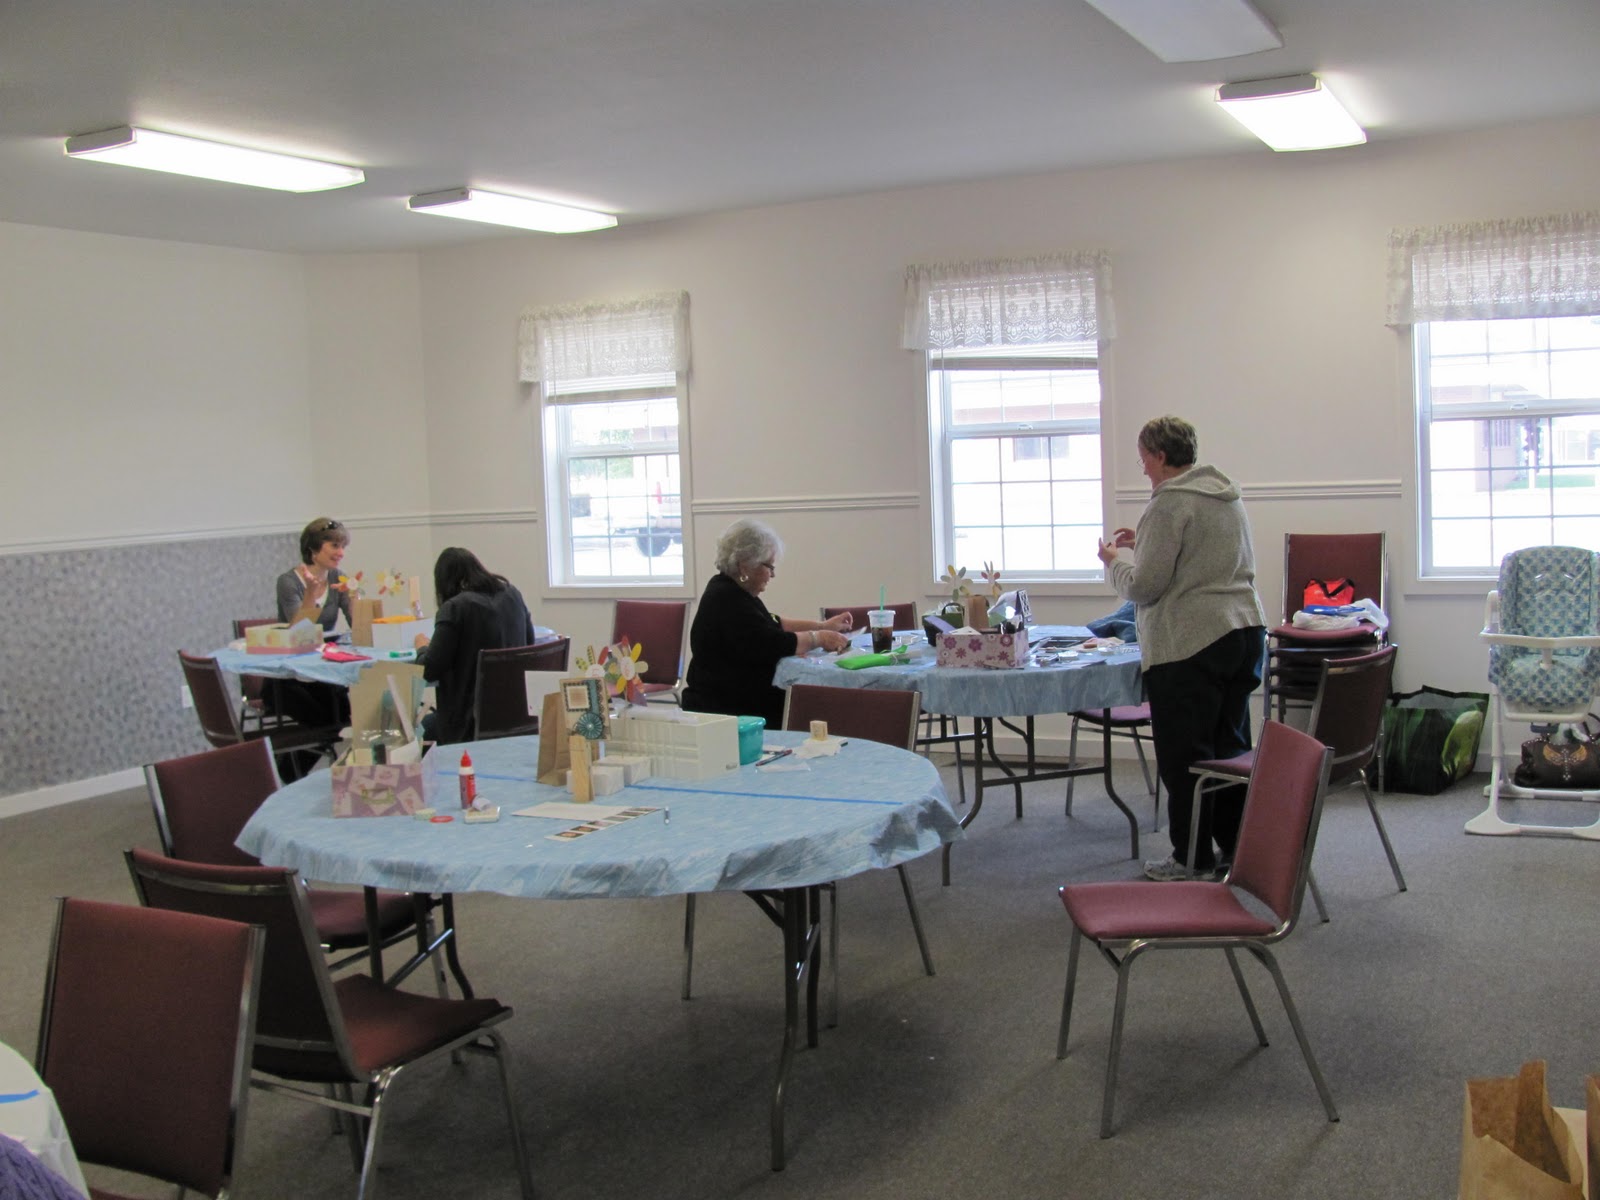
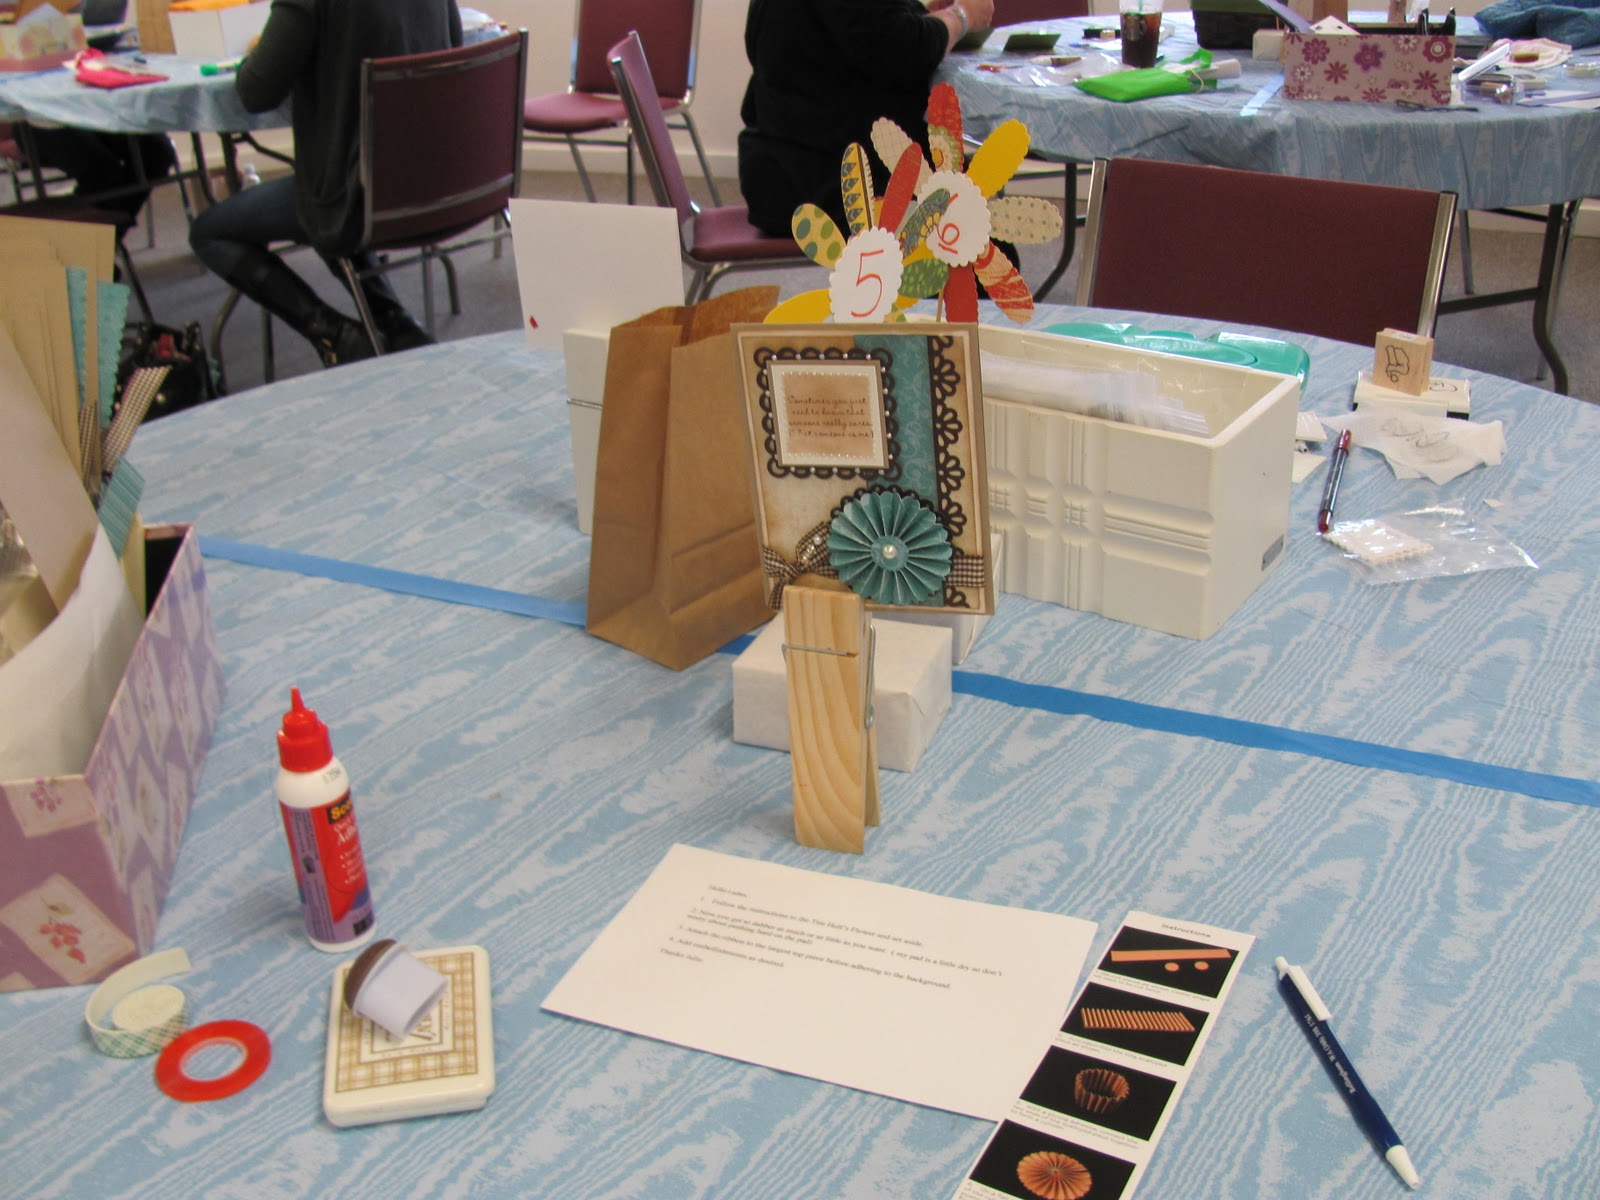
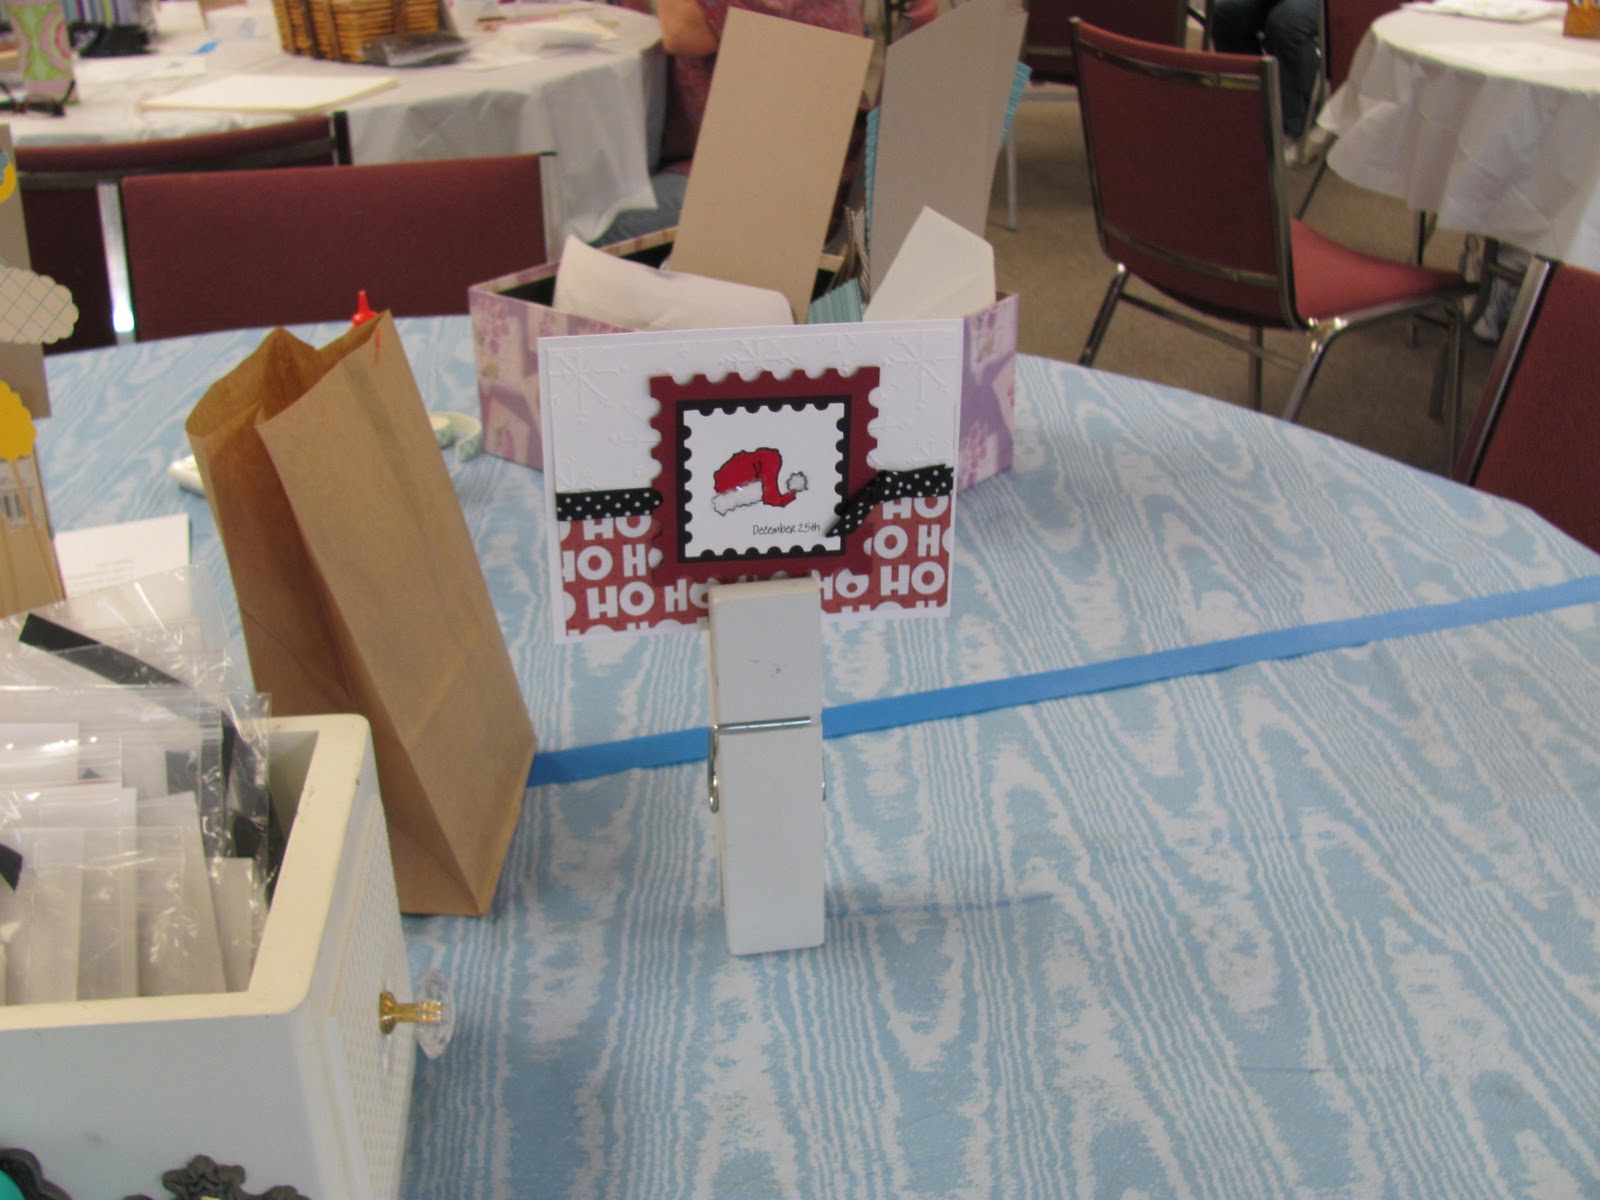
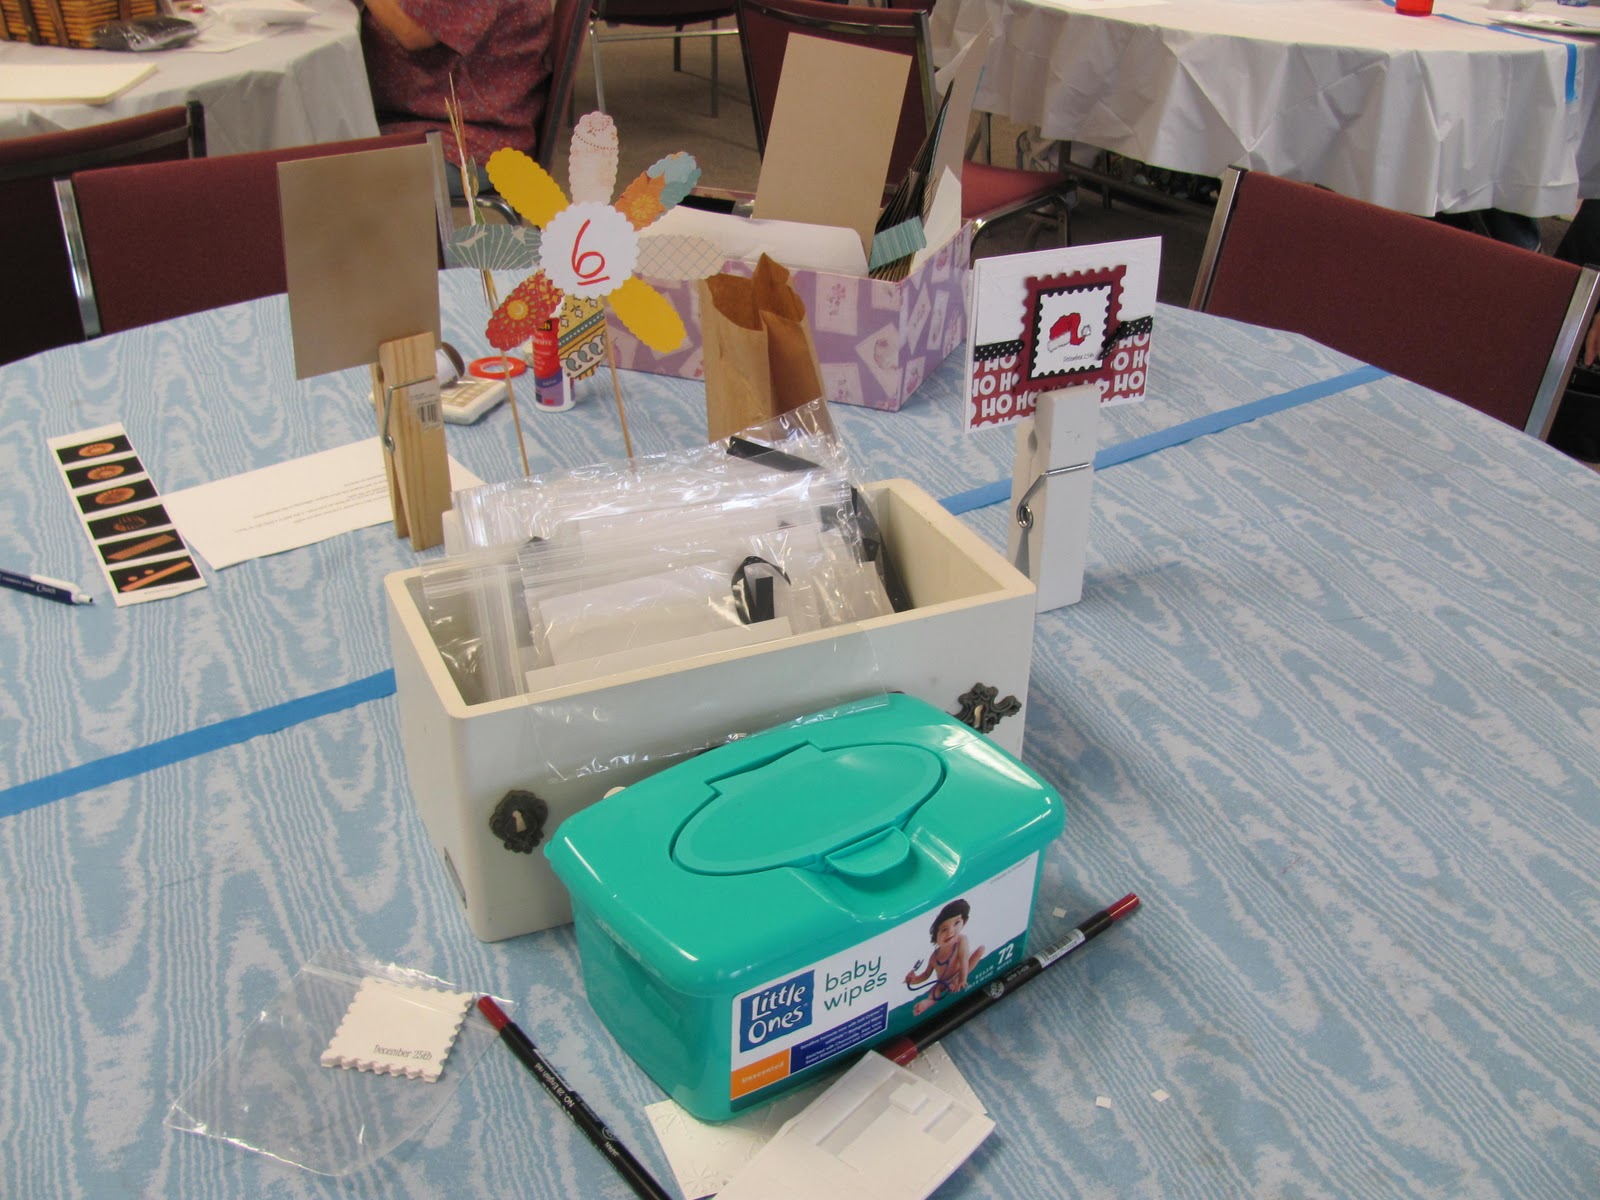
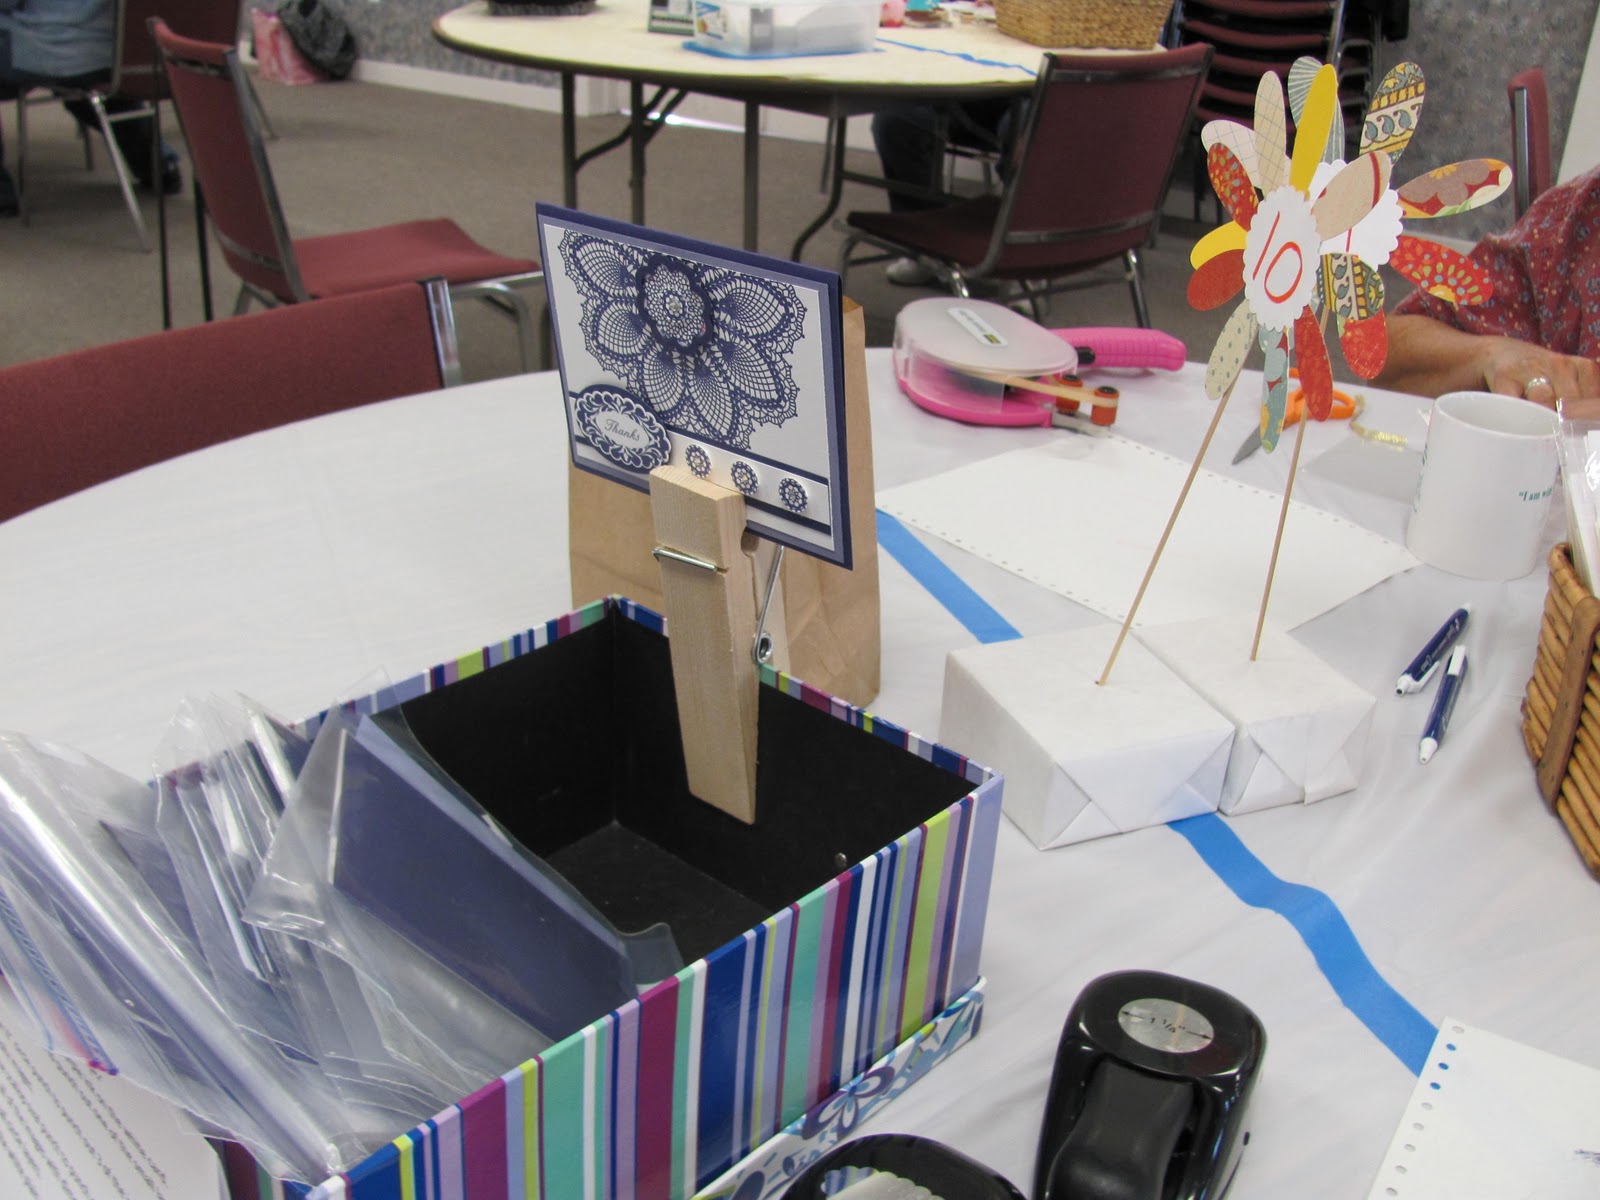
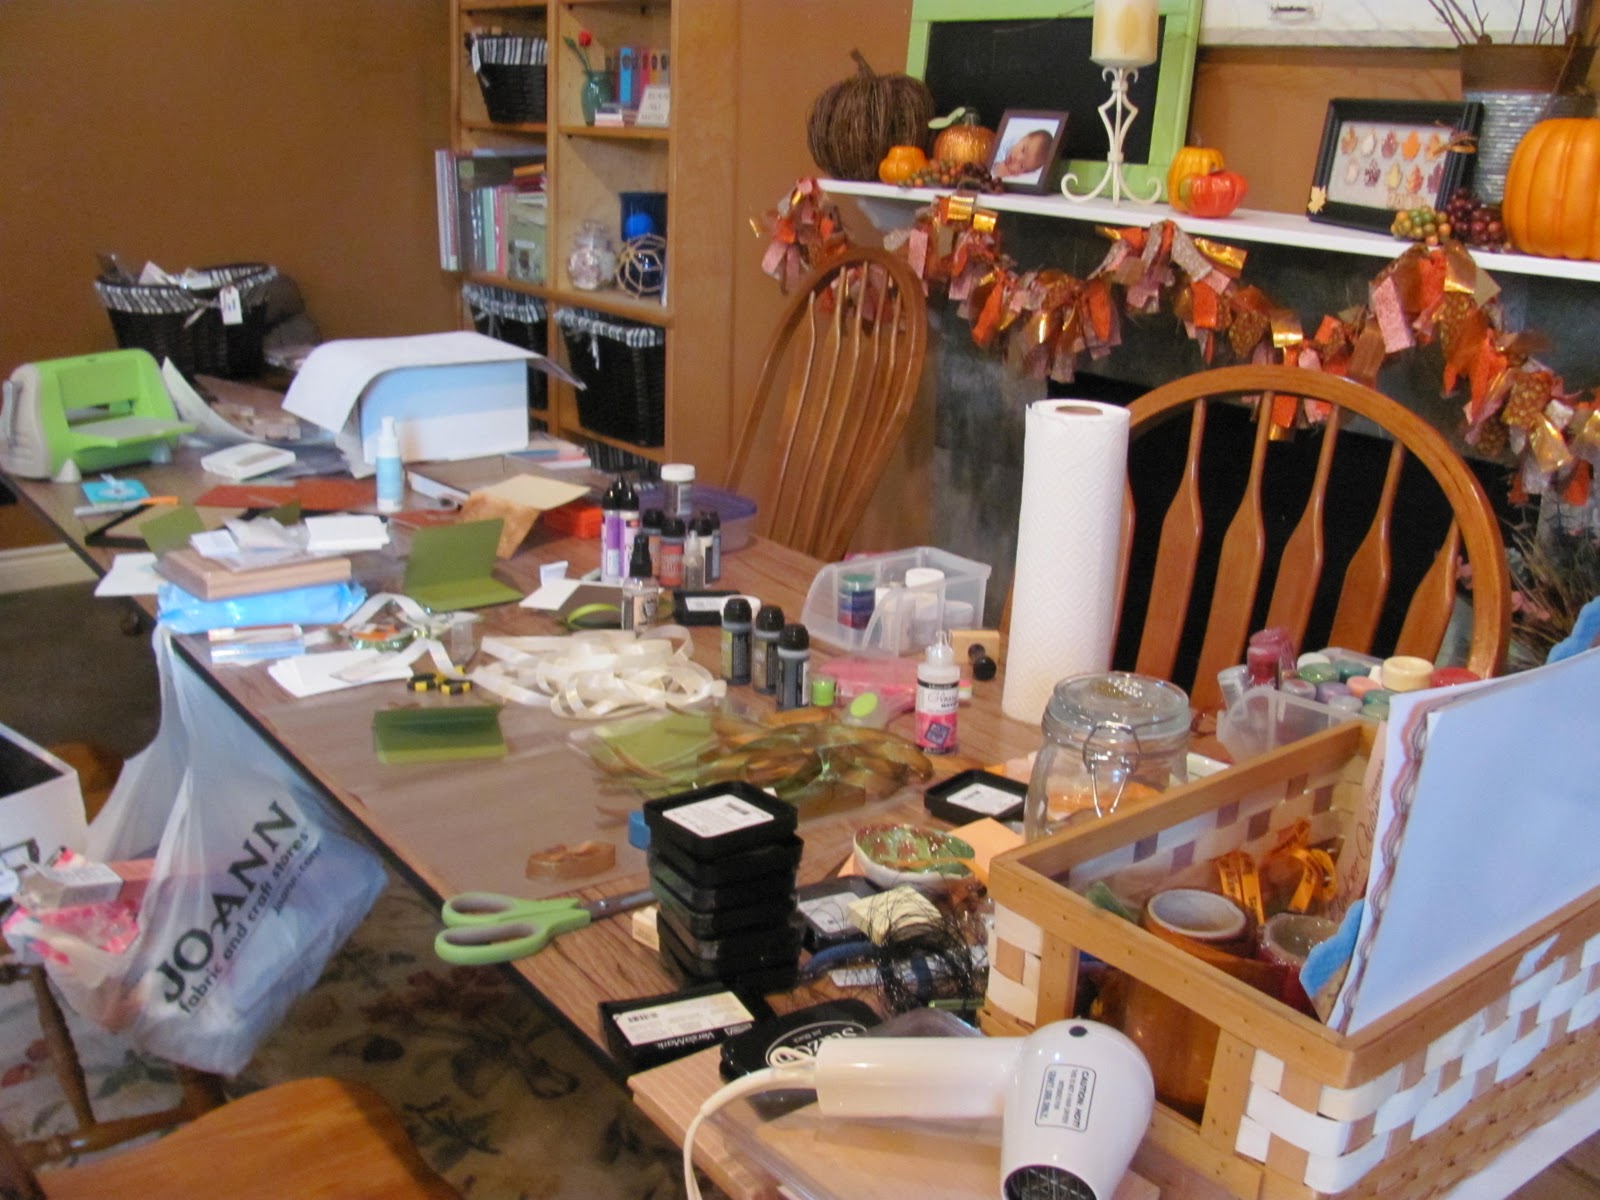
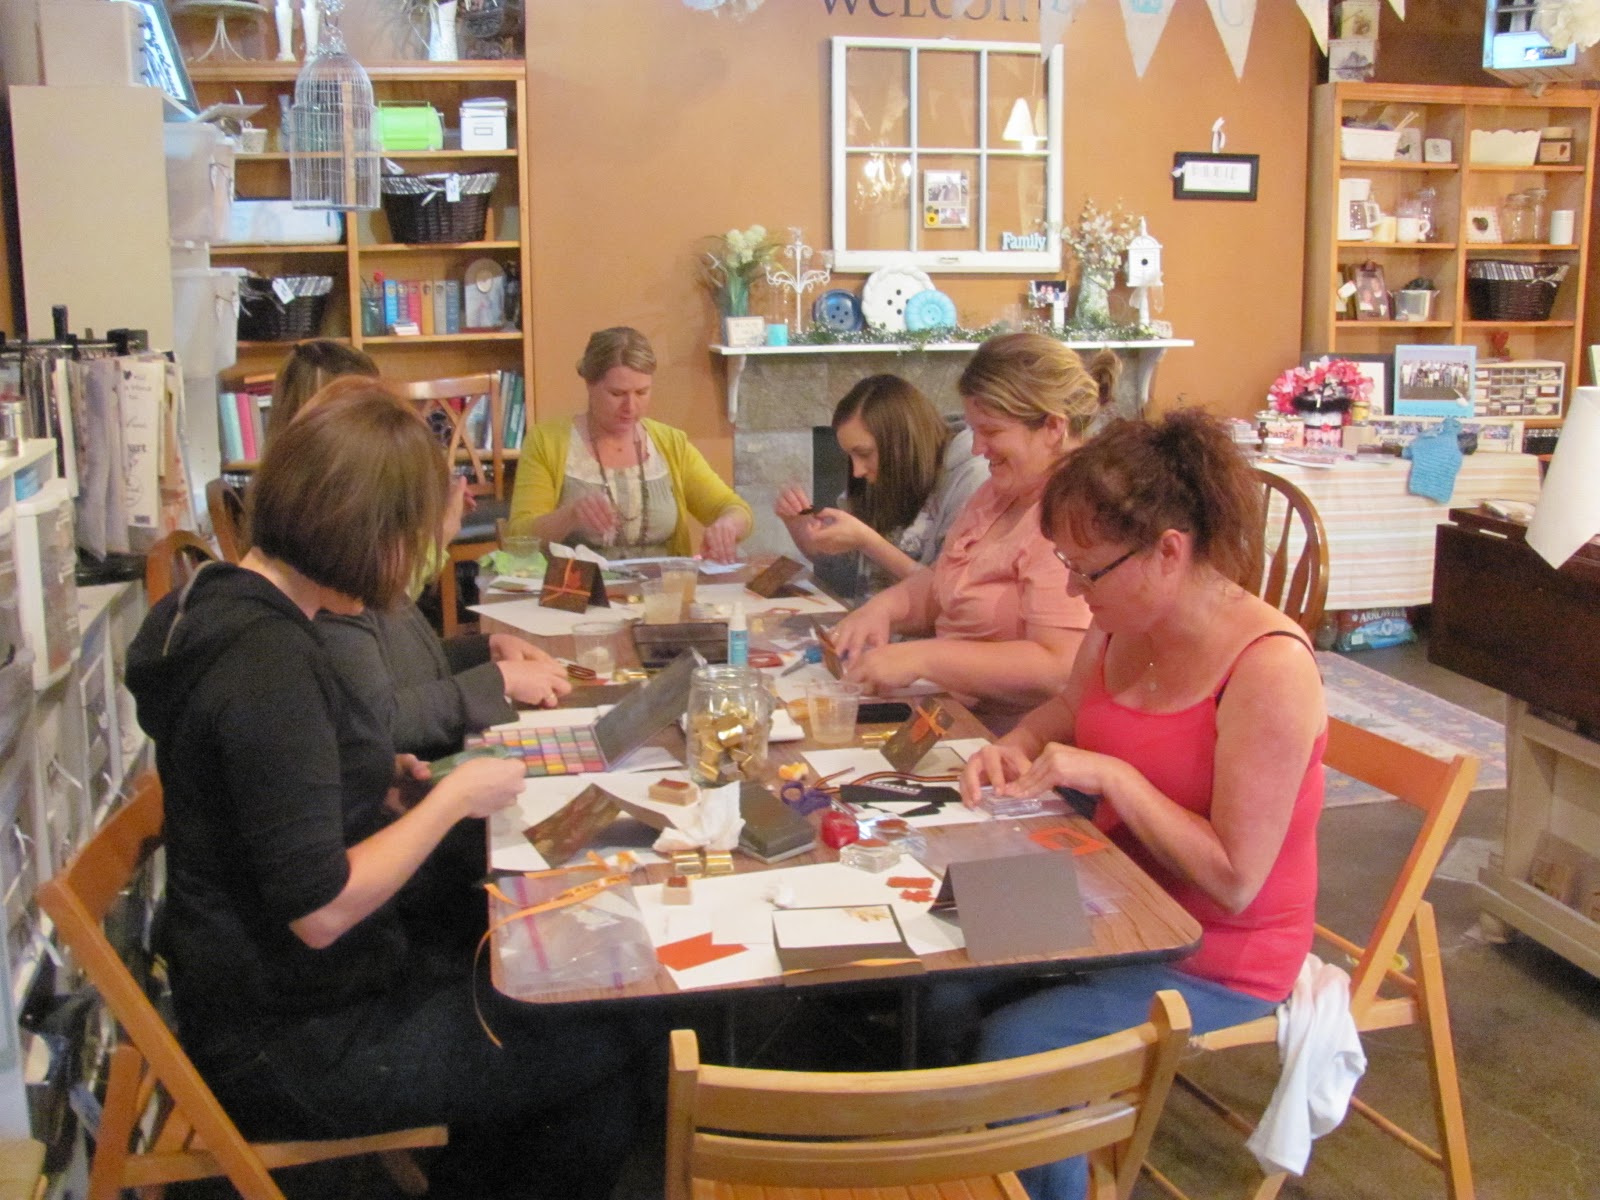
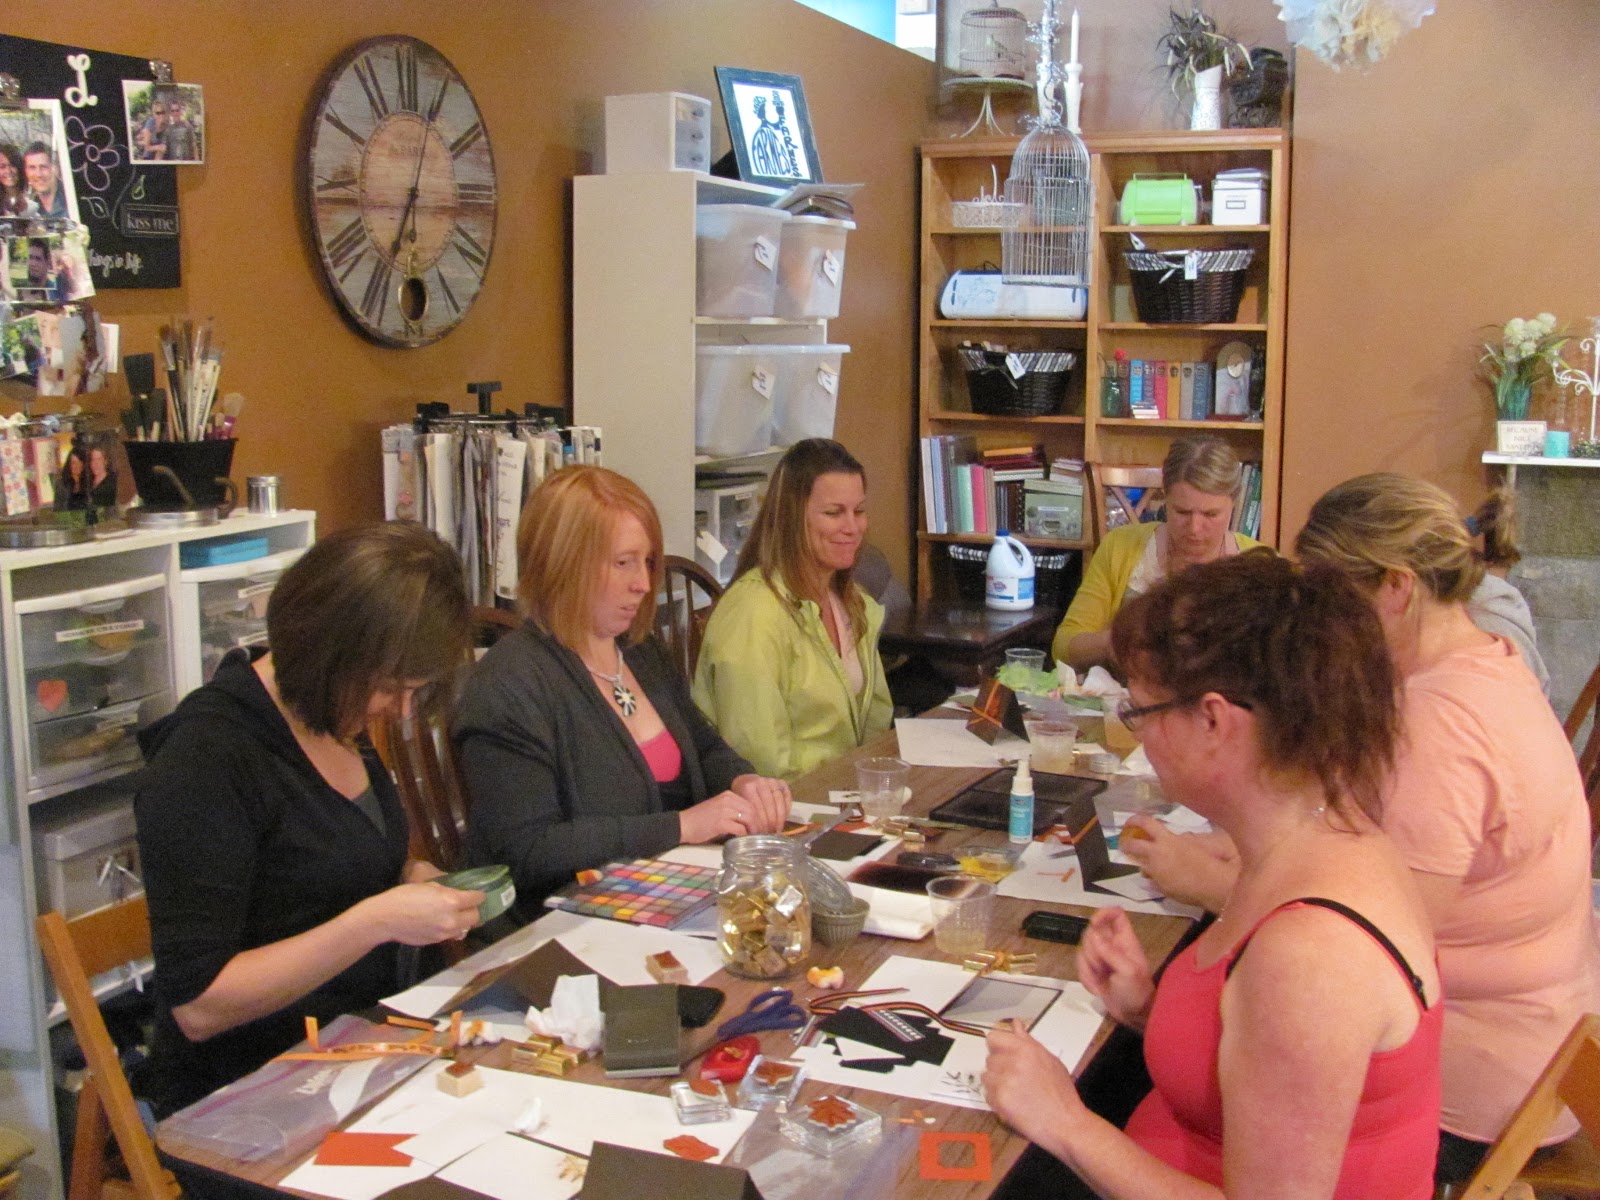
 This weekend was the day! So glad we did this! Above are a series of photos I just kinda randomly took at the event, a few below too.


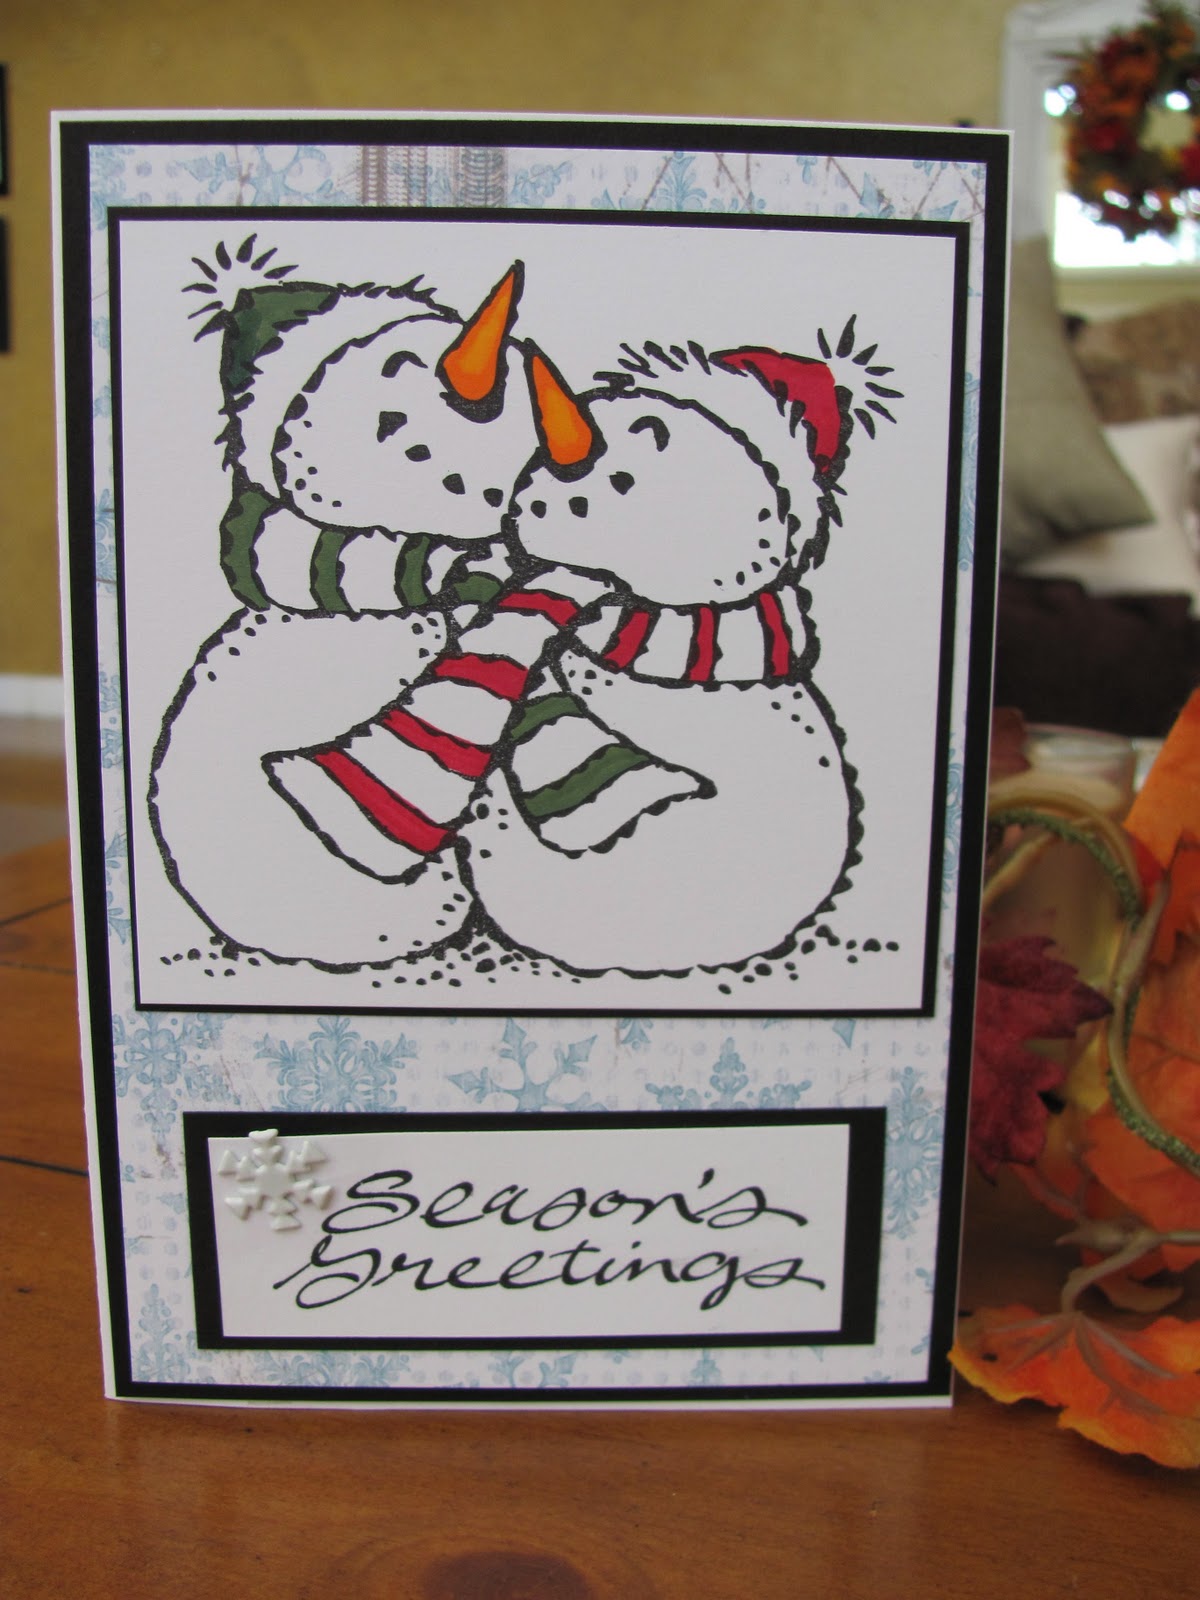
 The next few pictures are the projects we made, I will post them in two posts! Enjoy!

 I need to add glitter, we weren't allowed to have loose glitter at the event.


 Need to add glitter to this one too!
Thanks for stopping by!

 edit: I started this post on Friday =) 
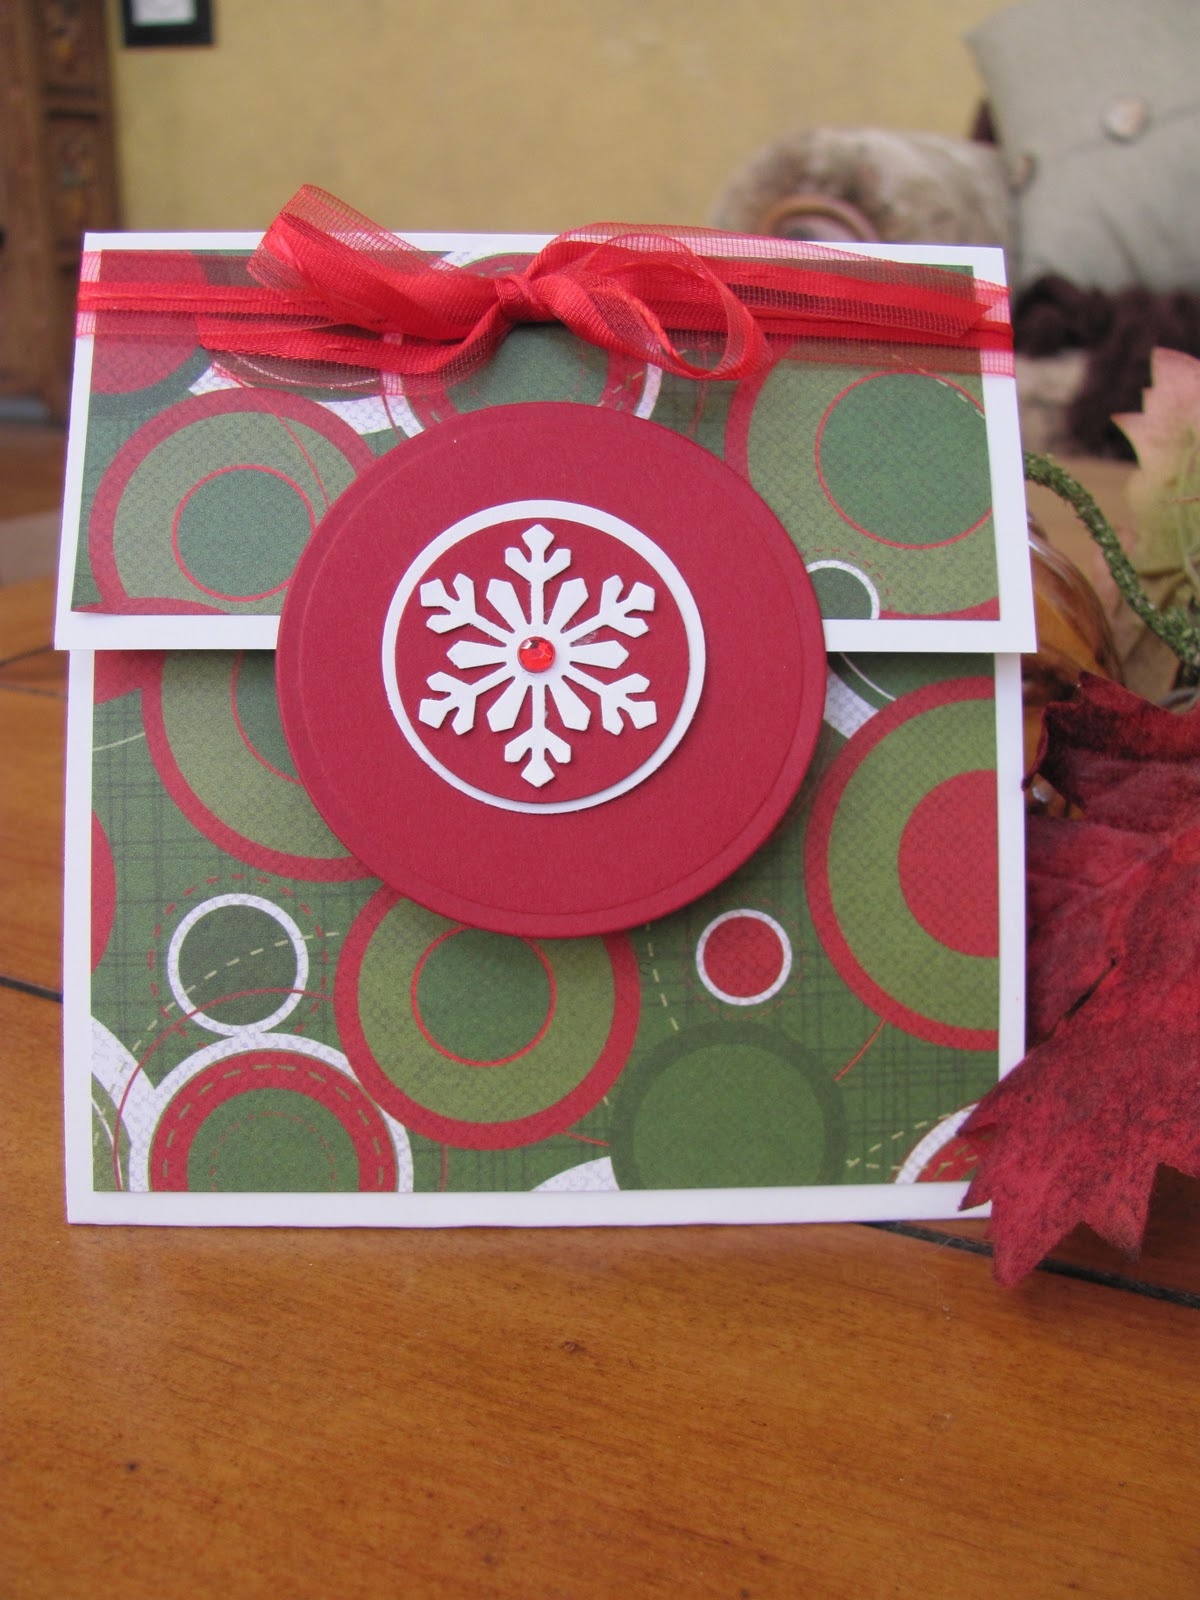
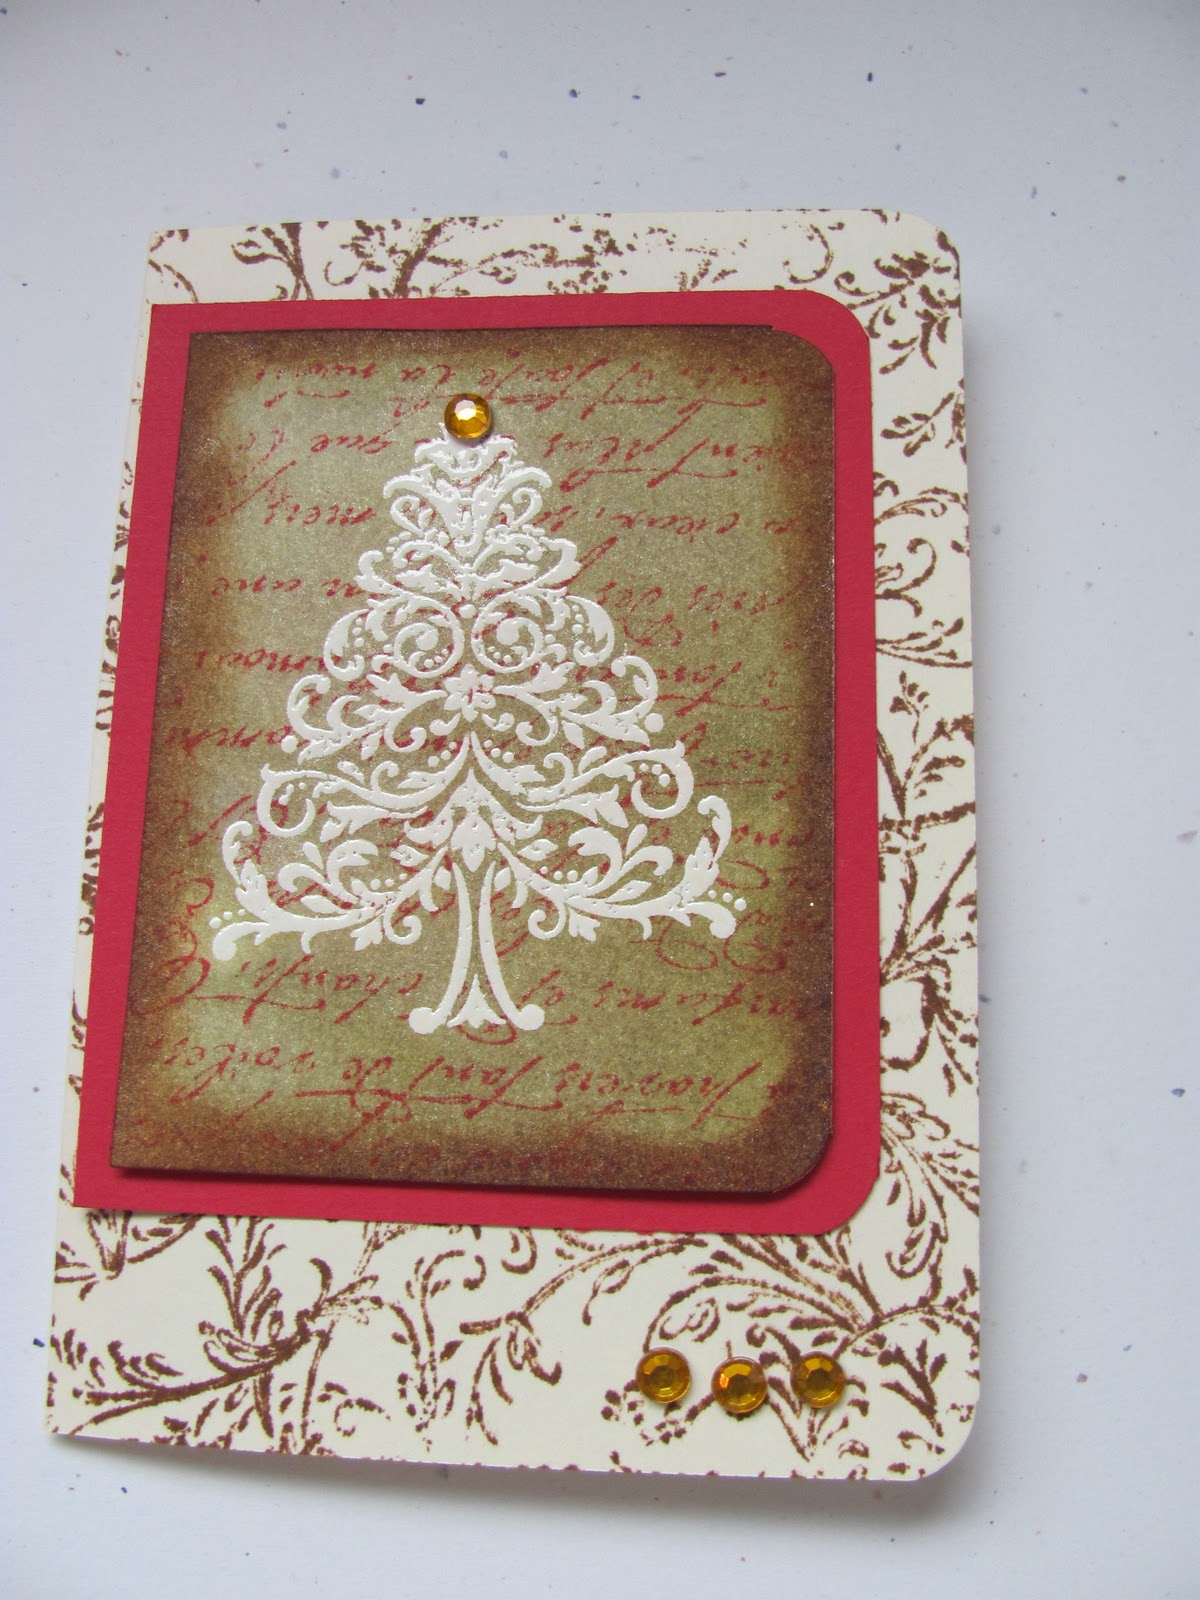
Here is my finished gift card for the showbox swap for tomorrow!
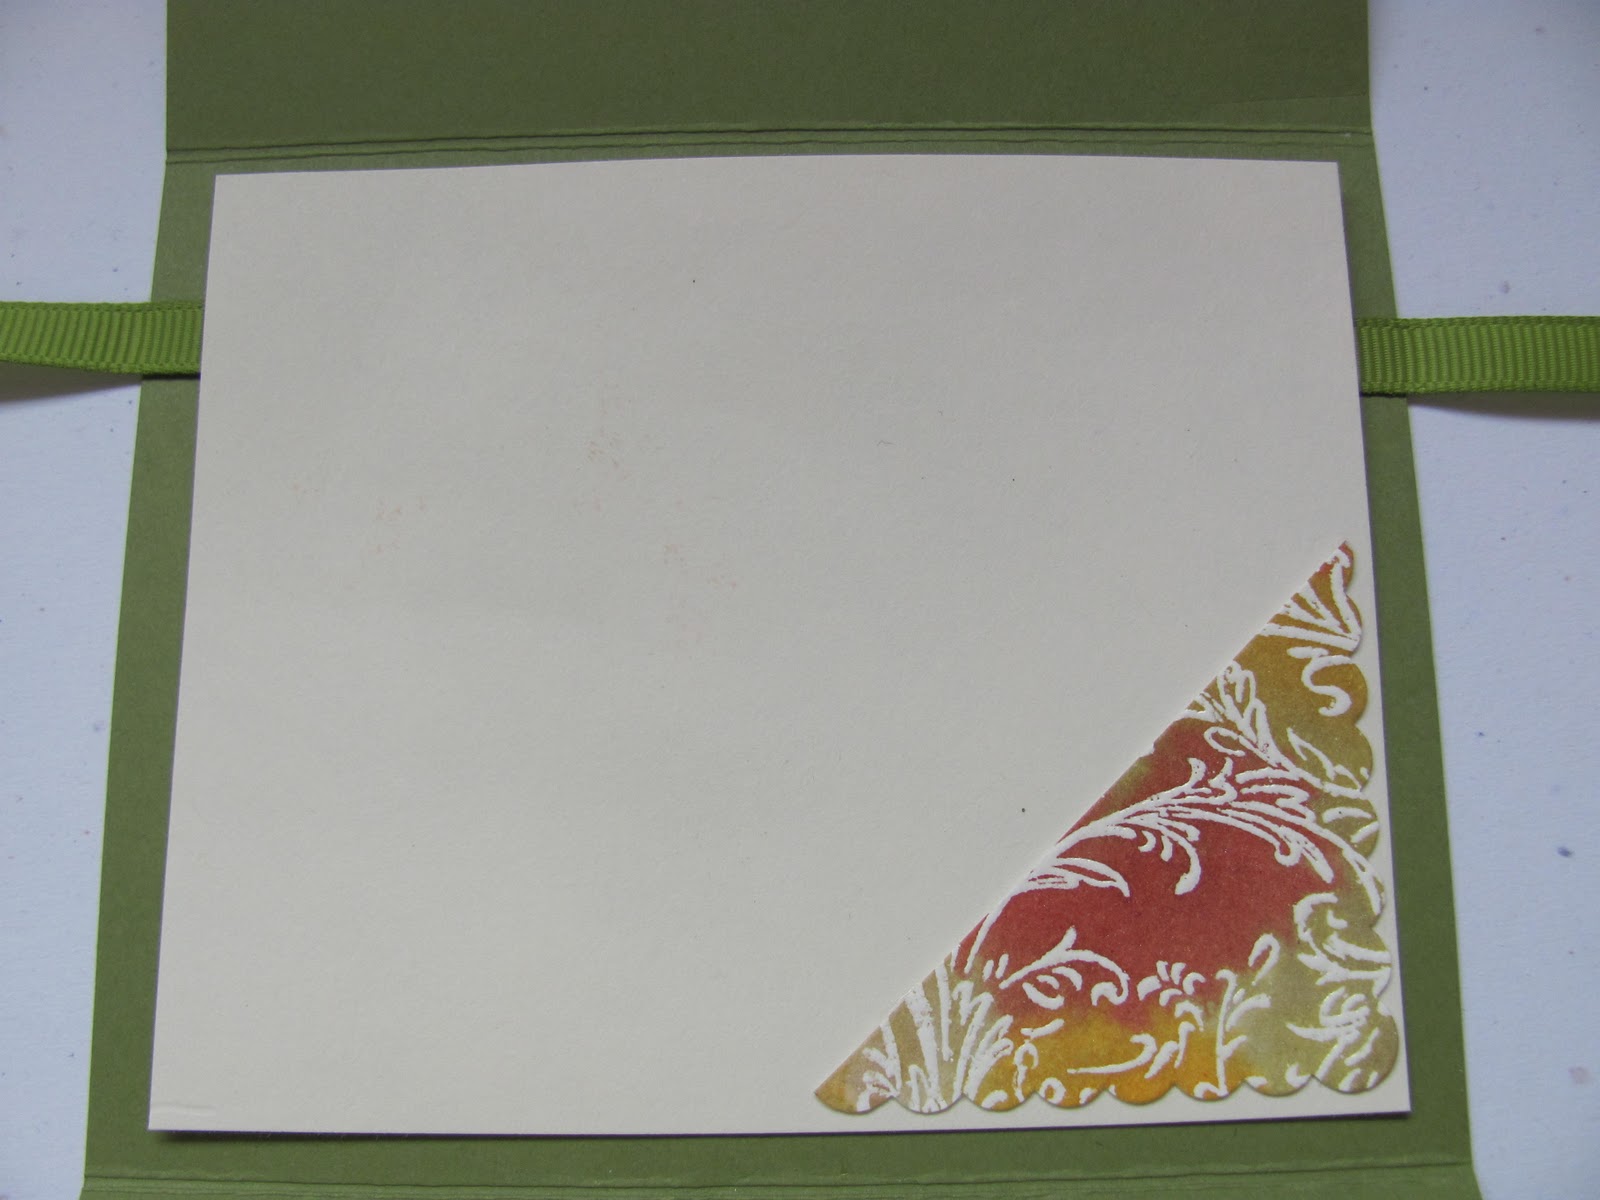
 Inside view
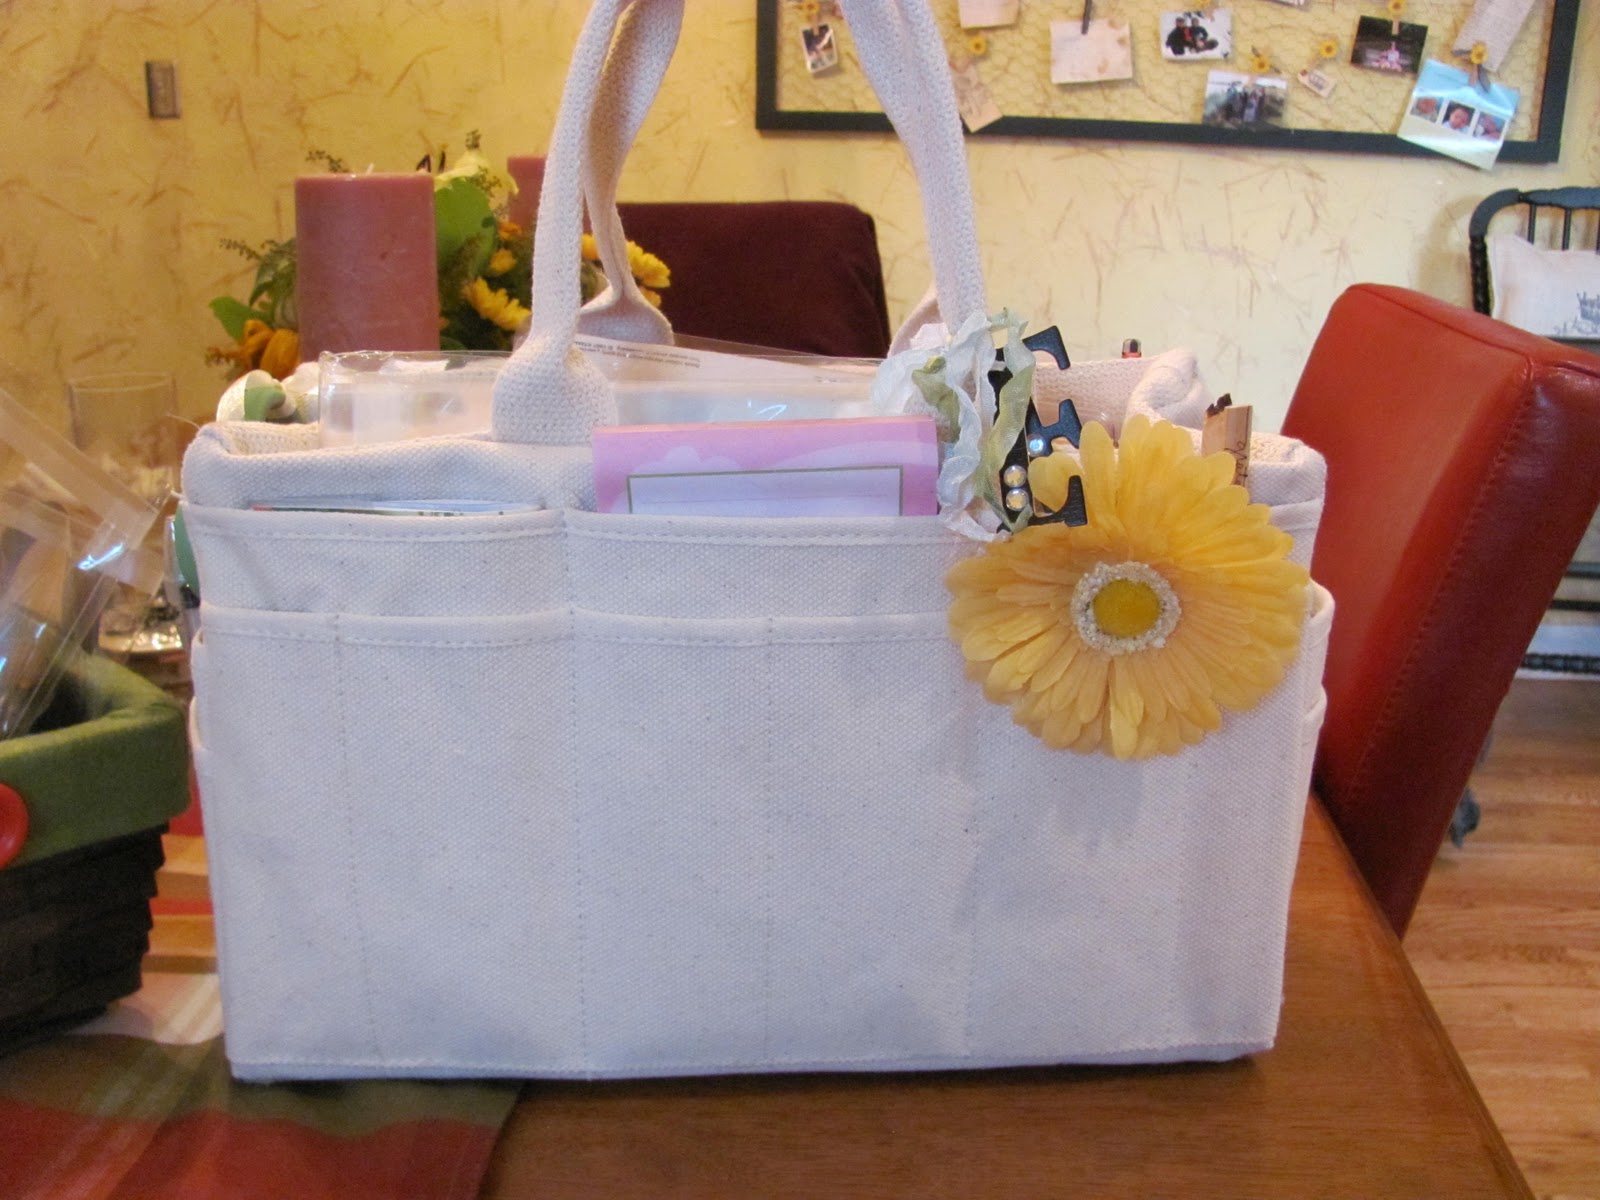
 My "shoebox" is packed and ready to go!
 My supplies are packed and ready to go!
 My nametag is made...
 Can you see the "pearl" effect on it? It really is pretty in real life.
Back later to post all the fun projects we create! 
Have a fun crafty day!

Thursday, October 6, 2011

Crafting under pressure

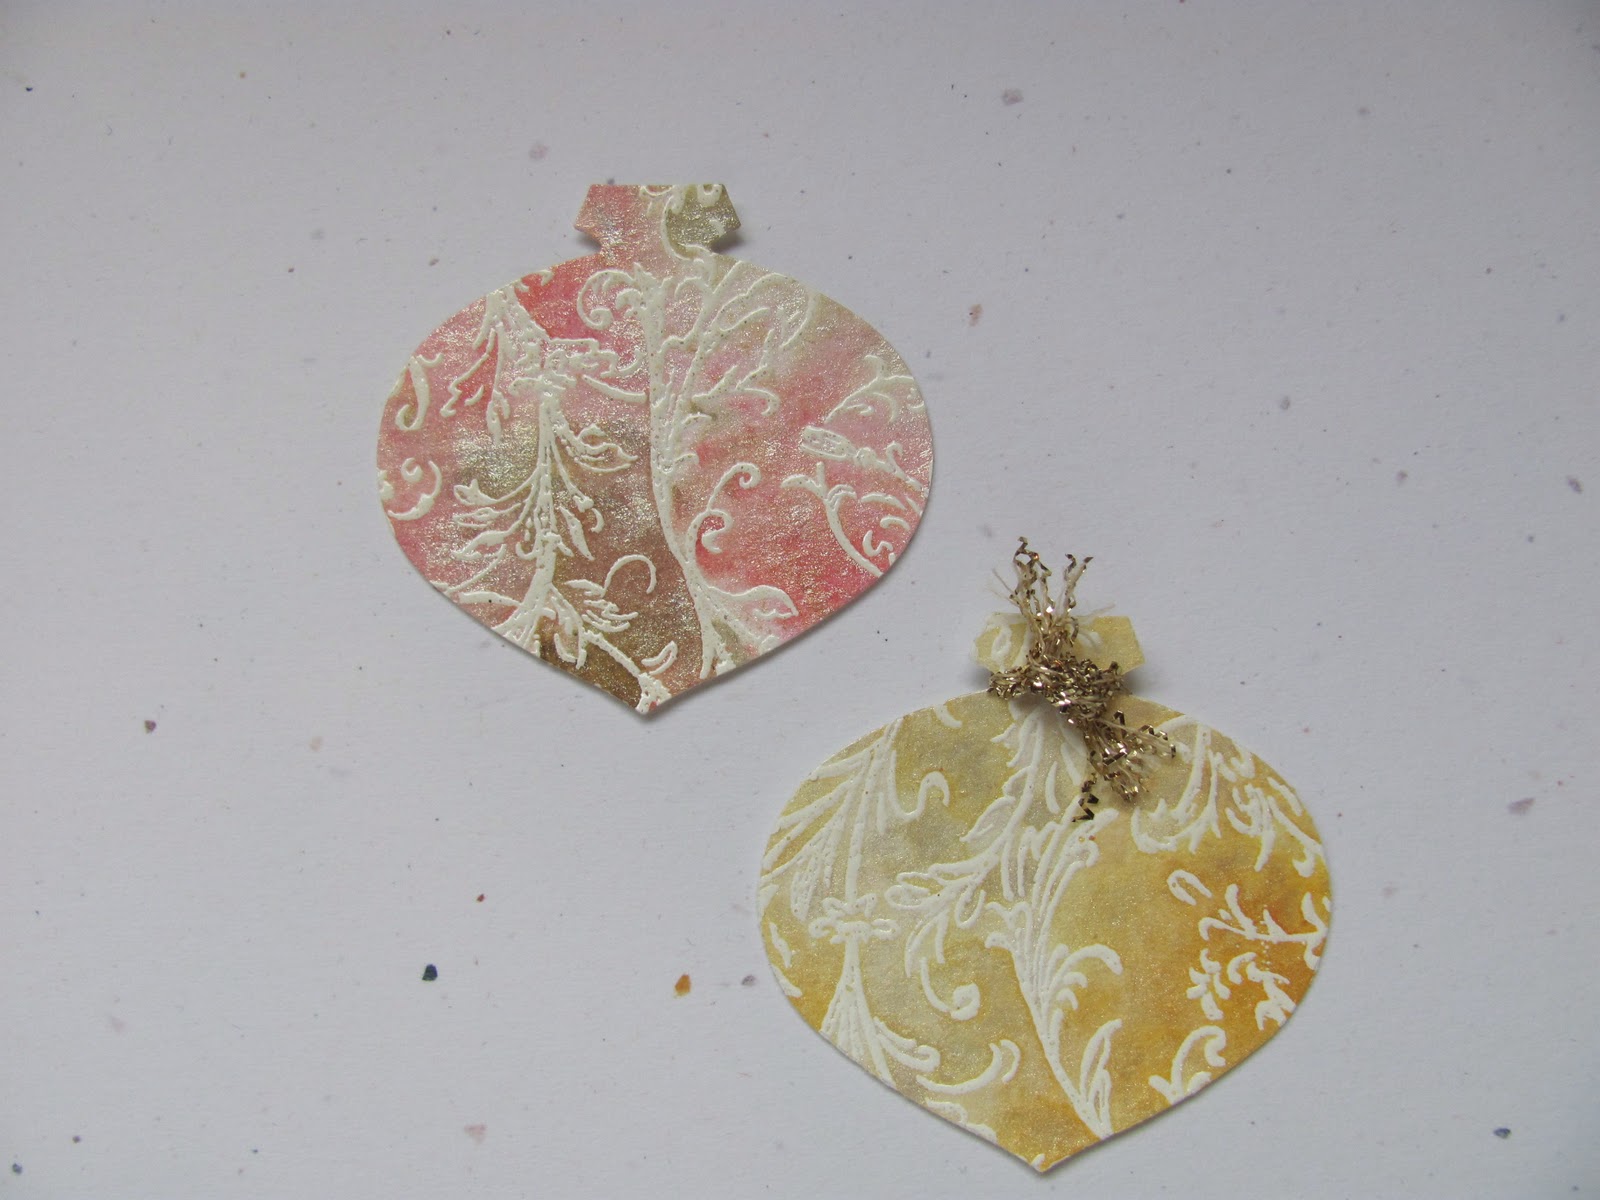
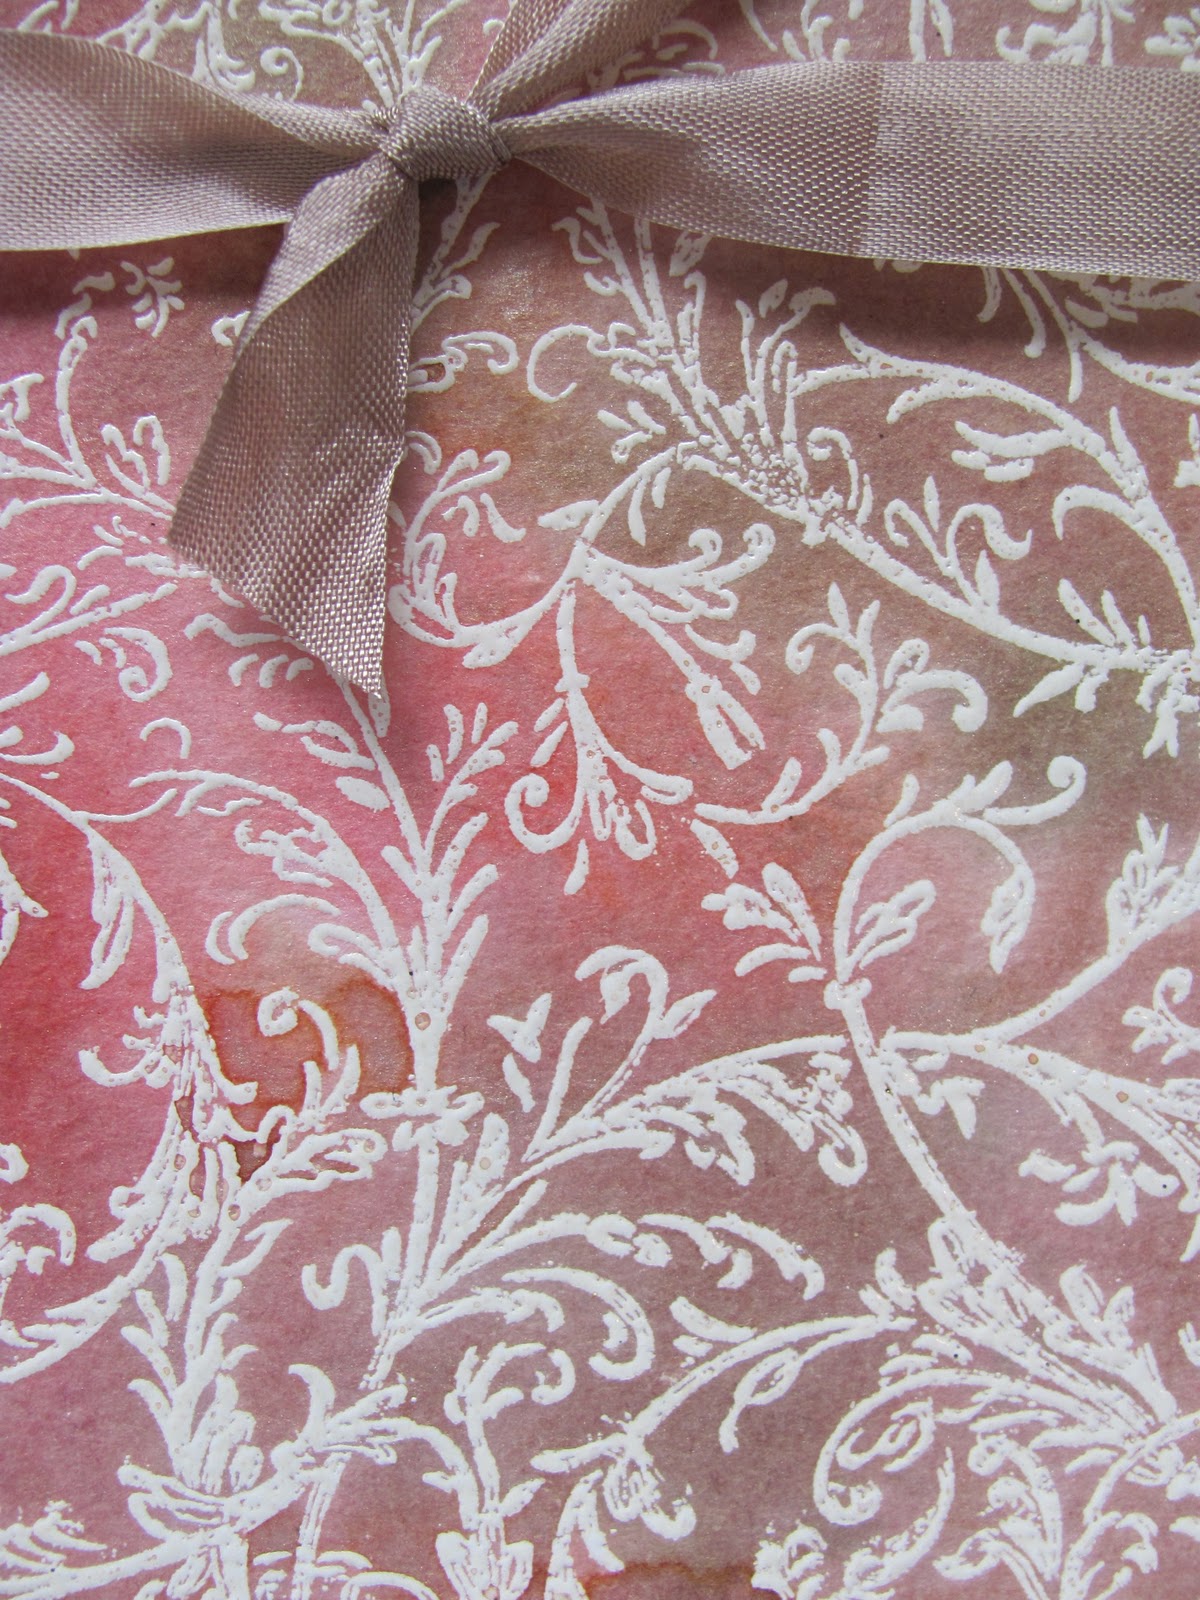
 I signed up for my very first shoe box swap a couple months ago. I convinced my friend Jessica to sign up with me. This shoe box swap is where you come up with a project, make it into a kit, one for each of 20 people. We are meeting at a church north of town. I haven't ever met these gals before... I am so nervous about my project, but so excited to meet some crafty ladies near me. The swap in Saturday! I took a class online and was inspired to have my project be emboss resist with distress inks and stains. Above is my first attempt at what I had in mind.
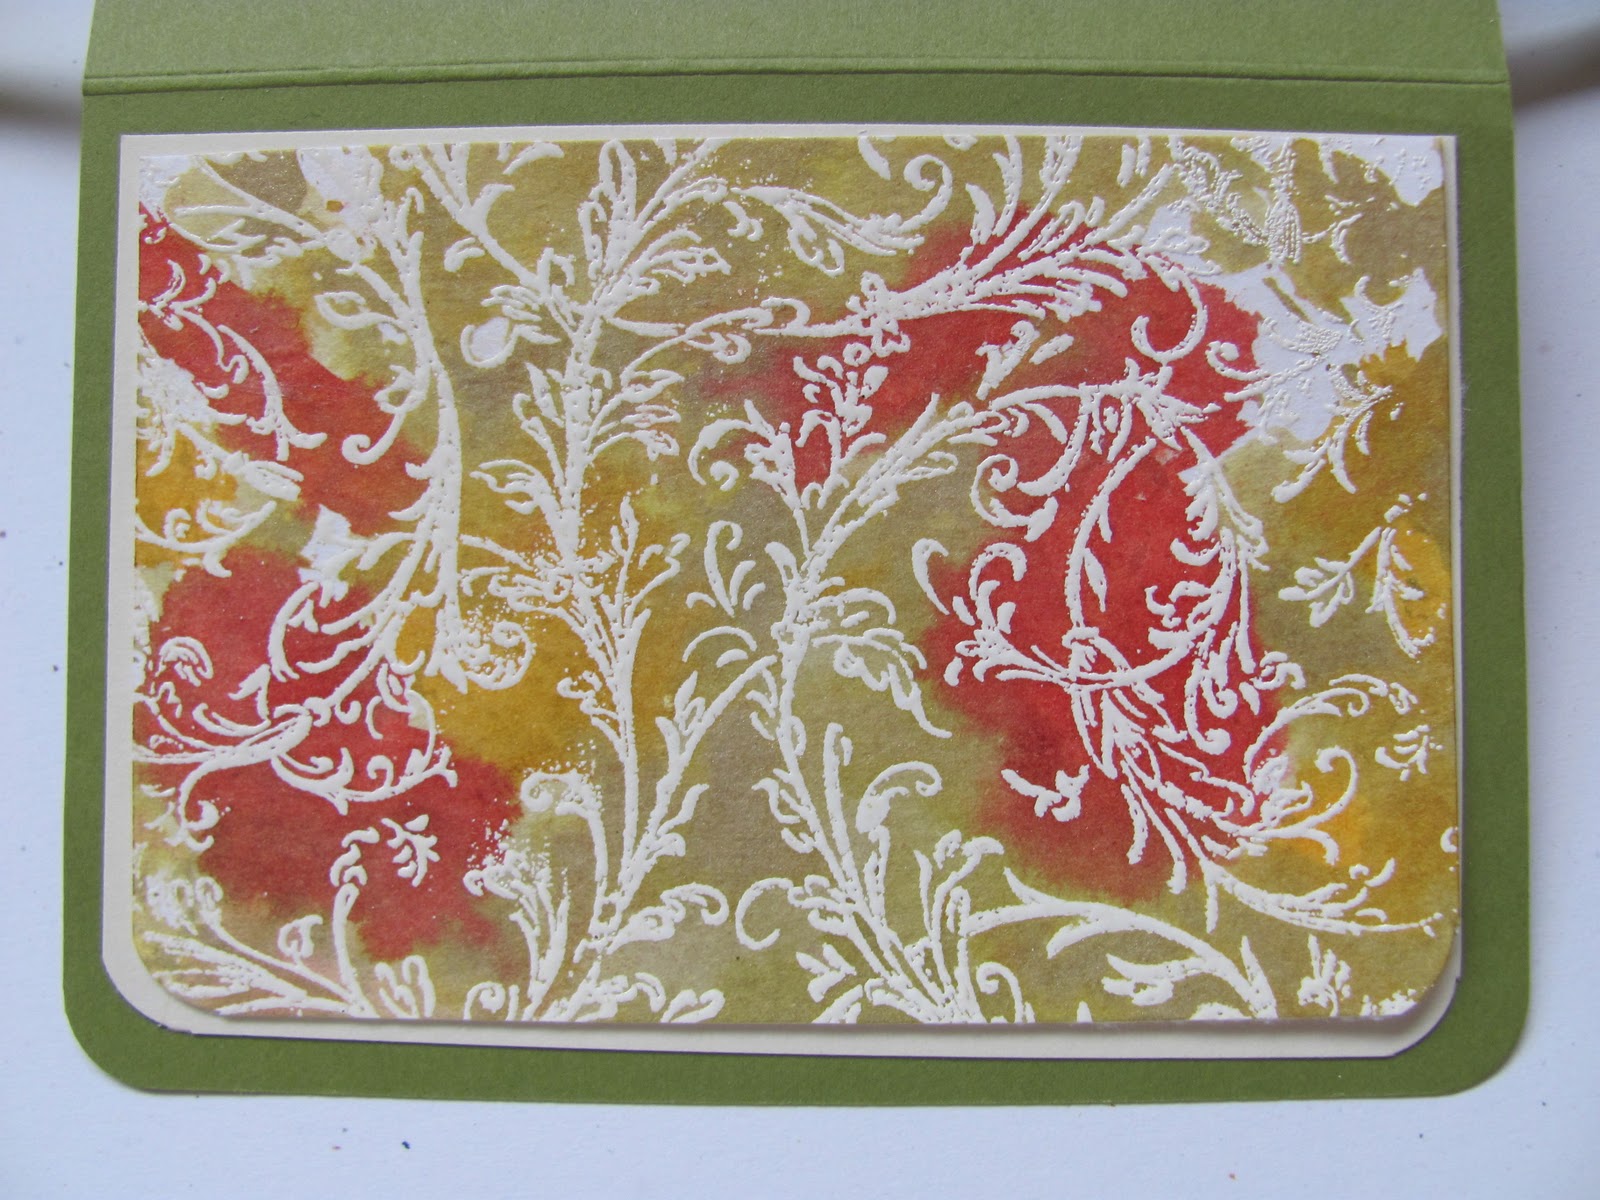
 I found that I truly loved the effect I got with the technique. Love the yellows and golds...
 the greens and reds....
 So I attempted to make it the background to my project.
 Then I got stuck...
 So I tried again...
 a gift card holder...
 nope, not quite what I had in mind.
 Here is another attempt, still not what I wanted!
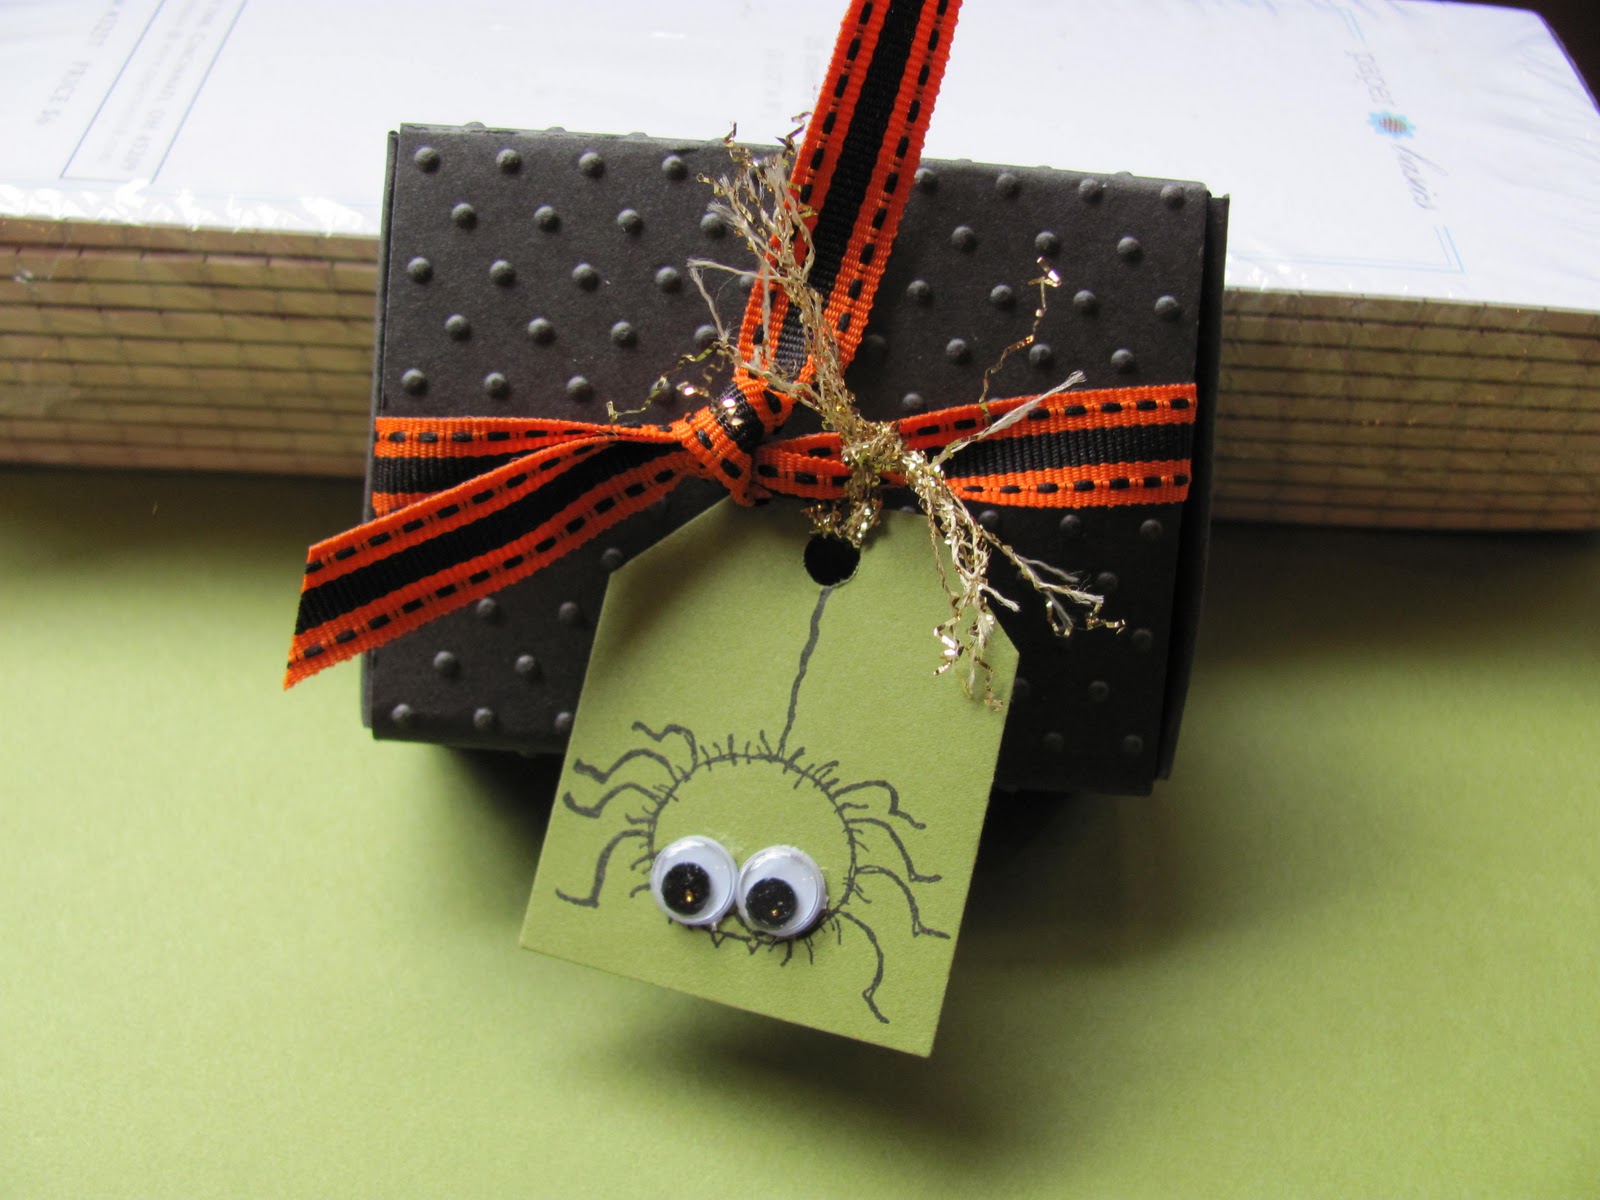
 This one is very close to what my finished project turned out to be, still a gift card holder, so happy with it! I will post my finished project tomorrow =)
Right now, I've got a mess to clean up! Thanks for stopping by!

Fall leaf frame

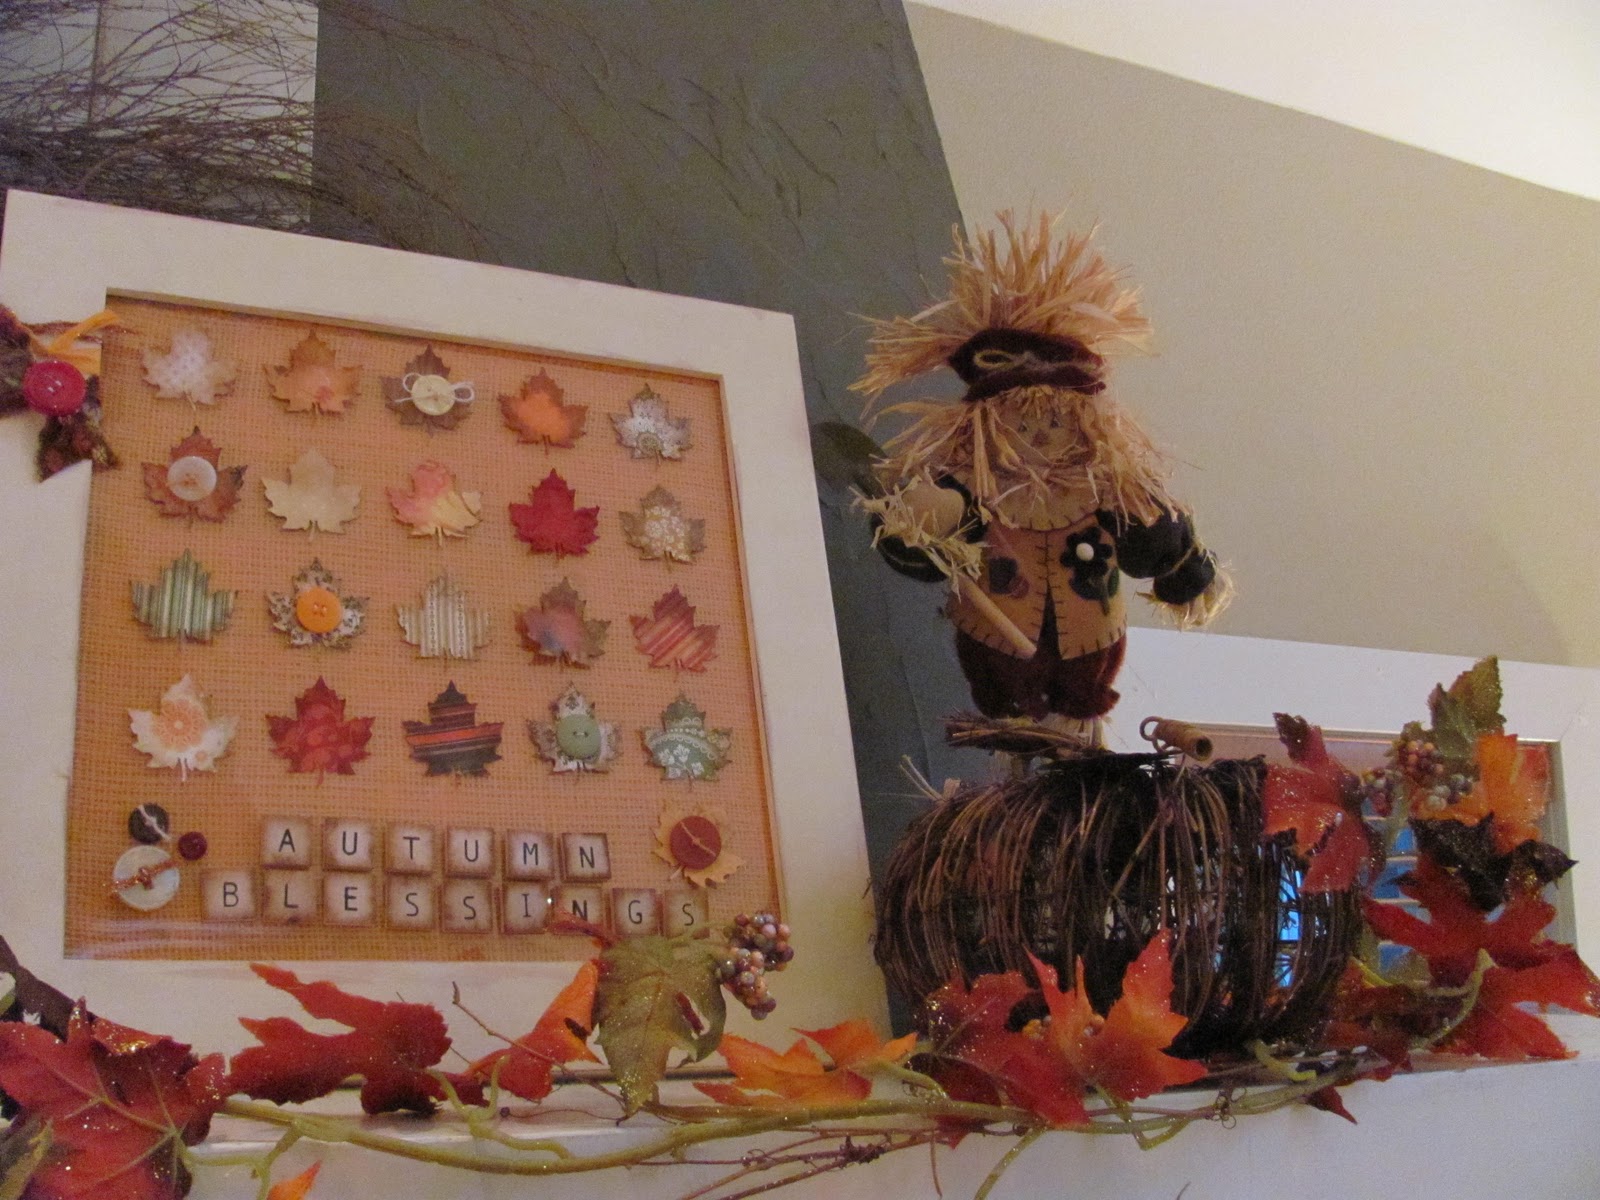
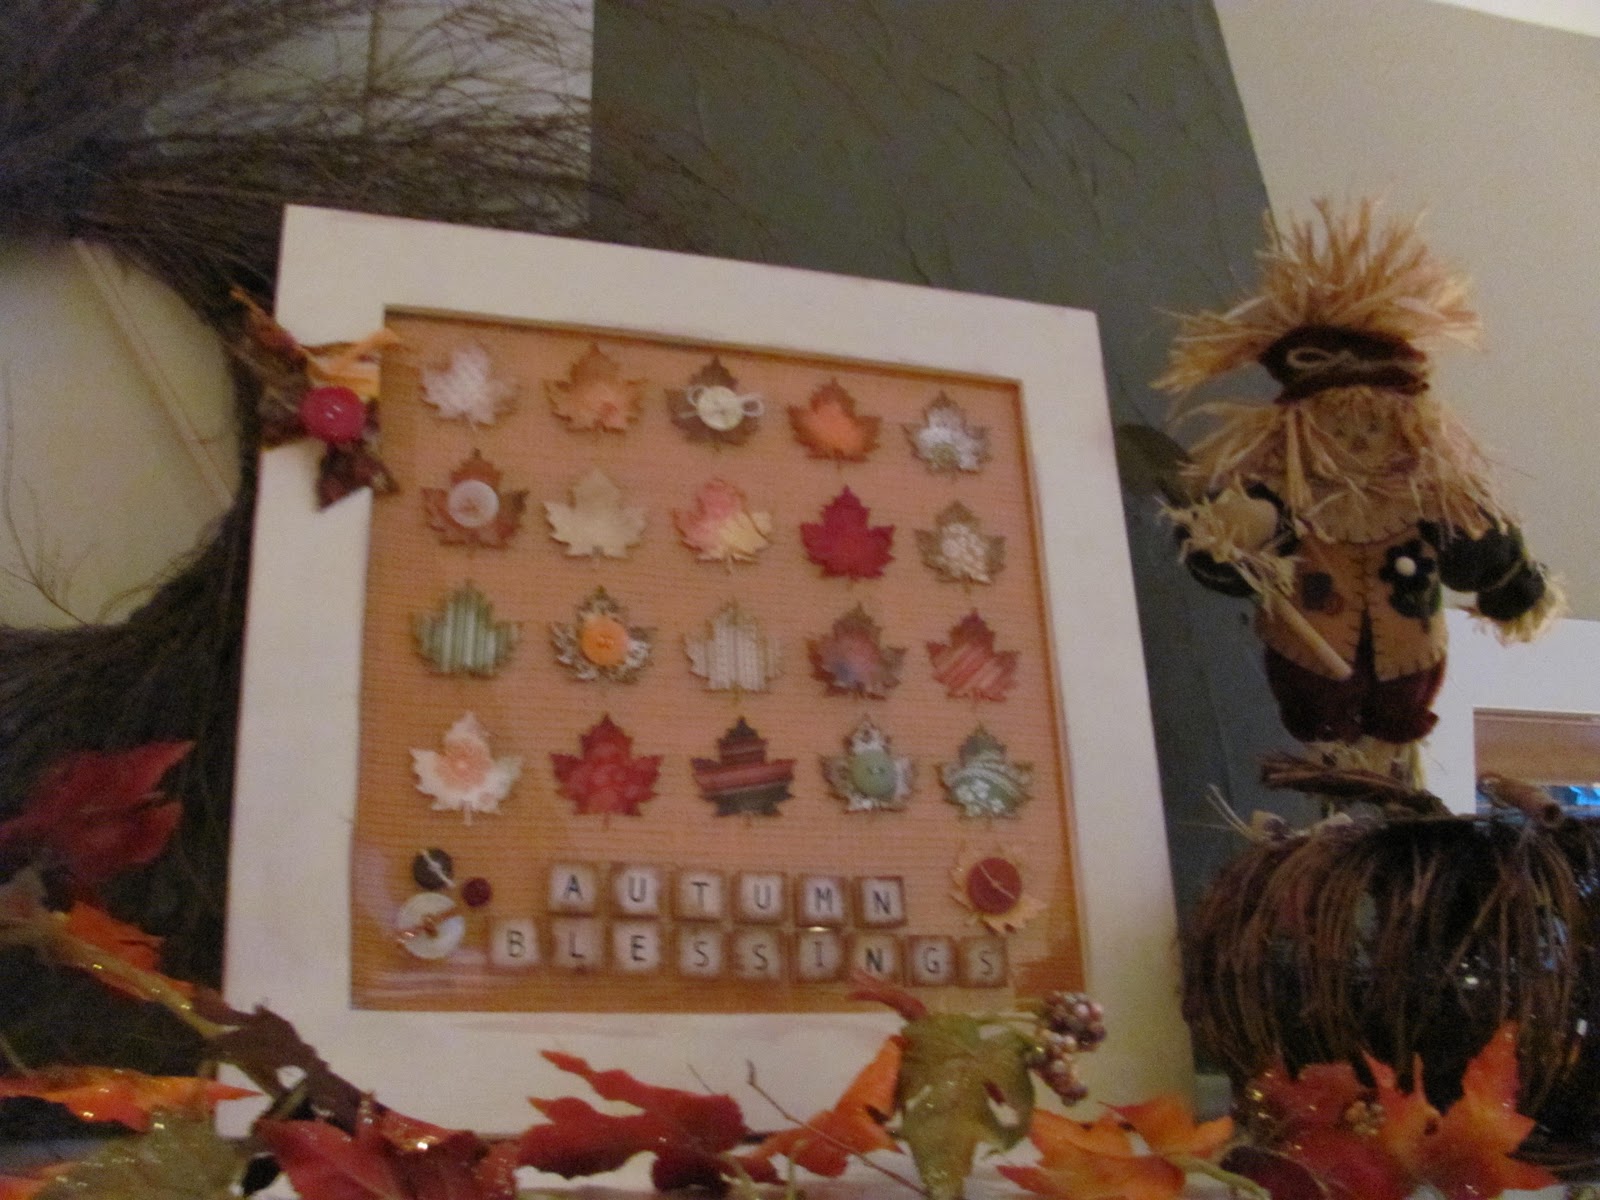
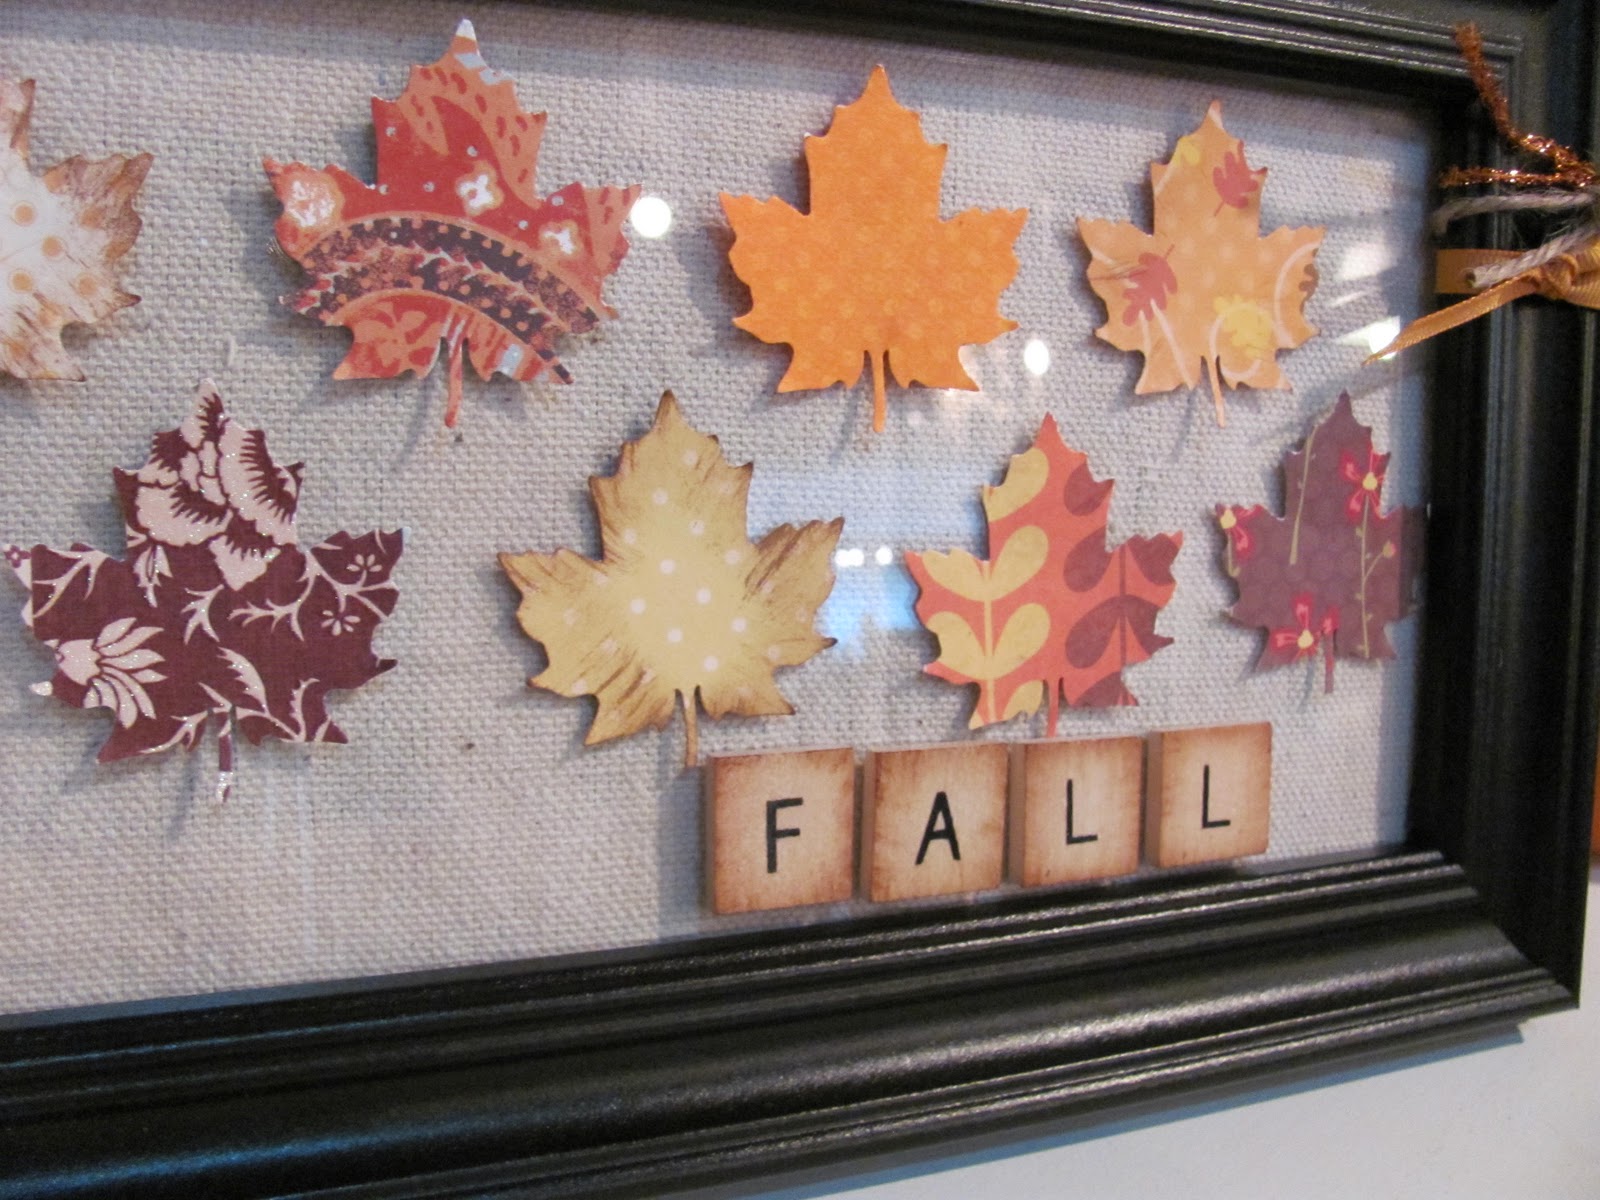
 I loved the fall leaf frame I made for the craft cottage so much I had to make a larger one for the mantel in the house. I used orange burlap behind it and added buttons. I placed in/on a 12x12 frame that I had already painted off white and distressed the edges on. Added more of the scrabble times with the edges inked with distress ink.

 Happy fall!

Saturday, September 17, 2011

Fall crafting 2011

 My friend Jessica and I like to craft. We decided to see if some of our friends wanted to come craft with us once a month.
 We started by having an open house in the craft cottage with a little food, beverage and a couple free make and takes.
 A fall card using bleach and chalk.
 And a Halloween party favor,
 with wrapped Hershey nuggets inside.
We had a great time and received lots of encouragement. In fact we even scheduled more classes. We will be hosting a class in October to make fall wreaths, homemade vanilla and pom poms. In November we will be doing Christmas tags in a tin and Christmas ornaments. We put together all the materials and our friends just pay a small fee for the "kit" and help with bringing food. In October we are having a potluck brunch and November will be a pot luck appetizers!
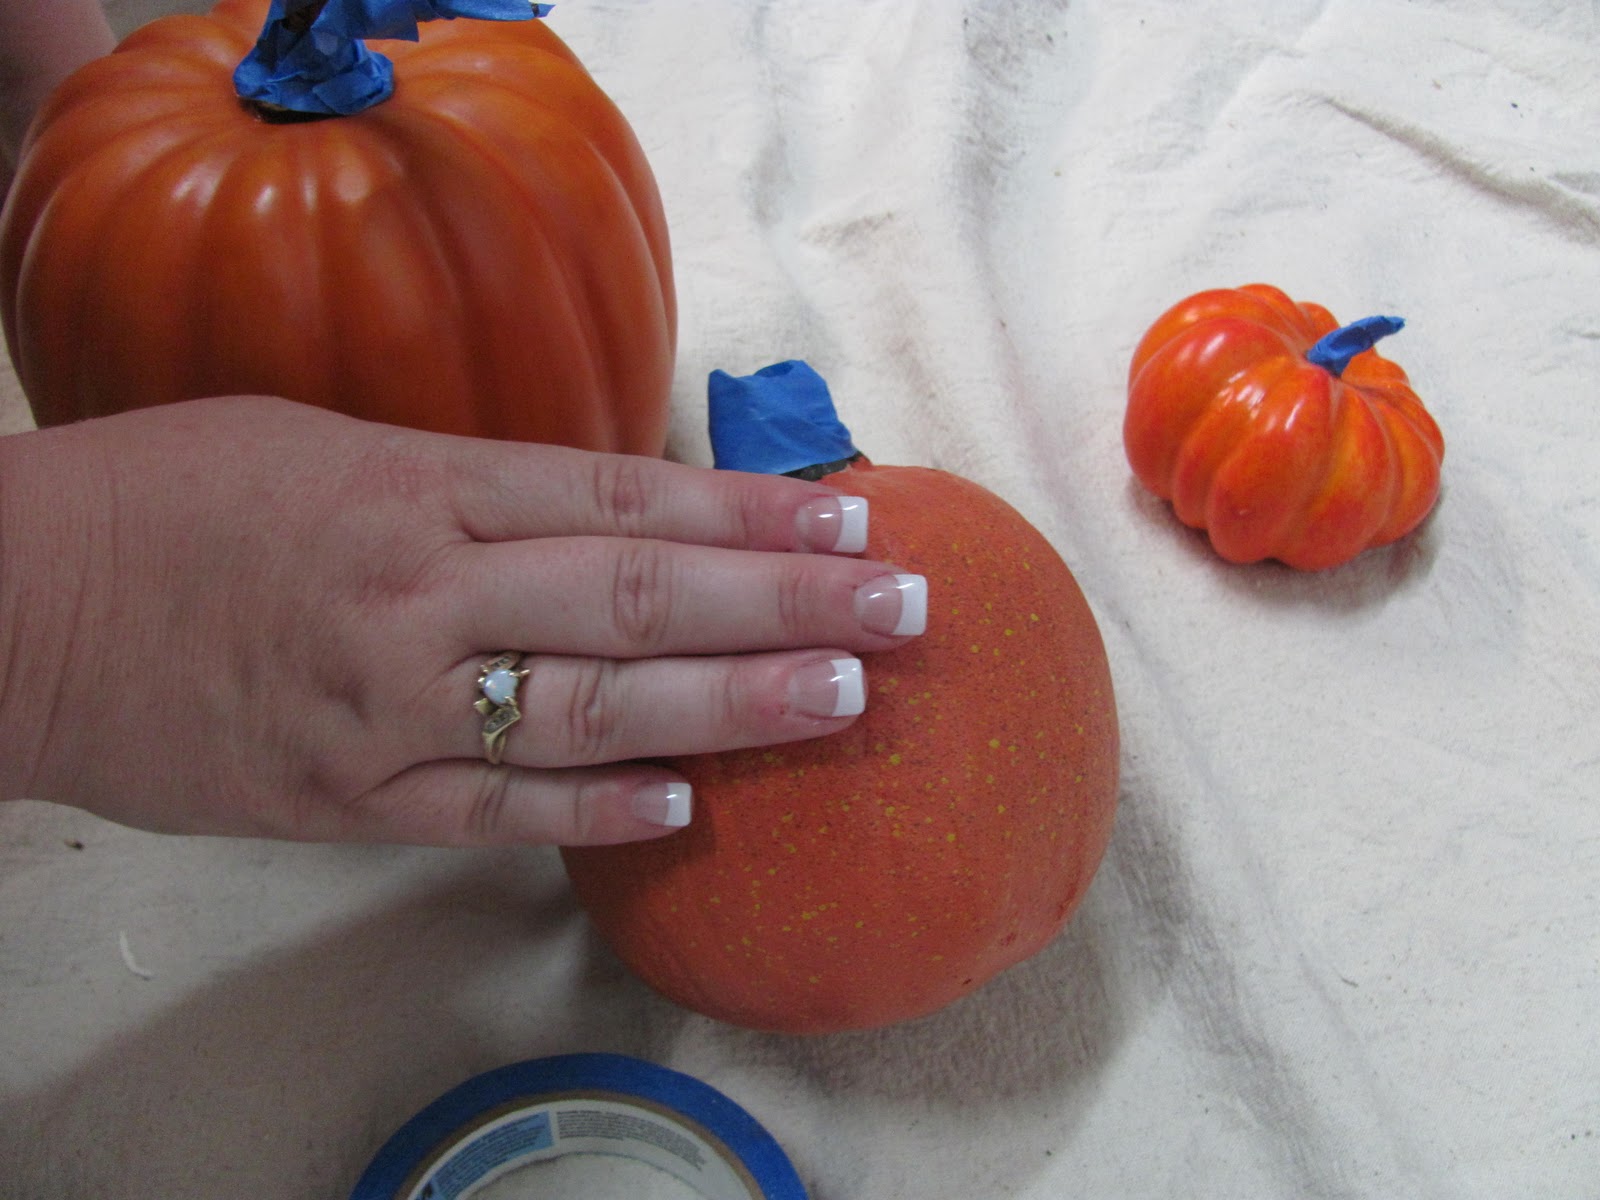
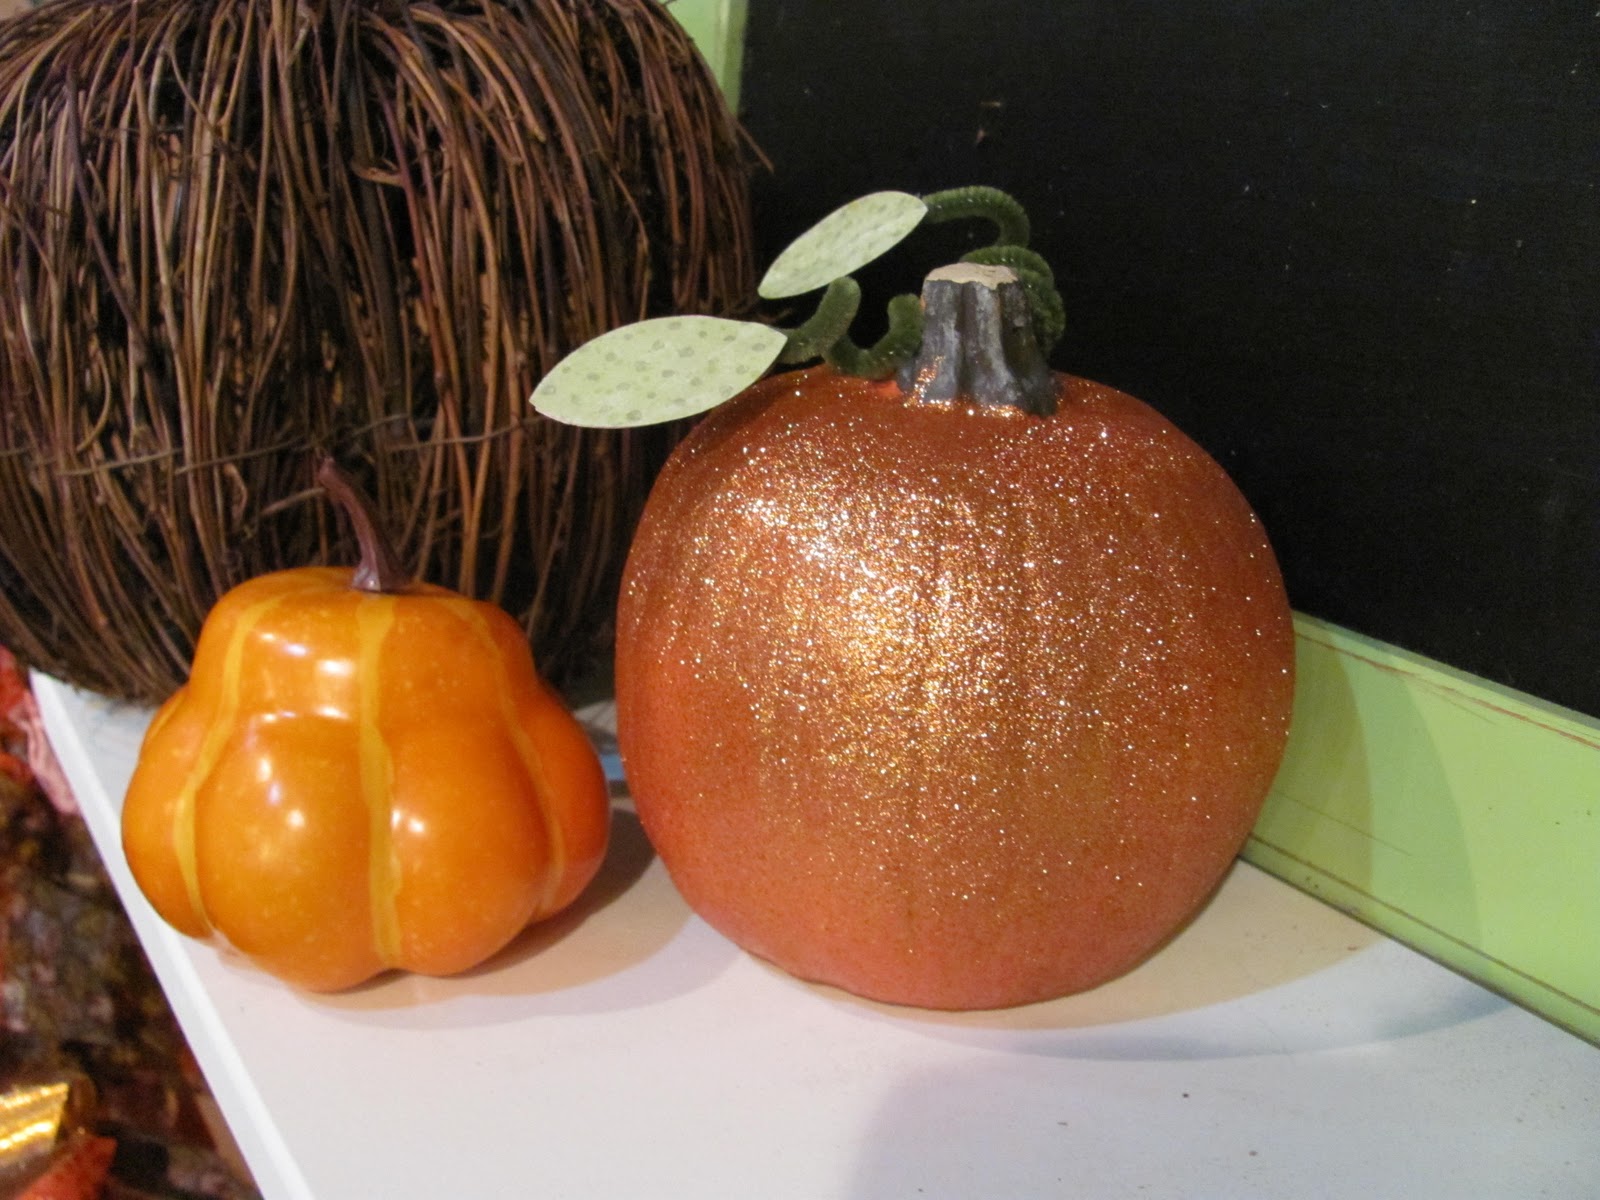
 This morning Jessica and I got together over Pumpkin Spice Latte's and had our nails done. Then headed to JoAnn for some creative therapy. Above is Jessica modeling her new set of nails with a before shot of our pumpkins.
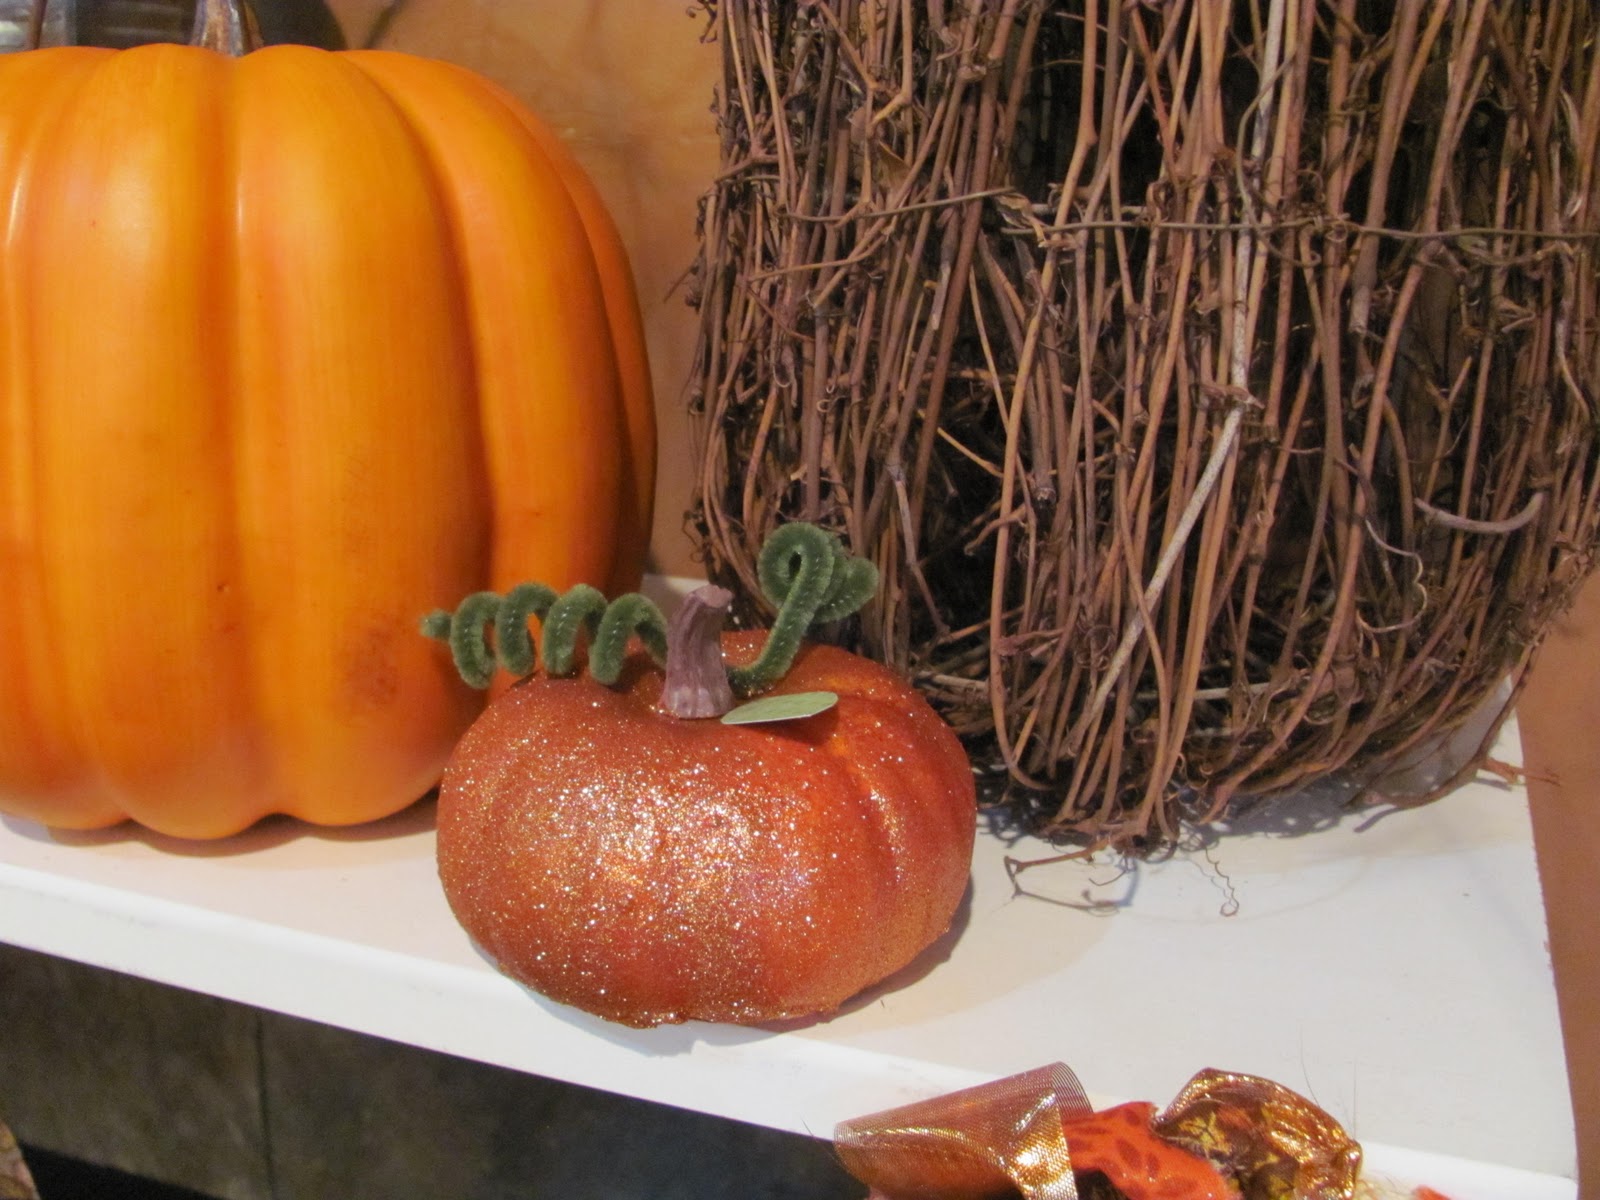
 We found Glitter Blast! This product is amazingly gorgeous!
 See? GORGEOUS!!!
 While we were waiting for our Glitter Blast to dry we tore fabric for fall garlands.
 We used torn fabric, felt, ribbon and burlap. So fun to make!
Inspired from here.
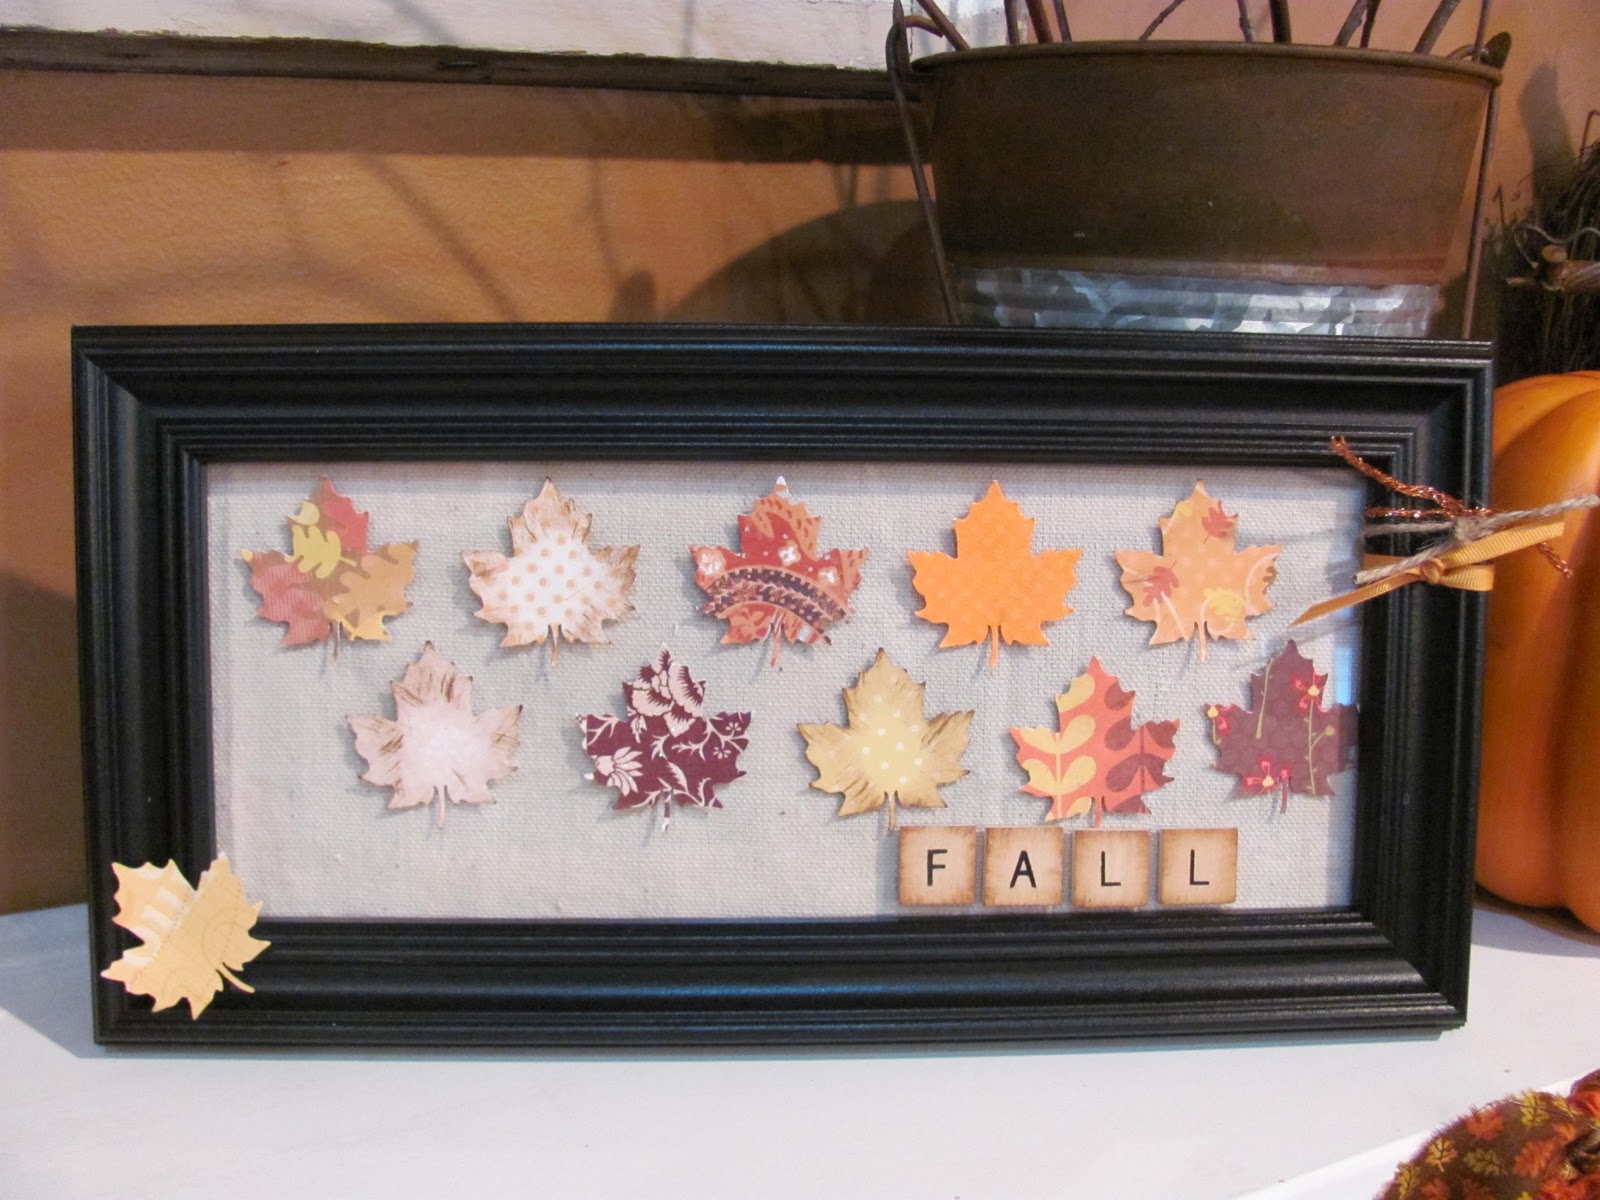
 After Jessica left to spend some time with her hubs, I didn't want to leave the craft cottage quite yet, so I created this fall frame. I used some left over drop cloth from Lowes as the background under the glass of the frame, then used a leaf punch to punch some scraps of patterned paper. On some of the leaves I used distress ink to ink the edges and also inked the edges of the scrabble tiles that I purchased off Ebay. The frame is a $3.00 frame from Walmart. I finished by tying some ribbon, twine and glittered string that I purchased on Etsy. I am so pleased with how it turned out!
 A few little sneak peeks at my craft cottage fall mantle.
 Lots of glitter and sparkle.
 Fall colors, leaves,
 pumpkins, twigs and branches.
Thanks for stopping by today! Have a lovely weekend!